 EN
 IT Italiano
 ES Español
 FR Français
 DE Deutsch
Description
What it is
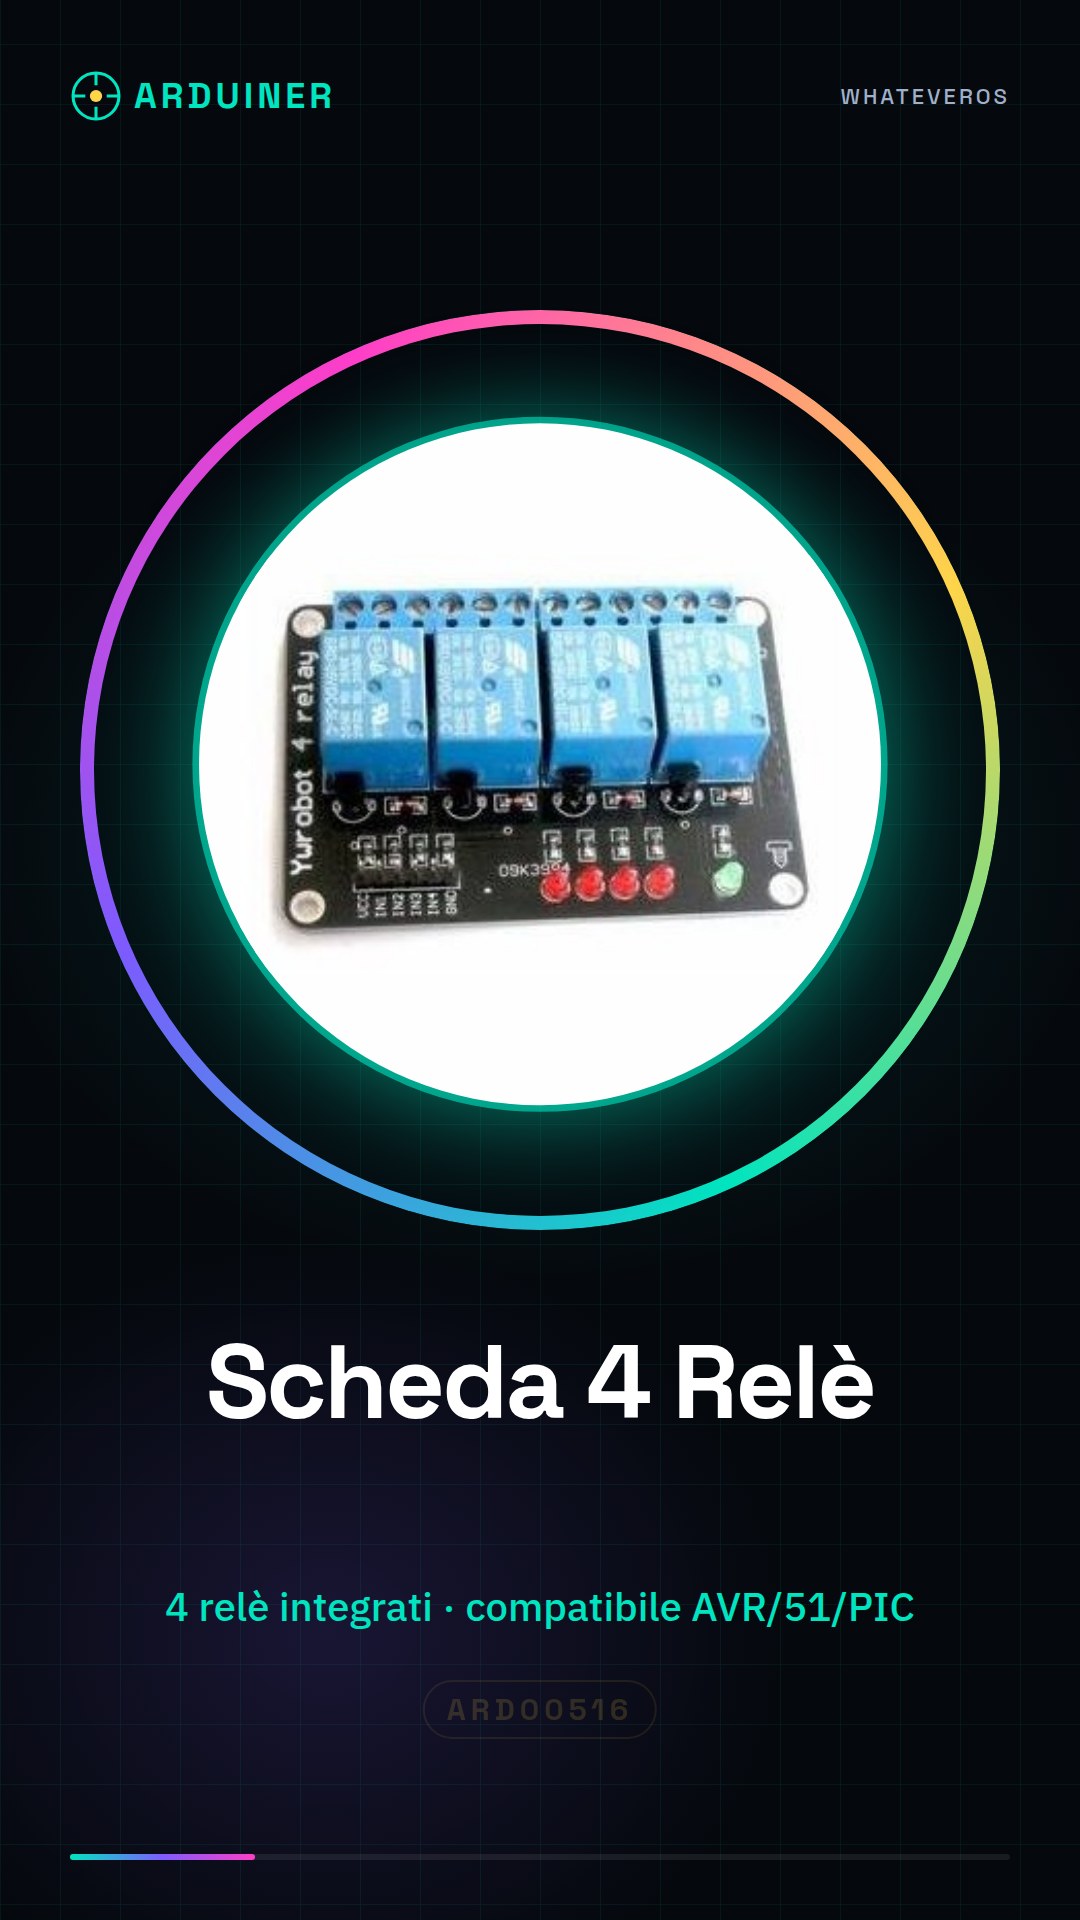
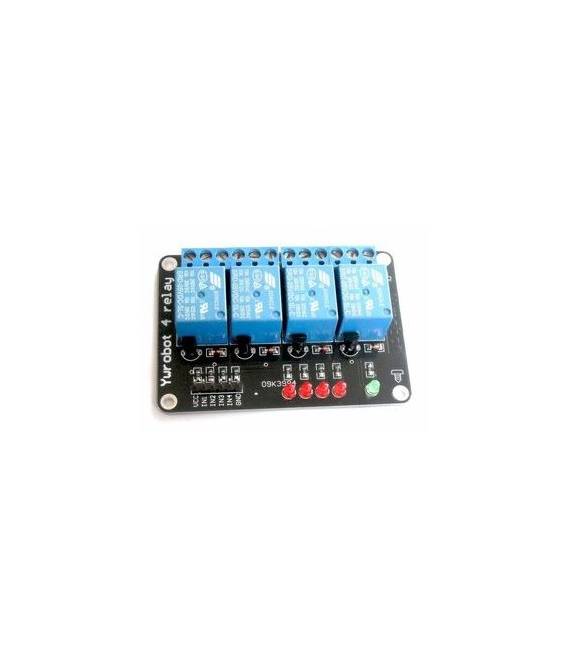
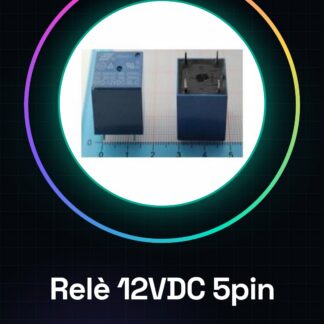
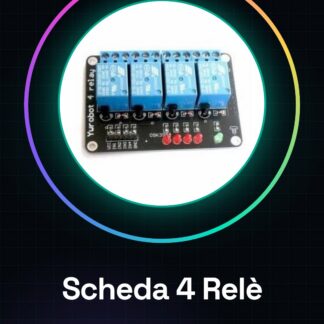
The 4-relay development board is an electronic module that allows controlling electrical devices via a microcontroller. It integrates four relays that can be activated and deactivated by a digital signal from the microcontroller.
Features
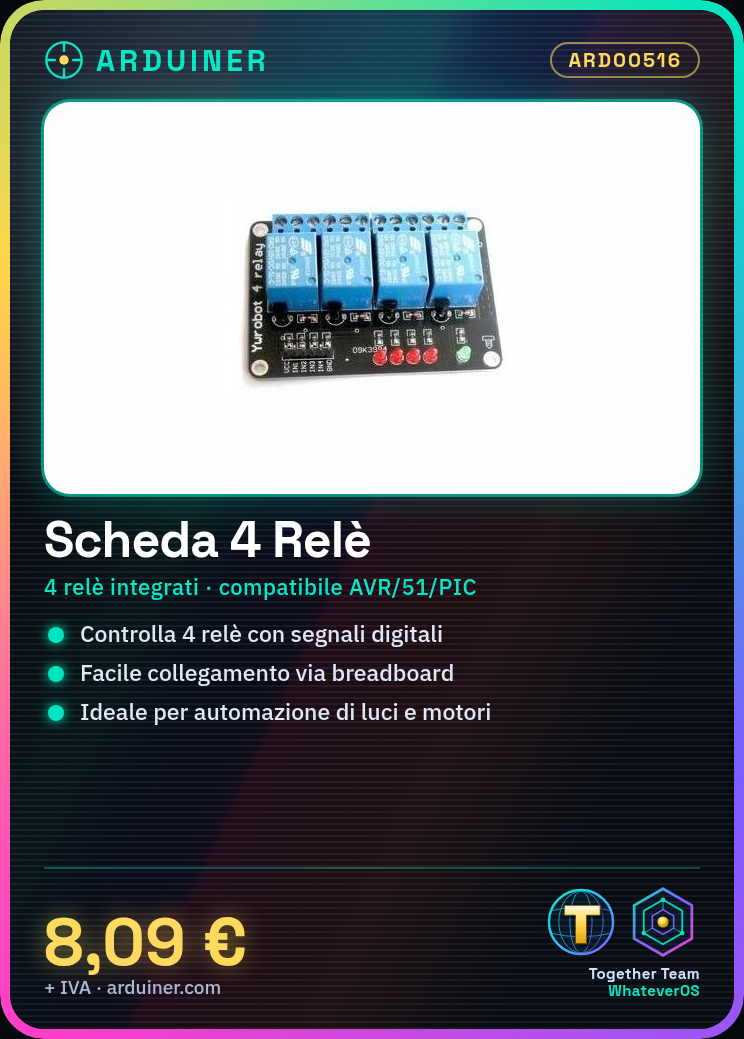
- 4 integrated relays
- Compatible with AVR, 51, and PIC microcontrollers
- Easy connection via breadboard
What it is for
The board is ideal for automation projects that require the control of electrical devices such as lights, motors, solenoids, and others. It can be used with Arduino and other compatible microcontrollers. Example usage: create an intelligent lighting system with motion sensors that activate and deactivate lights.
Tutorial: How to use Microcontroller Development Board 4 Relays
The microcontroller development board with 4 relays is ideal for projects that require electrical management by a microcontroller. It is suitable for both beginners and experts who want to control electronic devices such as lights or motors.
What you need
- Arduino Uno
- USB A-Micro B Cable
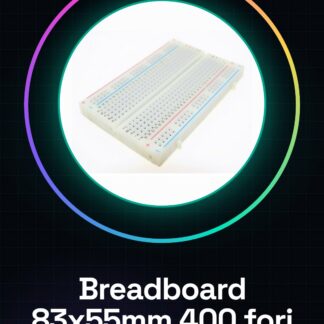
- Breadboard
- Sensors (optional)
- Capacitors (check the datasheet)
Steps
- Connect the microcontroller to the development board via the appropriate connectors.
- Verify the correct power supply of the system, following the specifications in the datasheet.
- Configure the Arduino with the provided sketch or a custom one to control the relays.
- Connect the sensors and/or other components to the development board as needed.
- Check that all connections are stable and secure.
- Insert the code into your Arduino IDE and upload it to the microcontroller.
- Test the functionality of the relays with simple commands (e.g., turn on/off).
- Verify system performance in real-world conditions.
Example code
// Inserire qui lo sketch Arduino per controllare i 4 relèMini project
Create a smart lighting system with the board and 4 lights managed via motion sensors.
Common mistakes
- Incorrect connection of the microcontroller or board.
- Power supply value not conforming to the datasheet specifications.
- Incorrect Arduino sketch configuration for relays.
- Use of electronic components incompatible with the board.
Recommended accessories
- Motion sensors
- Capacitors (check the datasheet)
- Breadboard
- USB A-Micro B cable
Frequently asked questions
Is this board compatible with Arduino Mega?
Check the microcontroller specifications on the board for compatibility.
Which capacitors should I use?
Consult the board datasheet for specific requirements.
Reviews
There are no reviews yet.