 EN
 IT Italiano
 ES Español
 FR Français
 DE Deutsch
Description
What it is
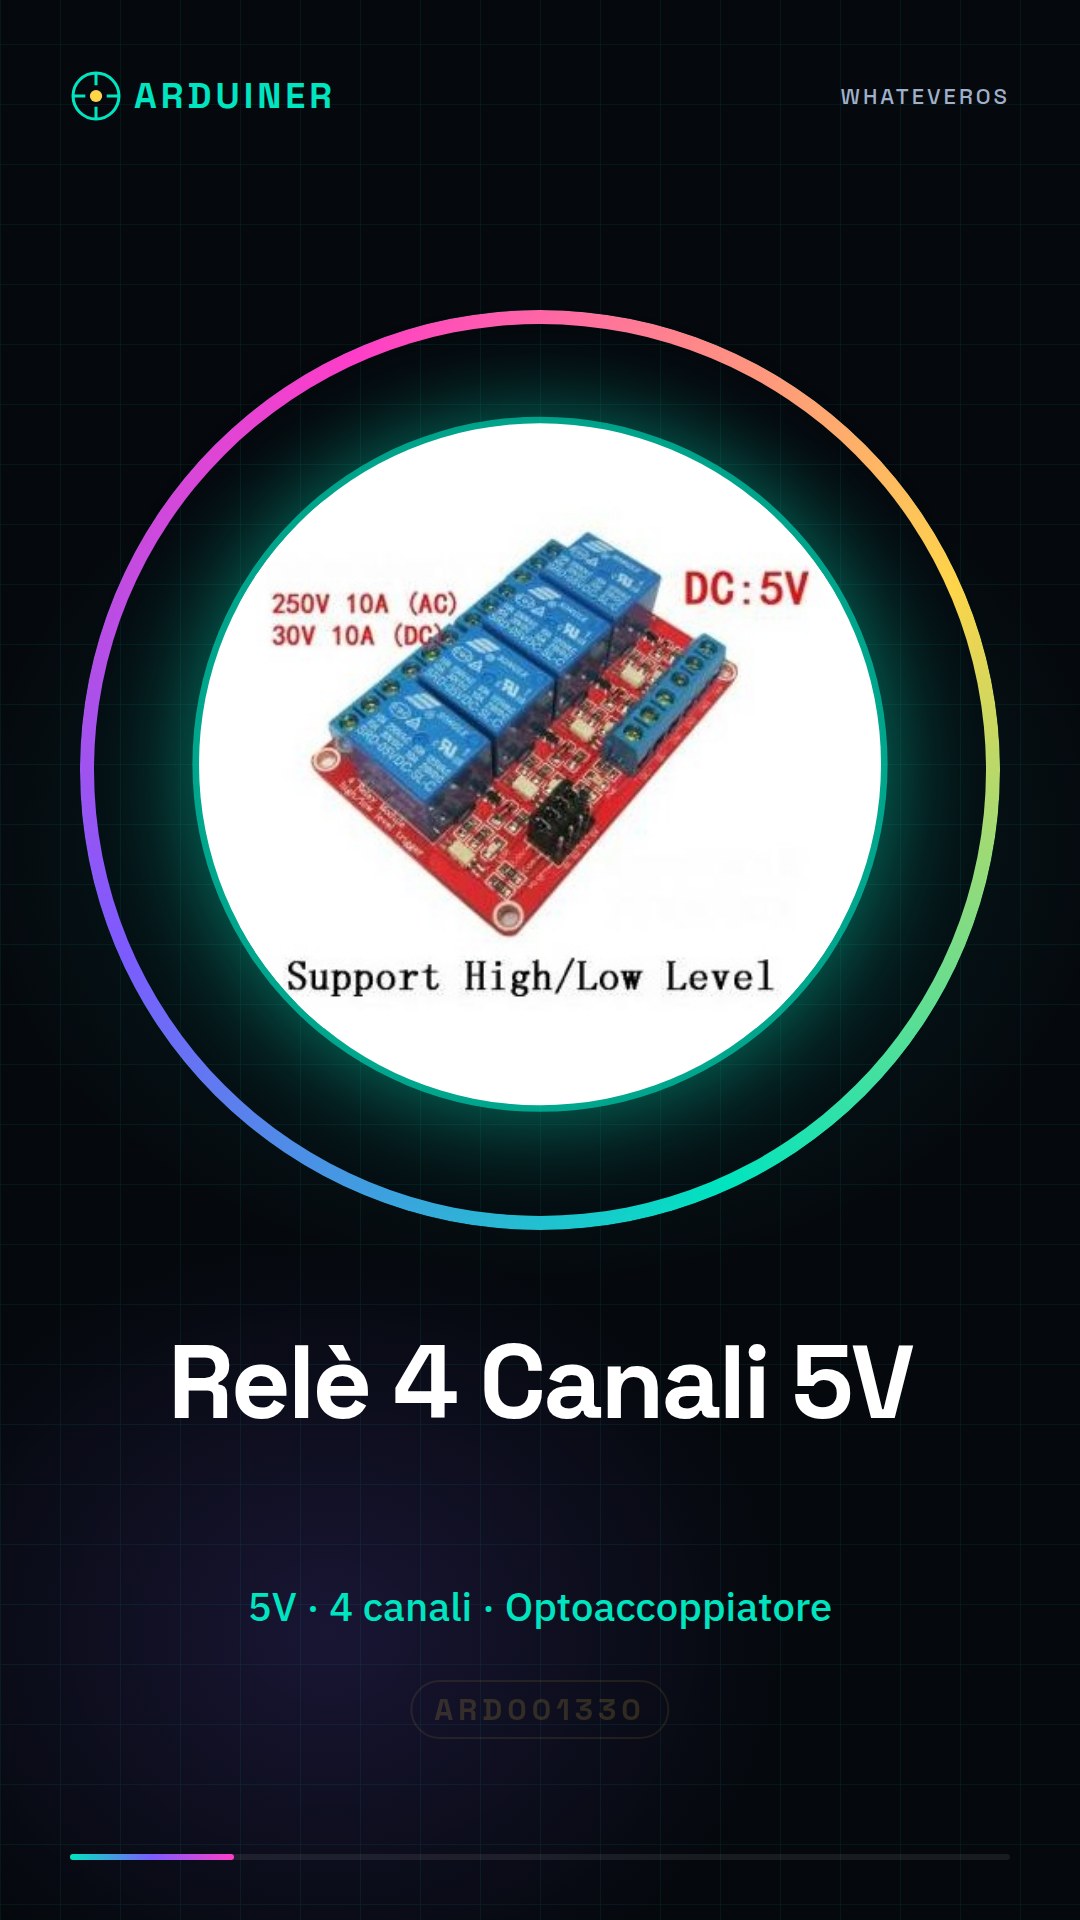
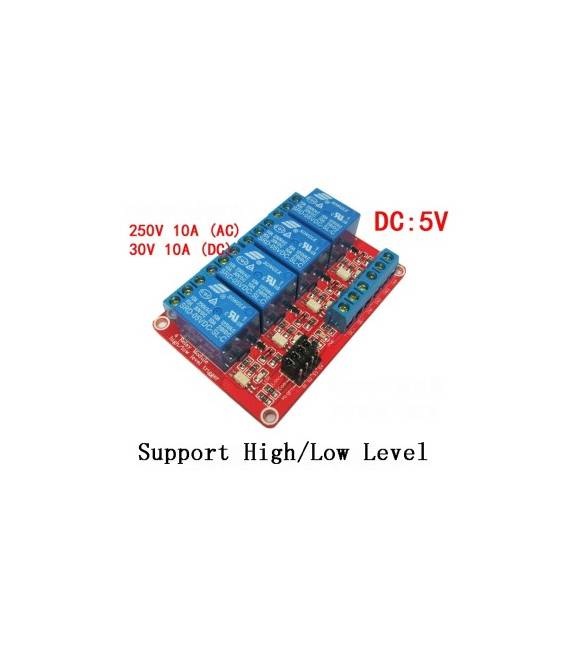
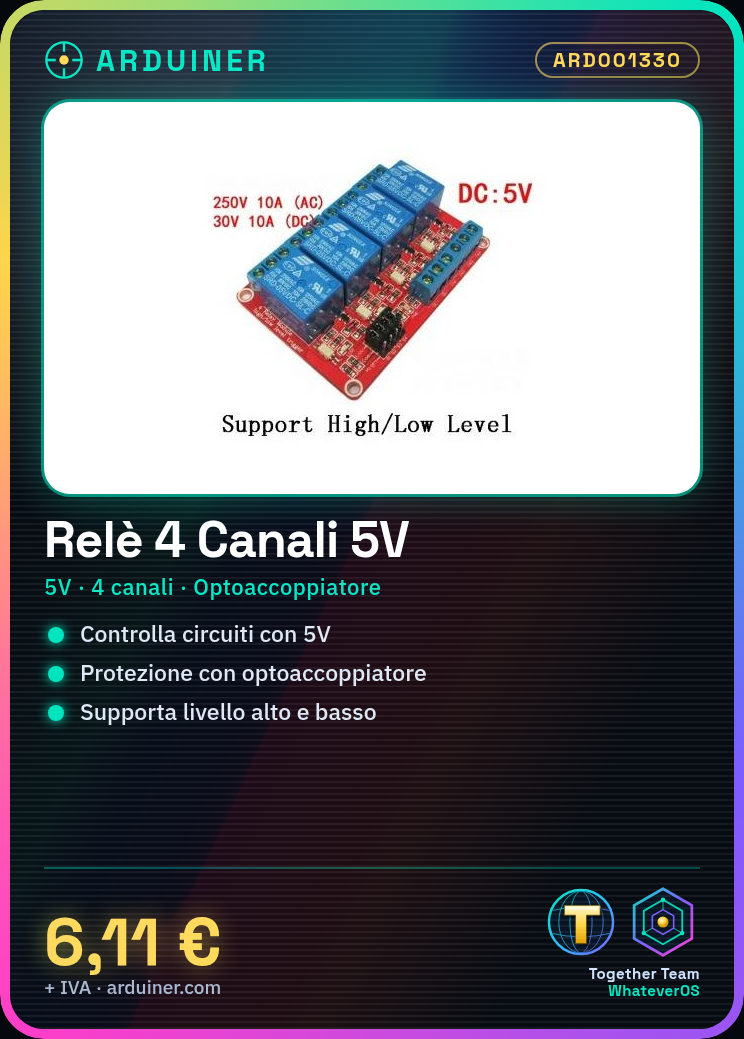
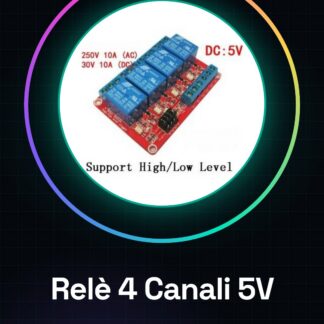
The 4 channel 5V relay with opto-isolator is an electronic device designed to control electrical circuits and devices from Arduino or other microcontrollers. Each relay channel includes an opto-isolator that protects the control circuit from induced current.
Features
- 4 separate channels
- Operating voltage: 5V
- Each channel supports high/low level
- Opto-isolator on each channel for protection
What it is for
4 channel relays are ideal for home automation projects such as automatic lighting systems. You can connect a light bulb to each relay and use a light sensor to control them. Additionally, it is useful for beginners who want to automate small projects with Arduino.
Tutorial: How to use 4 Channel 5V Relay with Opto-isolator
This 4-channel relay is ideal for controlling 5V electrical devices using an Arduino. It’s useful for beginners and those who want to automate small projects.
What you need
- Arduino
- Connection Wires
- 5V Power Supply
- Devices to Control (e.g., light bulbs)
Steps
- 1. Mount the relay on a breadboard or protoboard.
- 2. Connect the power pins (VCC) of the relay to 5V.
- 3. Connect the GND pins of the relay to the GND of your circuit.
- 4. Connect the control pins (INPUT) of the relay to the digital pins of your Arduino.
- 5. Check the datasheet for specific pins for each channel.
- 6. Write a simple sketch to control the relays.
- 7. Test each channel separately before connecting them all.
- 8. Power up the circuit and check the status of the relays.
Example code
int relayPin1 = 2; int relayPin2 = 3; int relayPin3 = 4; int relayPin4 = 5; void setup() { pinMode(relayPin1, OUTPUT); pinMode(relayPin2, OUTPUT); pinMode(relayPin3, OUTPUT); pinMode(relayPin4, OUTPUT); } void loop() { digitalWrite(relayPin1, HIGH); delay(1000); digitalWrite(relayPin1, LOW); delay(1000); }Mini project
Create an automatic lighting system. Connect a light bulb to each relay and use a light sensor to control them.
Common mistakes
- Do not verify specific pins on the datasheet.
- Power relays with voltages different from 5V.
- Connect relays directly to 12V components.
- Omit ESD (static air) protection
Recommended accessories
- Light sensor
- Breadboard
- Connection wires
- 5V lamps
Frequently asked questions
How can I protect relays from ESD?
Use an ESD protector or connect relays to a protection circuit.
Can I use these relays with voltages different from 5V?
Check the datasheet, they may have voltage limits.
How many channels can I control simultaneously?
Check the datasheet, there may be a maximum limit.
Reviews
There are no reviews yet.