 EN
 IT Italiano
 ES Español
 FR Français
 DE Deutsch
Description
Technical Specifications
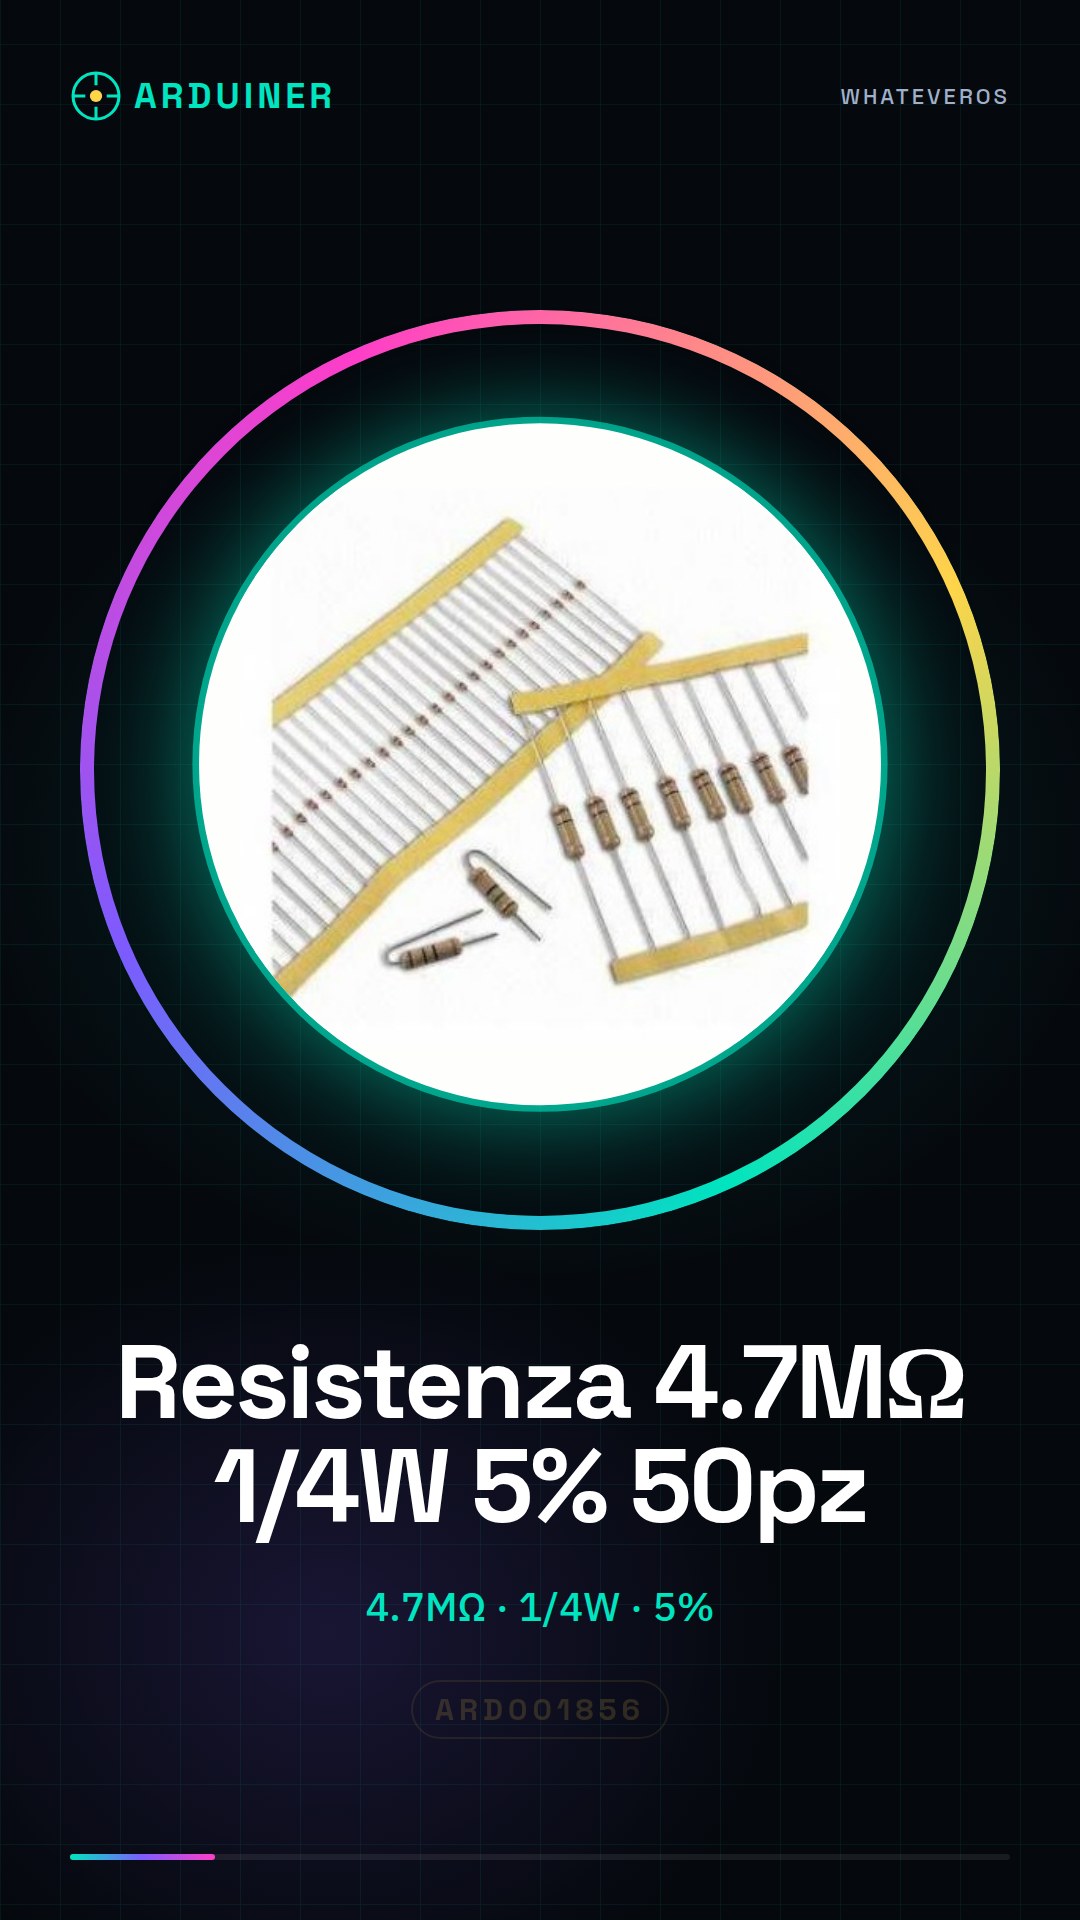
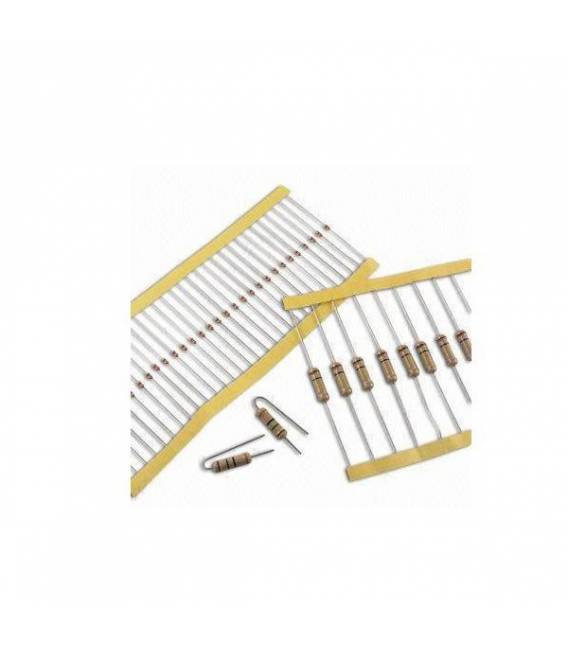
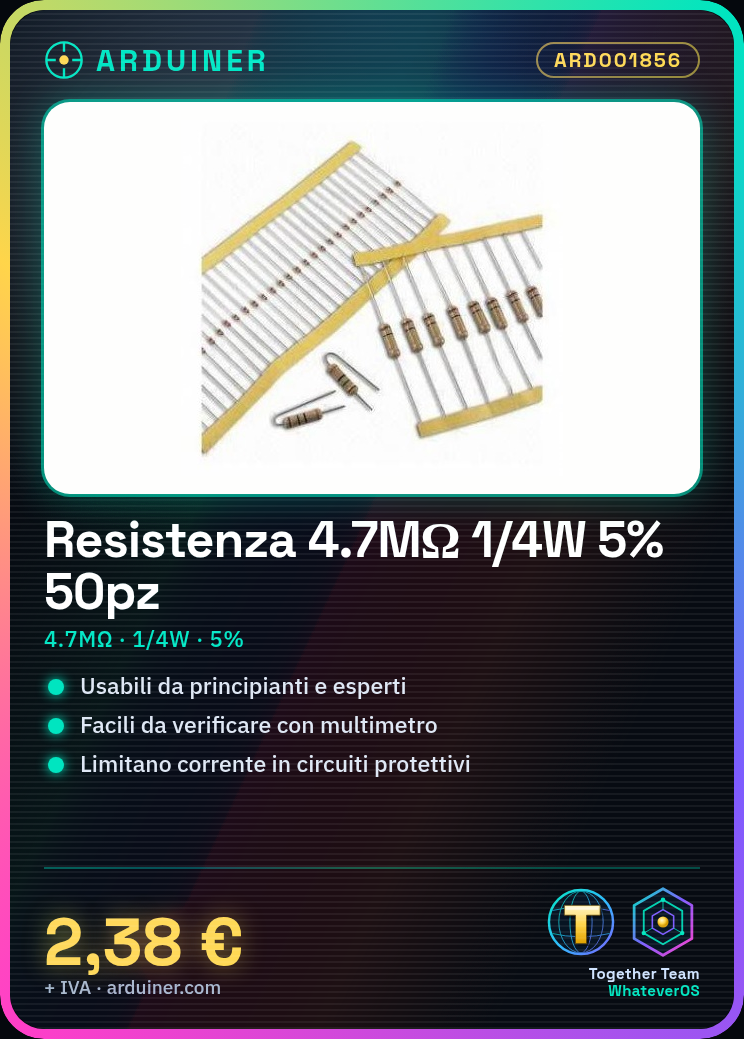
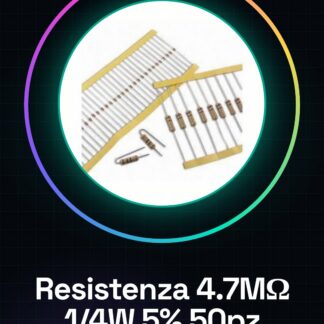
The 4.7M ohm resistor is a passive component used to limit the flow of electrical current in various circuits. This type of resistor is particularly useful for electronic prototyping and Arduino projects where a high resistance value is required. The resistor has a tolerance of 5% and a maximum power rating of 1/4 watt, making it suitable for applications that require precise current control.
The resistor is used for various purposes, including protecting electronic circuits, regulating current flow, and creating protection circuits. For proper use, it is important to verify the resistance value with a multimeter before connecting it to the circuit.
The 4.7M ohm resistor is a fundamental component for projects requiring a high resistive value, such as power supply protection or current control circuit implementation.
Key Specifications
| Parameter | Value |
| Model | 4.7M ohm |
| Resistive Value | 4700000 ohm |
| Tolerance | 5% |
| Maximum Power | 1/4 watt |
| Quantity | 50 pieces |
| Packaging | Pack of 50 pieces |
Installation and Usage
- Check the resistance value with a multimeter.
- Connect one end of the resistor to a digital pin of the Arduino.
- Connect the other end of the resistor to a GND pin.
- Use an LED connected to the other end of the resistor and to a GND pin to test the resistor.
- Verify the current flow through the resistor using Serial.println() in Arduino IDE.
Compatibility and Requirements
- The resistor is compatible with Arduino Uno R3 and other Arduino-based systems.
- A multimeter is required to verify the value of the resistor.
- A relay is needed for power supply protection projects.
Limitations and Important Notes
- Not suitable for applications requiring a resistance value lower than 4.7M ohm.
- Be aware of the resistor’s power specifications to avoid overheating.
- Do not use the resistor in situations where it is not necessary or not suitable.
- Ensure that the resistor value is adequate for the circuit.
Troubleshooting
The resistor does not correctly limit the current flow.
Probable cause: The value of the resistor is not adequate for the circuit.
Solution: Check the value of the resistor and ensure it is correct for the circuit.
The resistor overheats.
Probable cause: The current flow exceeds the maximum power of the resistor.
Solution: Check the current flow and reduce the resistive value if necessary.
The resistor does not work correctly.
Probable cause: The value of the resistor has not been verified correctly.
Solution: Check the value of the resistor with a multimeter.
The resistor burns out.
Probable cause: The circuit requires a resistive value lower than 4.7M ohms.
Solution: Replace the resistor with an appropriate lower value for the circuit.
Use cases
Power supply protection
Objective: To create a protection circuit for power supplies.
Required: Arduino Uno R3, 5V relay, 4.7M ohm resistor.
Steps: 1) Connect the resistor between the Arduino digital pin and the positive battery terminal. 2) Use a relay to turn off the battery if the voltage exceeds the set limits.
Expected result: The circuit protects the power supply from current overloads.
Current Flow Regulation
Objective: Regulate the current flow in a circuit.
Required: Arduino Uno R3, 4.7M ohm resistor.
Steps: 1) Check the value of the resistor. 2) Connect the resistor between the Arduino digital pin and another resistor. 3) Regulate the current flow using Arduino code.
Expected result: The current flow is correctly regulated.
LED Protection Circuit
Objective: Protect an LED from current overloads.
Required: Arduino Uno R3, 4.7M ohm resistor.
Steps: 1) Connect the resistor between the digital pin of the Arduino and the LED. 2) Check the current flow using Serial.println() in Arduino IDE.
Expected result: The LED is protected from overcurrent.
Protection circuit for sensors
Objective: Protect sensors from overcurrent.
What you need: Arduino Uno R3, 4.7M ohm resistor.
Steps: 1) Connect the resistor between the digital pin of the Arduino and the sensor. 2) Check the current flow using Serial.println() in Arduino IDE.
Expected result: The sensors are protected from overcurrent.
Protection circuit for lab power supplies
Objective: Create a protection circuit for lab power supplies.
What you need: Arduino Uno R3, 5V relay, 4.7M ohm resistor.
Steps: 1) Connect the resistor between the Arduino digital pin and the positive terminal of the power supply. 2) Use a relay to turn off the power supply if the voltage exceeds the set limits.
Expected result: The circuit protects the power supply from current overloads.
Current flow regulation in a protective circuit
Objective: Regulate the current flow in a protective circuit.
Required: Arduino Uno R3, 4.7M ohm resistor.
Steps: 1) Check the value of the resistor. 2) Connect the resistor between the Arduino digital pin and another resistor. 3) Regulate the current flow using the Arduino code.
Expected result: The current flow is correctly regulated.
Power supply protection circuit in a prototyping project
Objective: Create a power supply protection circuit in a prototyping project.
Required: Arduino Uno R3, 5V relay, 4.7M ohm resistor.
Steps: 1) Connect the resistor between the Arduino digital pin and the positive of the power supply. 2) Use a relay to turn off the power supply if the voltage exceeds the set limits.
Expected result: The circuit protects the power supply from current overloads.
Advanced prototyping project power supply protection circuit
Objective: To create a power supply protection circuit in an advanced prototyping project.
Required: Arduino Uno R3, 5V relay, 4.7M ohm resistor.
Steps: 1) Connect the resistor between the Arduino digital pin and the positive of the power supply. 2) Use a relay to turn off the power supply if the voltage exceeds the set limits.
Expected result: The circuit protects the power supply from current overloads.
In the package
- 50 pieces
Complete the project
- 50 Pieces Resistance 1000 ohm 1k ohm 1/4w 1/4 w 5%: Suitable for projects with lower resistive values.
- 50 Pieces Resistance, 10000 ohm, 10k, ohm 1/4w 1/4 w 5%, Arduino compatible resistors: Suitable for projects with medium resistive values.
- 50 Pieces Resistance 100 ohm 1/4w 5%: Suitable for projects with low resistive values.
Technical FAQs
Can this resistance be used in any Arduino project?
Yes, but always check the specifications of your circuit to ensure the resistance value is appropriate.
What is the difference between this and a 1M ohm resistance?
The 4.7M ohm resistance has a value five times greater than the 1M ohm, so it limits the current flow much more.
How do I check the value of the resistance?
Use a multimeter to check the resistance value before connecting it to the circuit.
What is the maximum power of the resistance?
The maximum power rating of the resistor is 1/4 watt.
Tutorial: How to use 4.7M ohm Resistor
The 4.7M ohm resistor is a fundamental component to limit the electrical current in various circuits, useful for both beginners and experts.
What you need
- Arduino Projects
- Protective Circuits
- Current Regulation
Steps
- Check the resistor on the multimeter to confirm the value of 4.7M ohm
- Connect one end of the resistor to a digital pin of the Arduino
- Use an LED connected to the other end of the resistor and to a GND pin to test the resistor
- Check the current flowing through the resistor using Serial.println() in Arduino IDE
Example code
void setup() {
  pinMode(13, OUTPUT);
}

void loop() {
  digitalWrite(13, HIGH); // Accende la LED collegata alla resistenza
  delay(1000);
  digitalWrite(13, LOW); // Spegne la LED
  delay(1000);
}
Mini project
Create a simple battery protection circuit with Arduino using this resistor. Connect the resistor between the Arduino’s digital pin and the positive terminal of the battery, use a relay to turn off the battery if the voltage exceeds the set limits.
Common mistakes
- Connect the resistor to the circuit without first checking the value
- Use it in situations where it is not necessary or not suitable
- Ignore the power specifications of the resistor
Recommended accessories
- Arduino Uno R3
- Various colored LEDs
- 5V Relay
Frequently asked questions
Can this resistor be used in any Arduino project?
Yes, but always check the specifications of your circuit to ensure that the value of the resistor is appropriate.
What is the difference between this and a 1M ohm resistor?
The 4.7M ohm resistor has a value five times greater than that of the 1M ohm resistor, so it limits the electrical current much more.
Reviews
There are no reviews yet.