 EN
 IT Italiano
 ES Español
 FR Français
 DE Deutsch
Description
Technical Specification
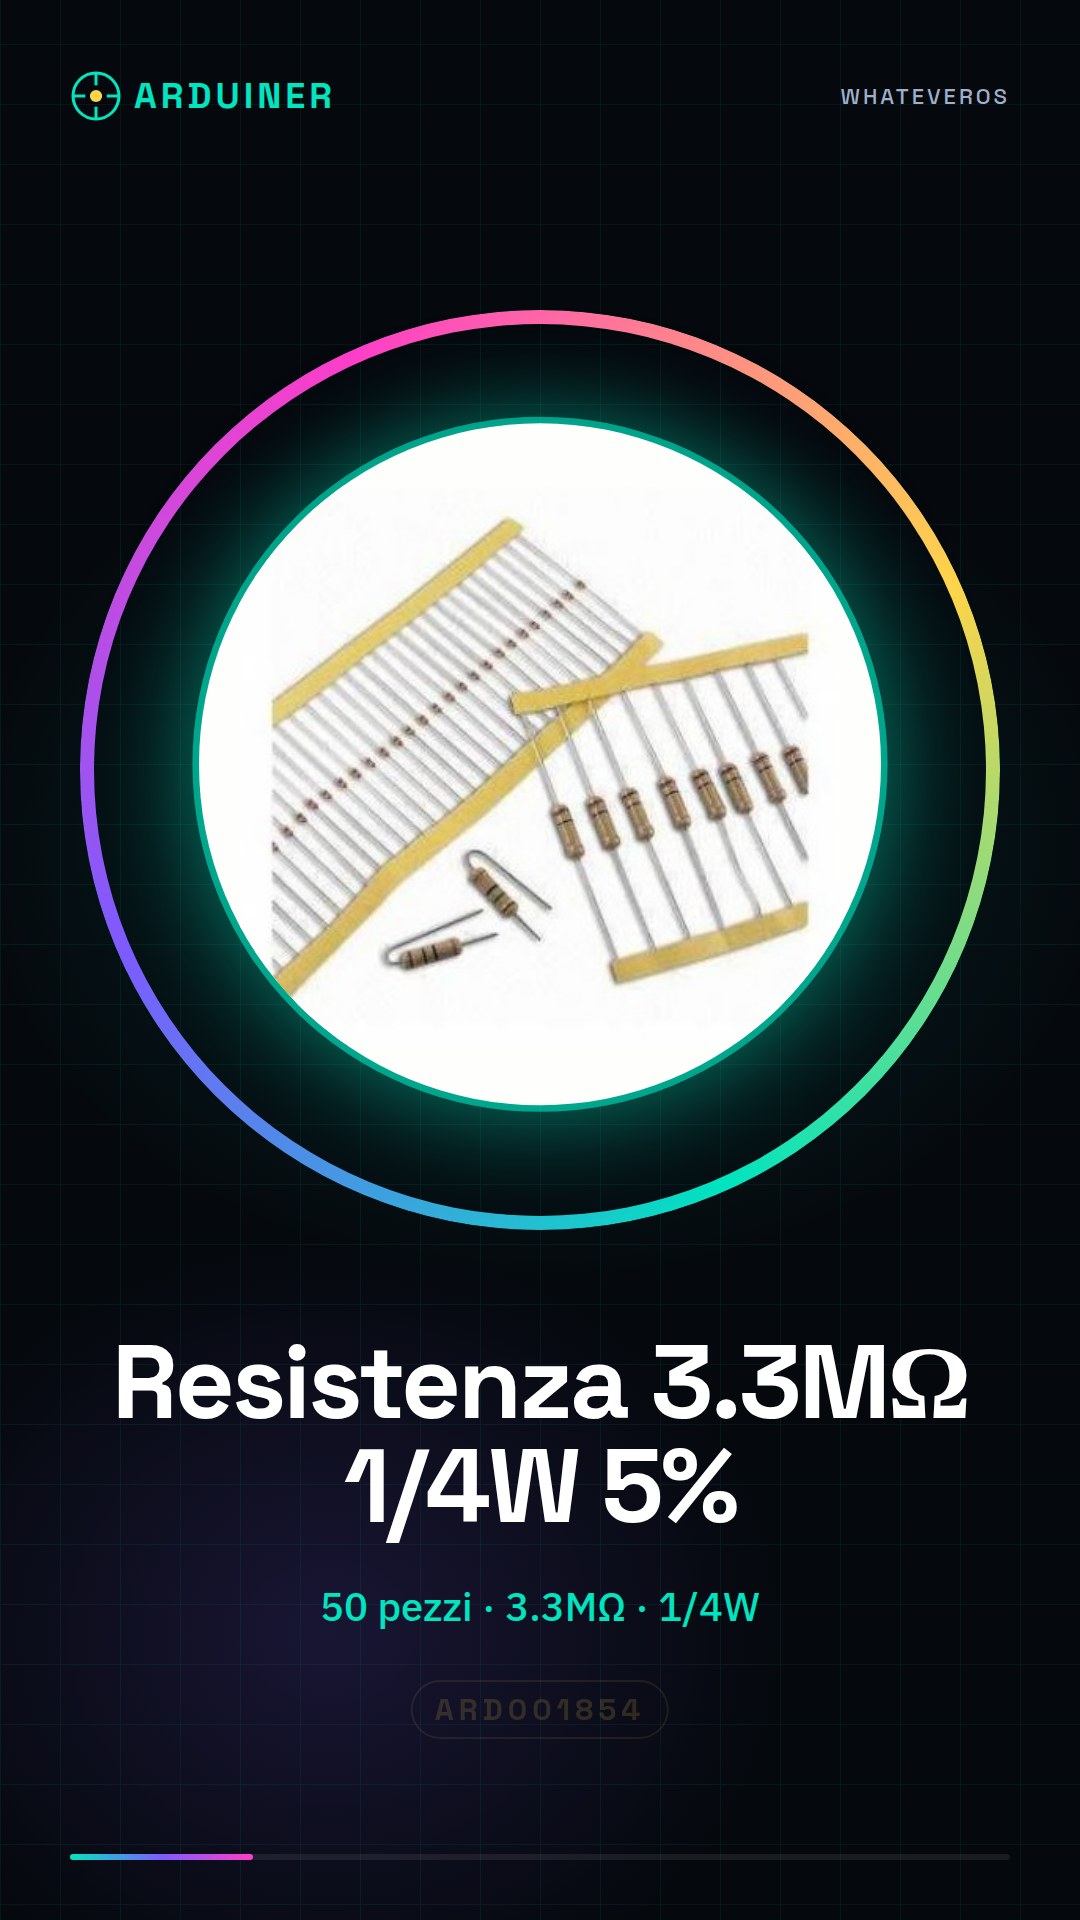
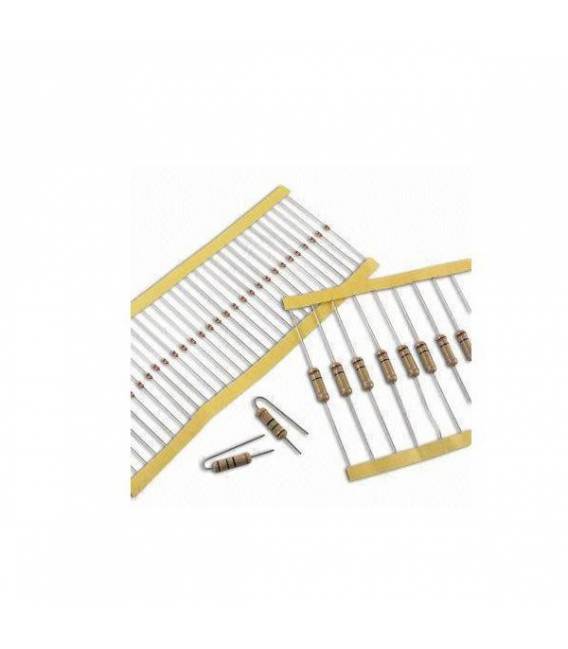
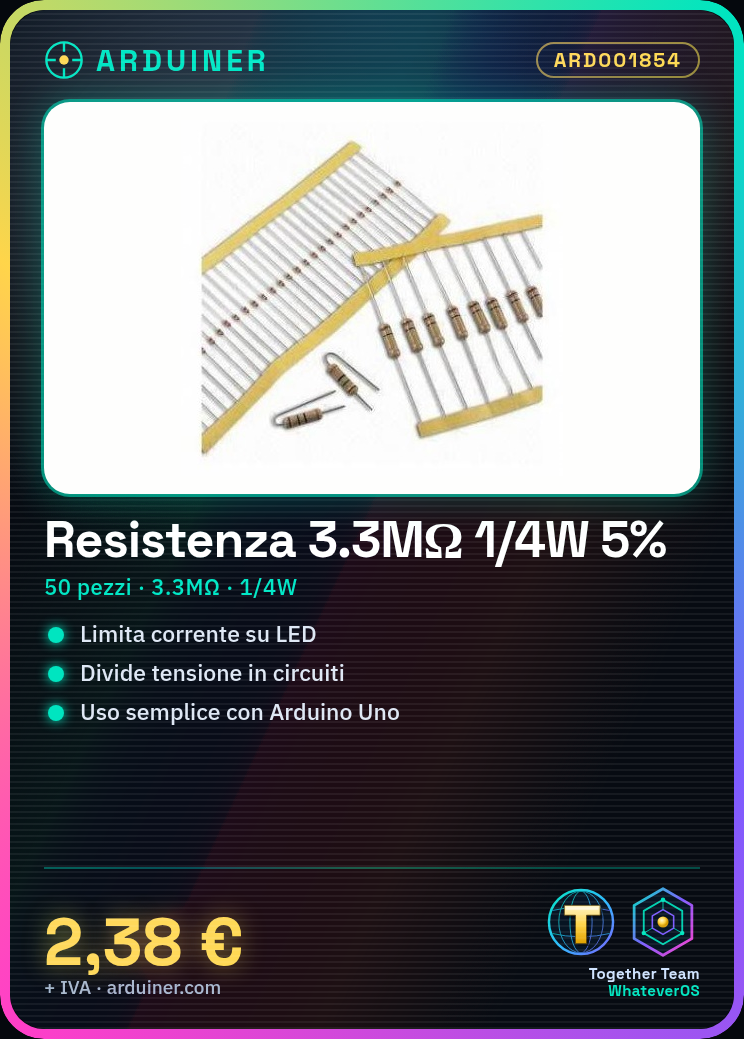
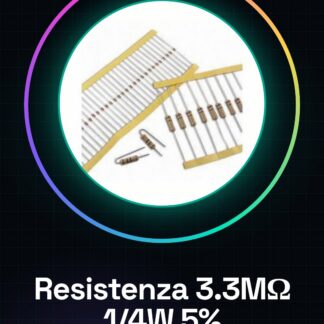
The 3.3M ohm resistor is a fundamental component for electronic projects that require current limiting or voltage division. This type of resistor is used to protect sensitive components such as LEDs and to regulate voltage levels in different parts of a circuit. The 3.3M ohm resistor, with a 5% tolerance, ensures a stable and repeatable resistance.
The 3.3M ohm resistor is available in quantities of 50 pieces and has a maximum power dissipation of 1/4 watt. Its high resistance makes it suitable for applications where current needs to be limited to very low levels.
To use the 3.3M ohm resistor correctly, it is important to verify the component specifications and power dissipation. The resistor must be connected correctly relative to the current flow in the circuit and its power dissipation must be kept under control to avoid damage.
Key Specifications
| Parameter | Value |
| Model | 3.3M ohm Resistor |
| Quantity | 50 pieces |
| Resistor | 3.3M ohm (3300000 ohm) |
| Tolerance | 5% |
| Power Dissipation | 1/4w |
| Dimensions | N/D (see manufacturer’s datasheet) |
| Container | N/D (see manufacturer’s datasheet) |
Installation and Usage
- Check the resistor specifications on the datasheet.
- Connect one end of the resistor to a digital pin of the Arduino (e.g., pin 13).
- Connect the other end of the resistor to the circuit of interest, such as the anode of an LED.
- Connect the cathode of the LED to the GND of the Arduino.
- Verify the proper functioning of the circuit and the power dissipation of the resistor.
Compatibility and Requirements
- The 3.3M ohm resistor is compatible with Arduino Uno and other systems based on microcontrollers.
- To use the resistor with an LED, a basic circuit is required to limit the current flowing through the LED.
- The resistor can be used in prototyping and electronic testing projects.
Limits and Important Notes
- The 3.3M ohm resistor is not designed to dissipate high power and may be damaged if the dissipation exceeds the specified limits.
- It is important to check the component and circuit specifications before using the resistor.
- The resistor is not designed for high power or voltage applications.
- The resistor is not designed for high frequency applications.
Troubleshooting
The LED does not light up.
Probable cause: The resistor may be incorrectly connected or its resistance may be too high.
Solution: Check the resistor connection and its resistance relative to the circuit.
The resistor overheats.
Probable cause: The power dissipation of the resistor exceeds the specified limits.
Solution: Check the power dissipation and resize the resistor or circuit if necessary.
The circuit does not work correctly.
Probable cause: The resistor may not be suitable for the circuit specifications.
Solution: Check the circuit specifications and choose an appropriate resistor.
The LED is dim.
Probable cause: The resistor may have too high resistance.
Solution: Choose a resistor with lower resistance.
Use cases
Distance Sensor
Objective: Limit the current flowing through a distance sensor.
What’s needed: 3.3M ohm resistor
Steps: 1) Check the distance sensor specifications. 2) Connect the resistor between the sensor and the microcontroller. 3) Verify the proper functioning of the sensor.
Expected result: The distance sensor works correctly and the current is limited.
Protection Circuit
Objective: Protect an electronic circuit from excessive current.
What’s needed: 3.3M ohm resistor
Steps: 1) Verify the circuit specifications. 2) Connect the resistor between the circuit and the power source. 3) Check the proper functioning of the circuit.
Expected result: The electronic circuit is protected from excessive currents.
Voltage Divider Circuit
Objective: Divide the voltage in an electronic circuit.
What you need: 3.3M ohm resistor
Steps: 1) Verify the circuit specifications. 2) Connect the resistor in series with another resistor. 3) Calculate the voltage division.
Expected result: The voltage is correctly divided in the circuit.
Test Circuit
Objective: Test the 3.3M ohm resistor.
What you need: 3.3M ohm resistor
Steps: 1) Verify the resistor specifications. 2) Connect the resistor to a multimeter. 3) Measure the resistance.
Expected result: The resistor meets the specifications.
Prototype Circuit
Objective: Design an electronic circuit prototype.
What’s needed: 3.3M ohm resistor
Steps: 1) Verify the prototype specifications. 2) Connect the resistor to the prototype. 3) Test the prototype.
Expected result: The prototype functions correctly.
Current control circuit
Objective: Limit the current flowing through a component.
What’s needed: 3.3M ohm resistor
Steps: 1) Verify the component specifications. 2) Connect the resistor between the component and the power source. 3) Verify the correct functioning of the component.
Expected result: The current is correctly limited.
LED protection circuit
Objective: Protect an LED from excessive current.
What’s needed: 3.3M ohm resistor
Steps: 1) Verify the LED specifications. 2) Connect the resistor between the LED and the power source. 3) Verify the correct functioning of the LED.
Expected result: The LED is protected from excessive current.
Voltage divider circuit for sensor
Objective: Divide the voltage for a sensor.
What you need: 3.3M ohm resistor
Steps: 1) Check the sensor specifications. 2) Connect the resistor in series with another resistor. 3) Calculate the voltage division.
Expected result: The voltage is correctly divided for the sensor.
In the package
- 50 pieces 3.3M ohm resistor
Complete the project
- 50 Pieces 1000 ohm 1k ohm 1/4w 1/4 w 5%: To create voltage divider circuits.
Technical FAQs
How much heat does this resistor produce?
Check the datasheet for power dissipation. Generally, a 1/4W resistor does not produce much heat if used correctly.
Can I use this resistor with a red LED?
Yes, but check the LED specifications to choose the appropriate resistor that limits the current to the maximum allowed value.
What are the power dissipation limits?
The maximum power dissipation is 1/4W. The resistor must be used within these limits to prevent overheating.
How do I check the resistor?
Use a multimeter to measure the resistance and compare the value with the component specifications.
Tutorial: How to use 3.3M ohm Resistor
The 3.3M ohm resistor is a fundamental component for electronic projects that require current limiting or voltage division. Ideal for beginners and intermediate makers.
What you need
- Arduino Uno
- LED
Steps
- Check the resistor specifications on the datasheet.
- Connect one end of the resistor to a digital pin of the Arduino (e.g., pin 13).
- Connect the other end to the anode of the LED.
- Connect the cathode of the LED to the GND of the Arduino.
Example code
void setup() {
  pinMode(13, OUTPUT);
}

void loop() {
  digitalWrite(13, HIGH); // Accende il LED collegato alla resistenza
  delay(1000);
  digitalWrite(13, LOW); // Spengere il LED
  delay(1000);
}
Mini project
Create a simple base circuit to limit the current flowing through an LED.
Common mistakes
- Using a resistance that is too low, causing damage to the LED.
- Connecting the LED incorrectly (anode-cathode).
- Not verifying the resistance specifications on the datasheet.
- Ignoring the power dissipation of the resistor.
Recommended accessories
- Arduino Uno R3
- Set of LEDs in various colors
- 3D printing prototype kit for Arduino
Frequently asked questions
How much heat does this resistor produce?
Check the datasheet for power dissipation. Generally, a 1/4W resistor does not produce much heat if used correctly.
Can I use this resistor with a red LED?
Yes, but check the LED specifications to choose the appropriate resistor that limits the current to the maximum allowed value.
Reviews
There are no reviews yet.