 EN
 IT Italiano
 ES Español
 FR Français
 DE Deutsch
Description
Technical Description
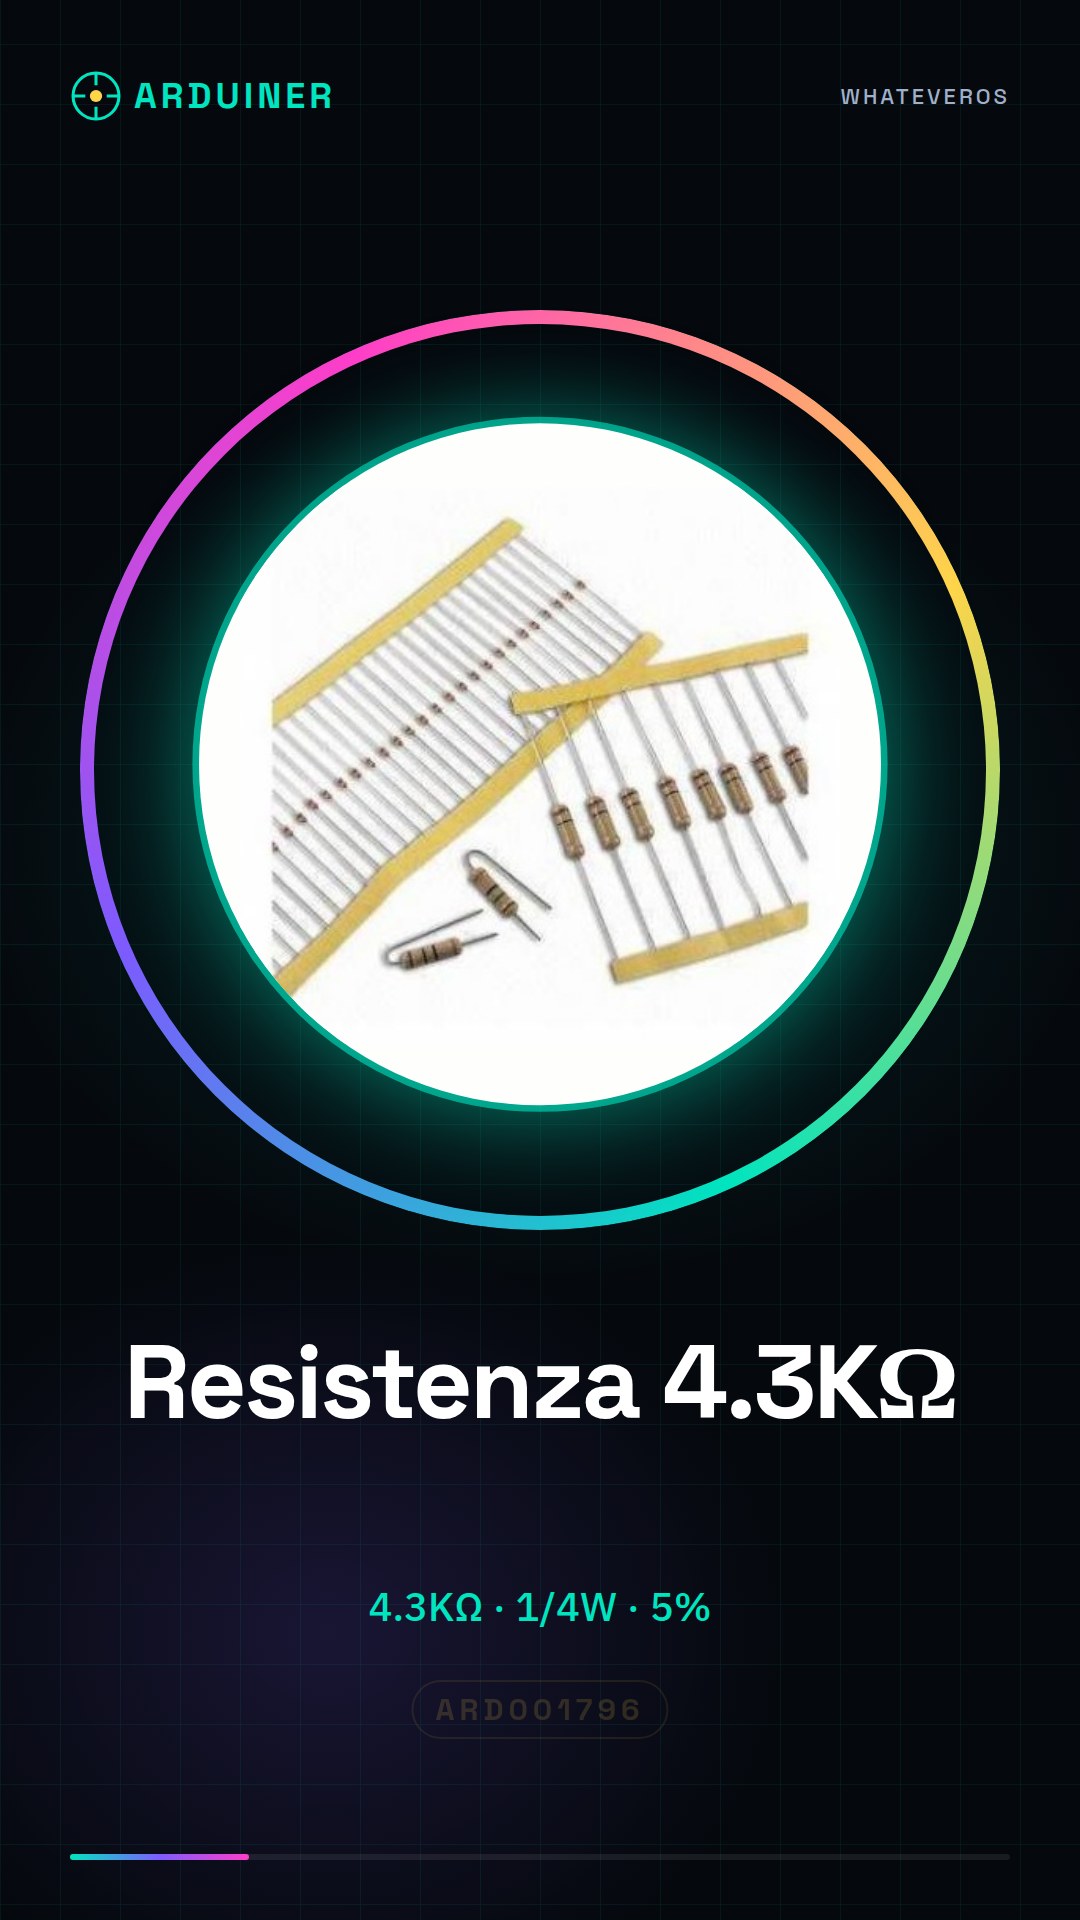
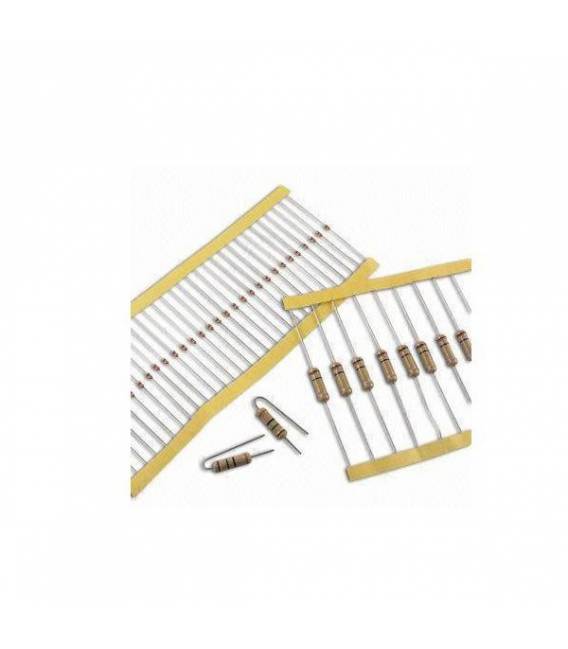
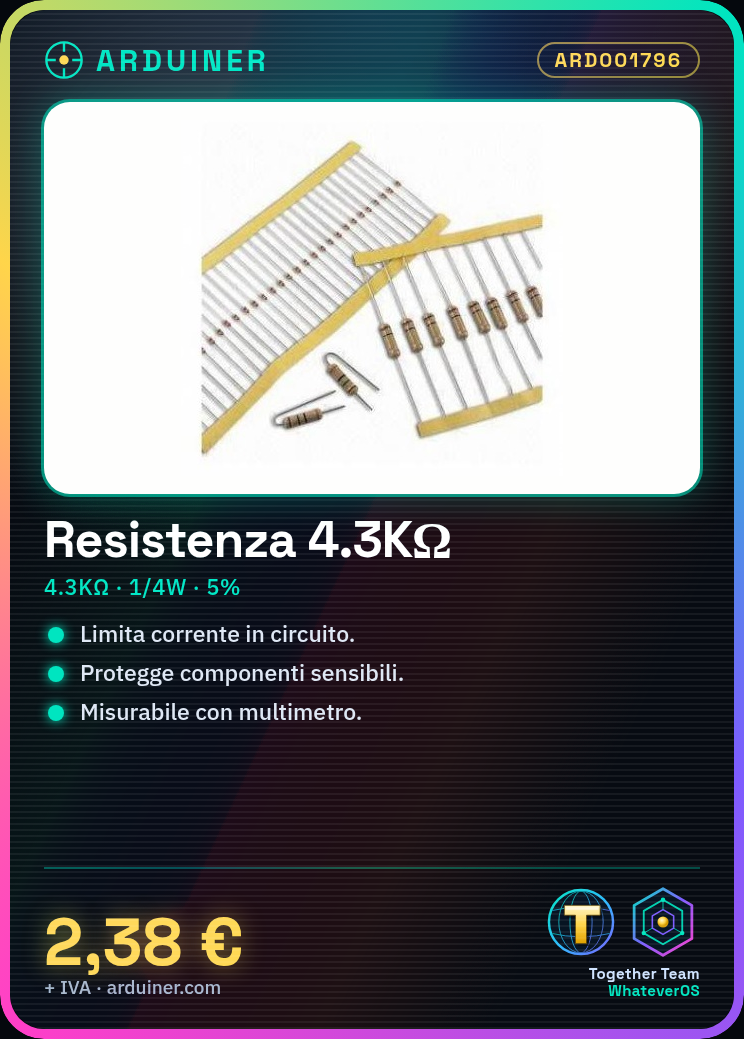
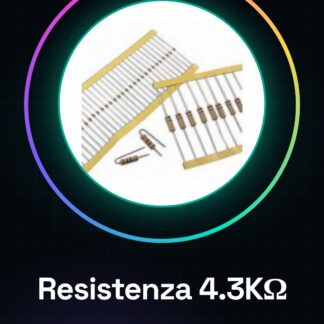
The 4.3kΩ resistor is a fundamental component for electronic circuits, used to limit the flow of current and regulate voltages. It is used to protect sensitive components such as LEDs and sensors, ensuring they do not exceed current limits.
The resistor is used in series with a circuit to control performance and optimize output. It is important to verify that the resistor does not exceed power limits during use.
To ensure proper functioning, it is necessary to check the resistance value with a multimeter in resistance mode (Ω) and respect the specified power limits.
Key Specifications
| Parameter | Value |
| Model | 4.3K ohm Resistor |
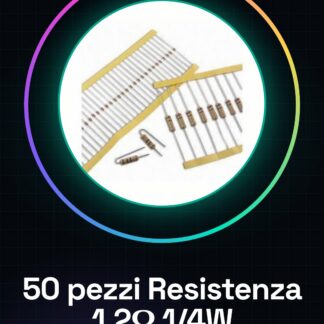
| Quantity | 50 pieces |
| Resistance Value | 4.3kΩ |
| Tolerance | 5% |
| Power | 1/4W |
| Dimensions | N/D (see manufacturer’s technical sheet) |
| Container | N/D (see manufacturer’s technical sheet) |
Installation and Usage
- Check the resistance value with a multimeter in resistance mode (Ω).
- Connect the resistor in series between a power supply and a sensitive component such as an LED or a sensor.
- Set the resistor in series with an electronic circuit to control its performance.
- Adjust the resistor value to optimize the circuit output.
- Ensure that the resistor does not exceed the power rating (1/4W) during use.
Compatibility and Requirements
- The 4.3kΩ resistor is compatible with Arduino-based projects and other electronic circuits.
- A multimeter is required to check the resistor value.
- It is necessary to respect the specified power limits to ensure proper operation.
Limitations and Important Notes
- The resistor must not exceed the specified power limits.
- It is important to check the resistor value with a multimeter.
- The resistor cannot be used under overvoltage or overcurrent conditions.
- The resistor cannot be used in high-power circuits.
Troubleshooting
The resistor does not work properly.
Probable cause: Incorrect resistance value or exceeding power limits.
Solution: Check the resistance value with a multimeter and adhere to the specified power limits.
The circuit does not work as expected.
Probable cause: Incorrect resistance value or incorrect connection.
Solution: Verify the resistance value and the correct circuit connection.
The resistor overheats.
Probable cause: Exceeding power limits.
Solution: Verify that the resistor does not exceed the specified power limits.
The LED does not light up.
Probable cause: Incorrect resistance value or incorrect connection.
Solution: Check the resistor value and correct circuit connection.
Use cases
LED Lighting Project
Objective: Adjust the brightness of an LED.
What’s needed: 4.3kΩ resistor, LED, Arduino Uno, multimeter.
Steps: 1) Check the resistor value with a multimeter. 2) Connect the resistor in series with the LED and power source. 3) Set the resistor value to adjust the LED brightness. 4) Ensure the resistor does not exceed power limits.
Expected result: The LED lights up at the desired brightness.
Distance Sensor Project
Objective: Limit the current flow of the sensor.
What’s needed: 4.3kΩ resistor, distance sensor, Arduino Uno, multimeter.
Steps: 1) Check the value of the resistor with a multimeter. 2) Connect the resistor in series with the sensor and the power source. 3) Set the value of the resistor to limit the current flow of the sensor. 4) Verify that the resistor does not exceed power limits.
Expected result: The distance sensor works correctly.
LED Interface Project
Objective: Create an LED interface that turns on and off with a button.
What you need: 4.3kΩ resistor, LED, button, Arduino Uno, multimeter.
Steps: 1) Check the value of the resistor with a multimeter. 2) Connect the resistor in series with the LED and the power source. 3) Set the value of the resistor to limit the current flow of the LED. 4) Connect the button to control the on and off of the LED. 5) Verify that the resistor does not exceed power limits.
Expected Result: The LED interface works correctly.
Temperature Control Project
Objective: Limit the current flow of the temperature sensor.
What’s needed: 4.3kΩ resistor, temperature sensor, Arduino Uno, multimeter.
Steps: 1) Check the value of the resistor with a multimeter. 2) Connect the resistor in series with the temperature sensor and power supply. 3) Set the resistor value to limit the current flow of the sensor. 4) Verify that the resistor does not exceed power limits.
Expected Result: The temperature sensor works correctly.
Humidity Control Project
Objective: Limit the current flow of the humidity sensor.
What’s needed: 4.3kΩ resistor, humidity sensor, Arduino Uno, multimeter.
Steps: 1) Check the value of the resistor with a multimeter. 2) Connect the resistor in series with the humidity sensor and power supply. 3) Set the value of the resistor to limit the sensor’s current flow. 4) Verify that the resistor does not exceed power limits.
Expected result: The humidity sensor works correctly.
Light control project
Objective: Limit the current flow of the light sensor.
What you need: 4.3kΩ resistor, light sensor, Arduino Uno, multimeter.
Steps: 1) Check the value of the resistor with a multimeter. 2) Connect the resistor in series with the light sensor and power supply. 3) Set the value of the resistor to limit the sensor’s current flow. 4) Verify that the resistor does not exceed power limits.
Expected result: The light sensor works correctly.
Pressure Control Project
Objective: Limit the current flow of the pressure sensor.
What’s needed: 4.3kΩ resistor, pressure sensor, Arduino Uno, multimeter.
Steps: 1) Check the resistance value with a multimeter. 2) Connect the resistor in series with the pressure sensor and power source. 3) Set the resistance value to limit the current flow of the sensor. 4) Verify that the resistance does not exceed power limits.
Expected result: The pressure sensor works correctly.
Motion Control Project
Objective: Limit the current flow of the motion sensor.
What’s needed: 4.3kΩ resistor, motion sensor, Arduino Uno, multimeter.
Steps: 1) Check the resistance value with a multimeter. 2) Connect the resistor in series with the motion sensor and the power supply. 3) Set the resistor value to limit the sensor’s current flow. 4) Verify that the resistor does not exceed power limits.
Expected result: The motion sensor works correctly.
In the package
- 50 pieces
Complete the project
- 50 Pieces Resistor 1000 ohm 1k ohm 1/4w 1/4 w 5%: Used to check the resistance value.
- 50 Pieces Resistor, 10000 ohm, 10k, ohm 1/4w 1/4 w 5%, Arduino compatible resistors: Used to limit the current flow in other circuits.
- 50 Pieces Resistor 100 ohm 1/4w 5%: Used to limit the current flow in other circuits.
- 50 Pieces Resistor 220 ohm 1/4w 1/4 w 5%: Used to limit the current flow in other circuits.
- 50 Pieces 4.7K ohm 4700 ohm 1/4w 1/4 w 5%: It is used to limit the flow of current in other circuits.
Technical FAQ
What is the maximum power it can handle?
Check the component datasheet.
How can I verify the resistance value?
Use a multimeter in resistance mode (Ω).
What is the tolerance of the resistance?
The resistance tolerance is 5%.
What is the size of the resistance?
N/D (see manufacturer’s technical sheet).
Tutorial: How to use 4.3K ohm Resistance
The 4.3kΩ resistance is a fundamental component for electronic projects, mainly used to limit the flow of current in circuits such as those based on Arduino.
What you need
- limit the current
- regulate voltages
- protect sensitive components
Steps
- Check the component datasheet to understand the exact value of the resistance (4.3kΩ).
- Identify the color bands on the resistor to confirm its value.
- Connect the resistor between a power source and a sensitive component such as an LED or a sensor, always checking the datasheet for the component’s current limits.
- Use a multimeter in resistance mode (Ω) to measure the value of the resistor.
- Set the resistor in series with an electronic circuit to control its performance.
- Change the value of the resistor to optimize the circuit’s output.
- Ensure that the resistor does not exceed the power rating (1/4W) during use.
- Always remember to use a multimeter to correctly verify the value of the resistor.
Mini project
Create a simple LED interface that turns on and off with a button, using a 4.3kΩ resistor to limit the LED’s current.
Common mistakes
- Use a resistor of incorrect value.
- Exceed the power limit of the resistor.
- Do not verify the resistance value with a multimeter.
Recommended accessories
- Multimeter
- LED
- Button / Push / Switch
- Arduino Uno
Frequently asked questions
What is the maximum power it can handle?
Check the component’s datasheet.
How can I verify the resistance value?
Use a multimeter in resistance mode (Ω).

Reviews
There are no reviews yet.