 EN
 IT Italiano
 ES Español
 FR Français
 DE Deutsch
Description
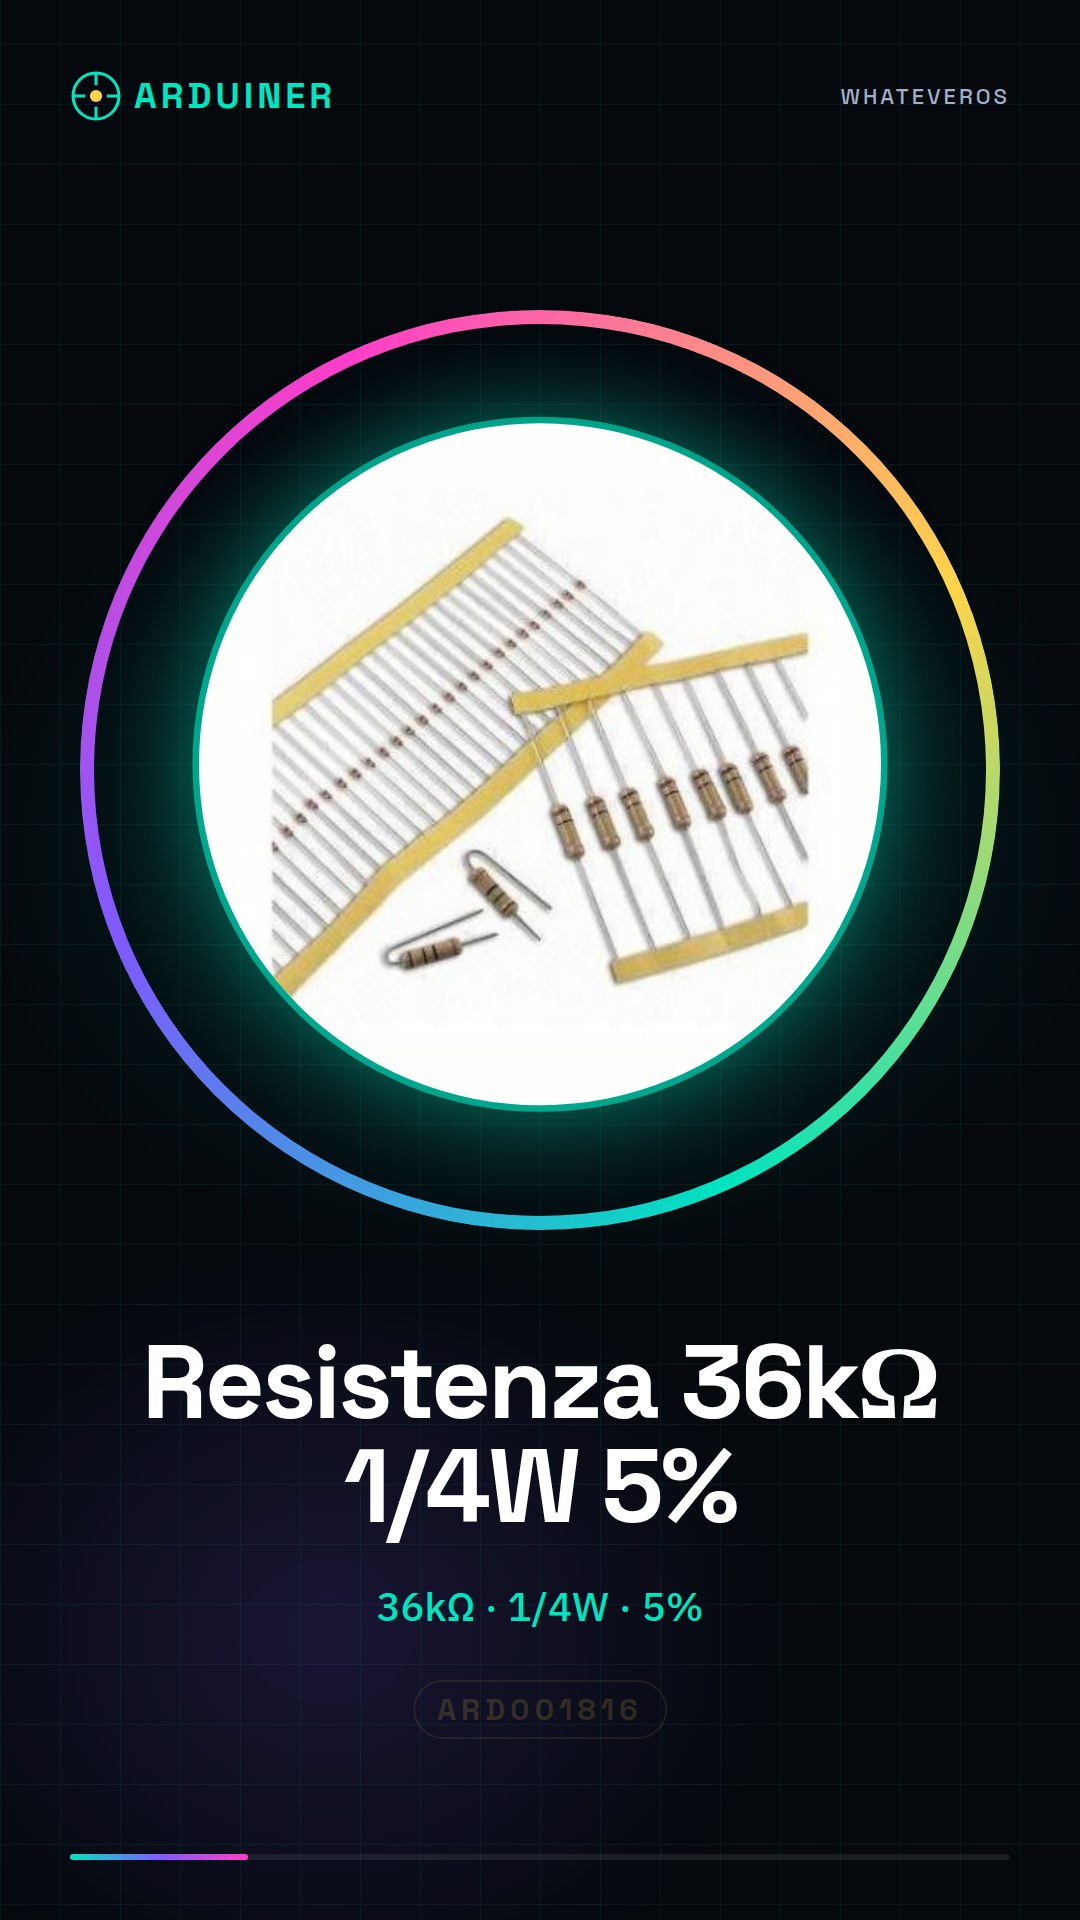
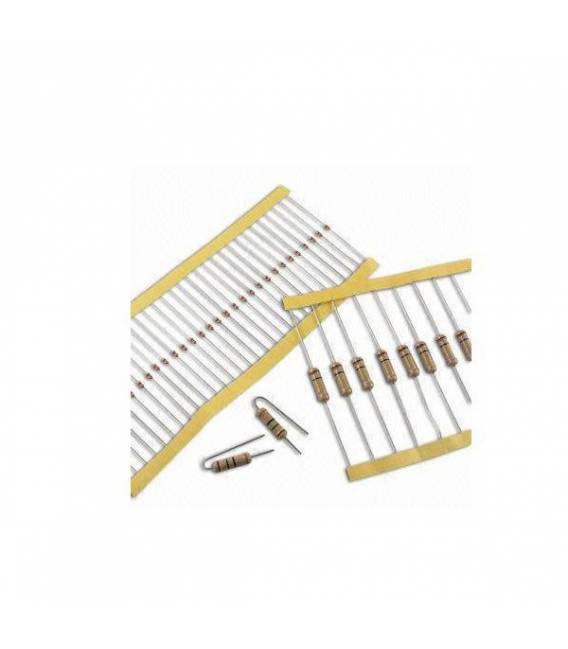
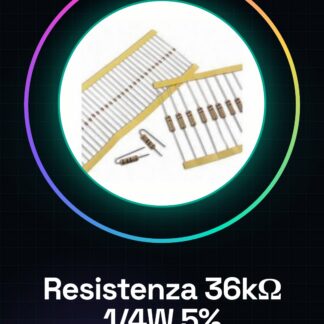
50PCS 36K ohm 36000 ohm 1/4w 1/4 w 5%
Tutorial: How to Use 36K ohm Resistor
Resistors are fundamental in electronics to limit the flow of current. This 36kΩ resistor is ideal for Arduino projects that require precise current control.
What you need
- Arduino Uno
- USB Cable
- LED Printer
Steps
- Connect the A0 pin of the Arduino to the side of the resistor.
- Connect the 36kΩ resistor between a power pin (5V or 3.3V) and GND through a jumper wire.
- Write an Arduino sketch to read the voltage on pin A0.
- Check the read values against the resistor’s datasheet.
Example code
int ledPin = 13;
float sensorValue;
void setup() {
pinMode(ledPin, OUTPUT);
}
void loop() {
sensorValue = analogRead(A0);
analogWrite(ledPin, sensorValue * (255/1024));
delay(1000);
}
Mini project
Create an LED dimmer with Arduino and the 36kΩ resistor. Adjust the LED brightness using a variable.
Common mistakes
- Incorrect connection between power, input pin, and GND.
- Use of an inadequate resistor for the applied voltage.
- Failure to consider the 5% tolerance in circuit design.
Recommended accessories
- Arduino Uno
- Set of LEDs in various colors
- Kit of resistors with various values
Frequently asked questions
Q: Why doesn’t the resistor work?
Check the connections correctly and consult the datasheet for technical specifications.
Q: What is the purpose of the 5% tolerance?
The tolerance indicates how much the nominal resistance value can vary during production.

Reviews
There are no reviews yet.