 EN
 IT Italiano
 ES Español
 FR Français
 DE Deutsch
Description
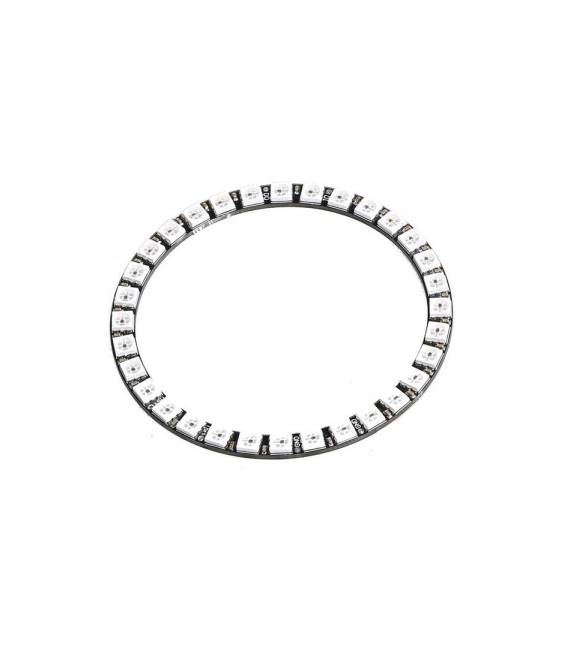
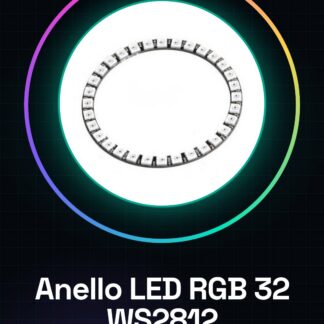
32-LED RGB Ring WS2812 5050 Tutorial: How to Use 32-LED RGB Ring WS2812 5050
The 32-LED RGB Ring WS2812 5050 is a versatile component for dynamic and visual lighting projects. Ideal for beginners and creators looking to add lighting effects to their devices. What you need
– Arduino Uno or compatible
– USB cable to connect Arduino to the PC
– Arduino IDE software installed
Steps
1. Connect the 32-LED RGB Ring to pin 6 of your Arduino (check the datasheet)
2. Install the Adafruit NeoPixel library in the Arduino software
3. Upload the example sketch provided with the library to your Arduino
4. Modify the code to customize the desired lighting
5. Verify that the LEDs light up and change color as expected
6. If necessary, add sensors or other components to control the lights dynamically
Example Code
Adafruit_NeoPixel strip = Adafruit_NeoPixel(32, 6); // Initialize the LED strip
void setup() {
strip.begin();
}
void loop() {
for(int i=0; i<strip.numPixels(); i++) {
strip.setPixelColor(i, strip.Color(255, 0, 0)); // Red
strip.show();
delay(100);
}
}
Mini-Project
Create a light-up clock with the 32-LED RGB Ring that changes color based on the time of day
Common Errors
– Incorrect connection between Arduino and LED ring
– Syntax error in Arduino code
– Missing necessary NeoPixel library
Recommended Accessories
– Arduino Uno R3
– Adafruit NeoPixel library
– Light or temperature sensors for dynamic light control
Frequently Asked Questions
– How can I change the LED colors?
– Modify the RGB values in the Arduino code
– What is the difference between WS2812 and other types of LEDs?
– WS2812 supports individual control for each LED in a strip
Reviews
There are no reviews yet.