 EN
 IT Italiano
 ES Español
 FR Français
 DE Deutsch
Description
What it is
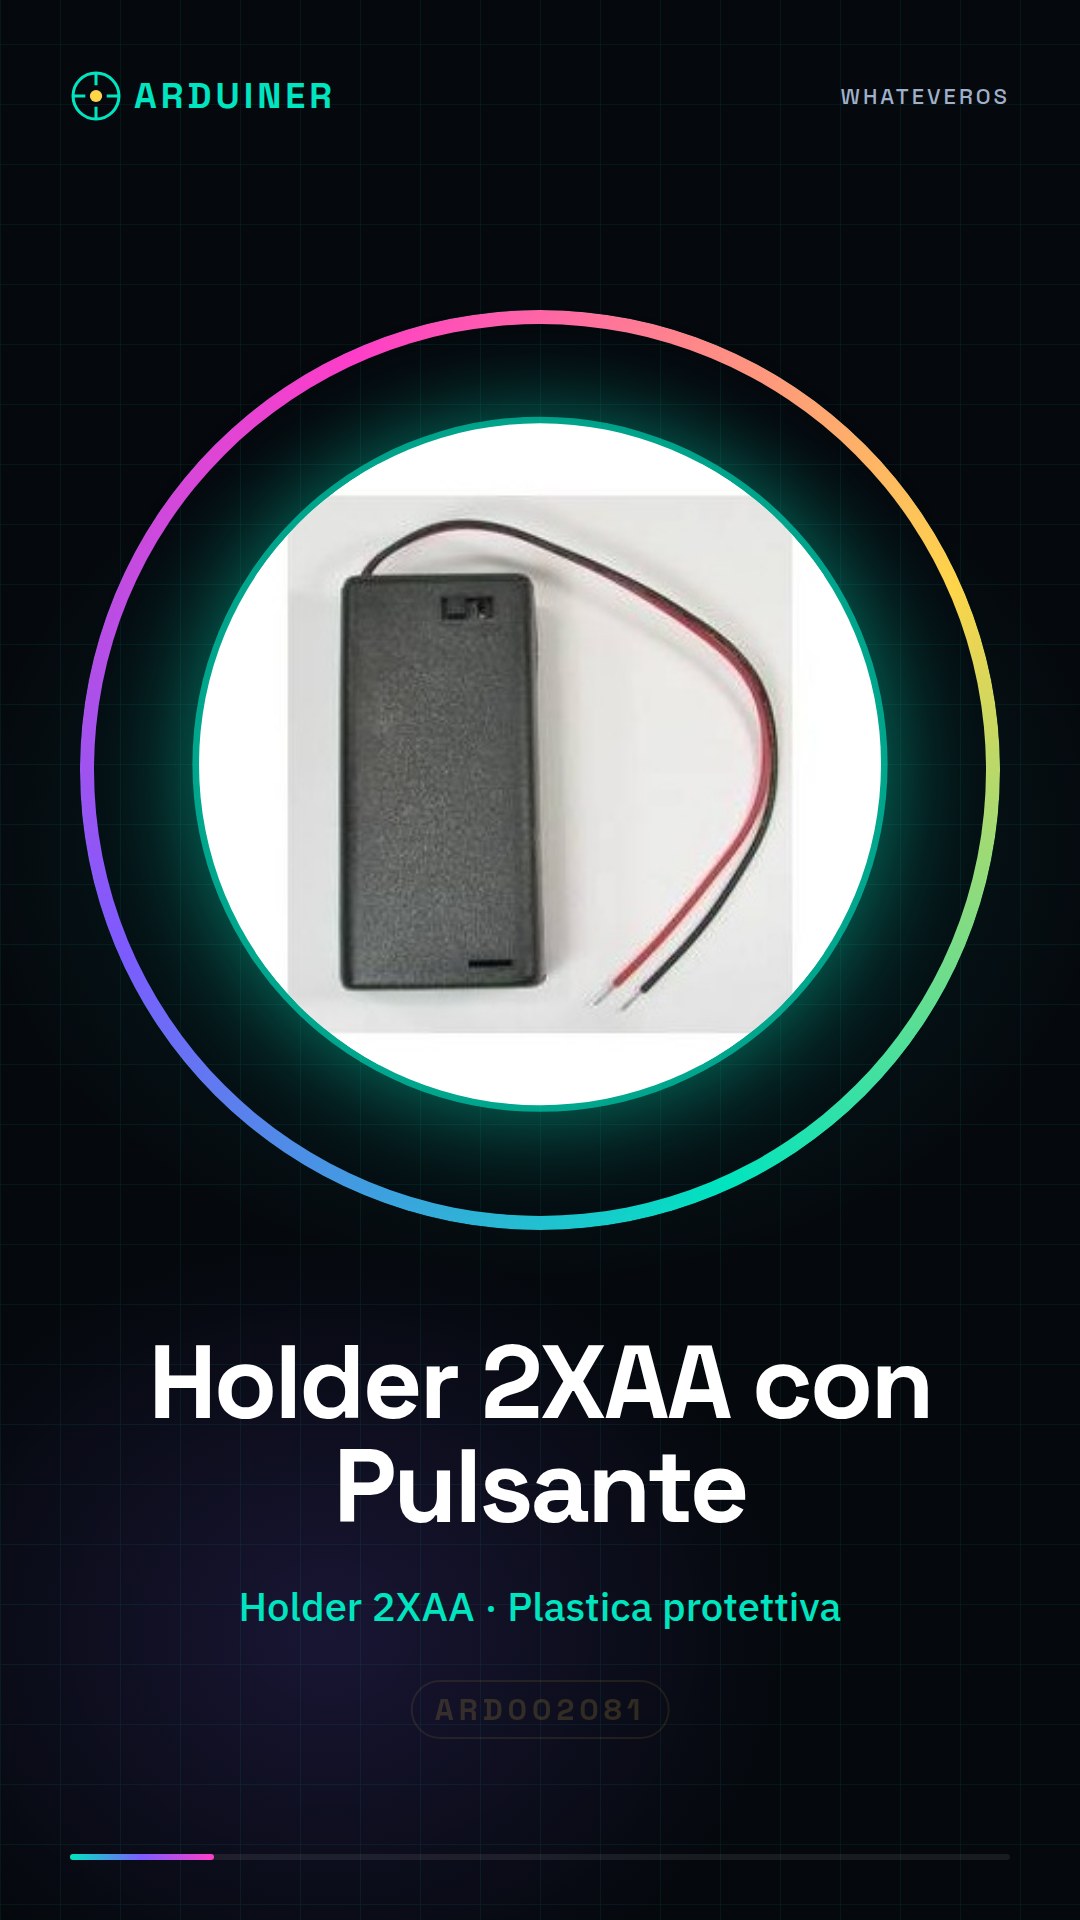
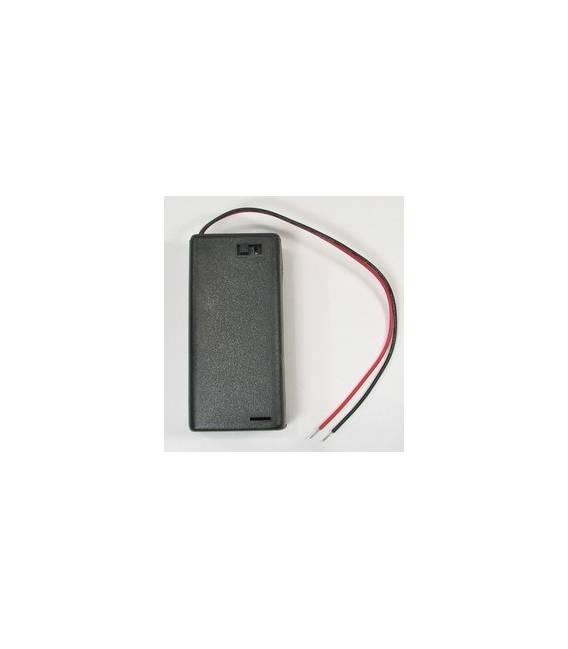
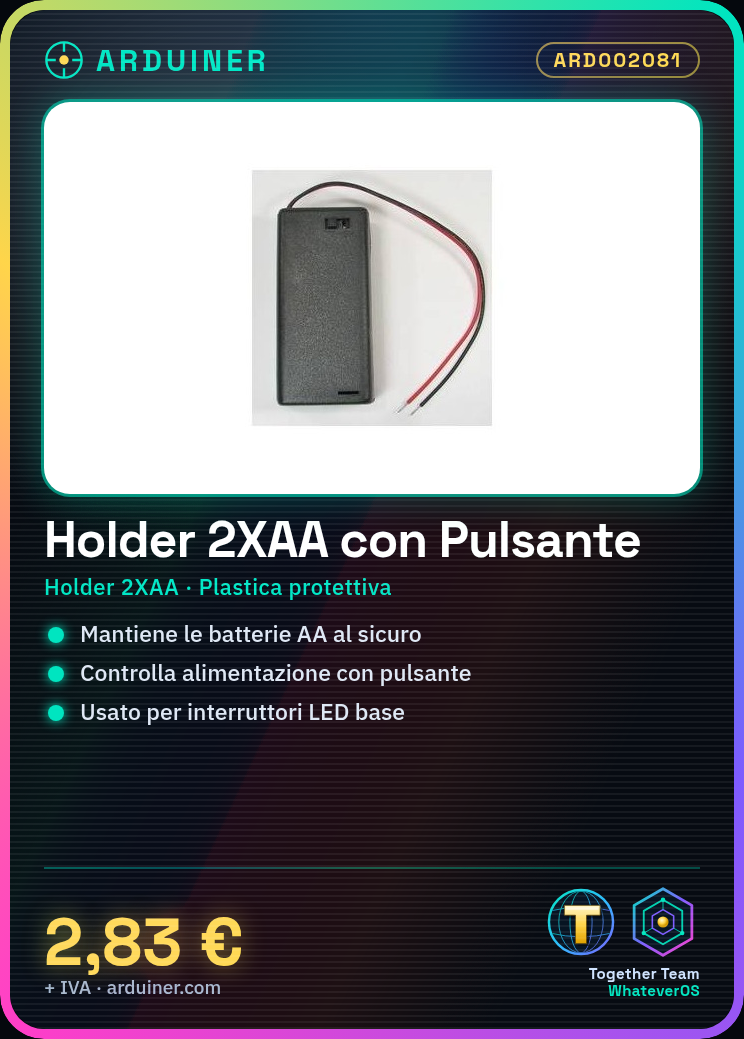
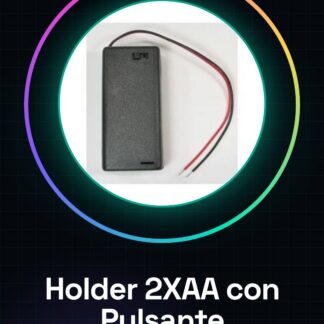
The 2XAA battery holder with plastic protection and control button is an essential component for powering electronic circuits, ensuring battery AA safety and providing a simple method to control device power.
Features
- Battery holder type: 2XAA
- External material: protective plastic
- Includes control button
What it is for
This component is ideal for basic and intermediate projects that require stable power from two AA batteries. You can use it to create simple switches, for example, by connecting an LED to a VCC and GND pin of the circuit and controlling the state of the button to turn the LED on or off.
Tutorial: How to use 2XAA Battery holder with case and Button
This component is designed to keep AA batteries in a safe position and integrate a button to control circuits based on Arduino. Suitable for basic and intermediate projects.
What you need
- 2XAA Battery holder with case and Switch
- Arduino or similar controller
- Power supply cable
- Resistor (10kΩ)
- Soldering iron tip
Steps
- 1. Check that the battery holder has the correct openings for 2 AA batteries.
- 2. Insert the AA batteries into the holder, with the negative pole (-) facing down.
- 3. Solder the switch to the battery holder, with the contacts in the correct position.
- 4. Connect a GND (ground) pin of your Arduino to the switch contact.
- 5. Connect a VCC (5V) pin of your Arduino to a pin of the switch.
- 6. Connect the third pin of the switch to a pin of an Arduino (e.g., D2).
- 7. Connect the resistor (10kΩ) between the switch pin and VCC.
- 8. Load the following code onto your Arduino to check the state of the switch.
- 9. Ensure that the battery holder is well soldered and protected.
- 10. Check the datasheet if necessary.
Example code
int pulsante = 2; void setup() { pinMode(pulsante, INPUT); } void loop() { if (digitalRead(pulsante) == HIGH) { Serial.println("Pulsante pressato"); } }Mini project
Create a simple switch for an LED. Connect the LED to a VCC and GND pin, and control the state of the button to turn the LED on/off.
Common mistakes
- Insert the batteries with the wrong polarity.
- Connect the button incorrectly.
- Forget to connect the resistor.
- Do not verify the correct position of the contacts.
Recommended accessories
- LED
- Resistor (220Ω)
- Power supply cable
- USB interface
- Arduino IDE software
Frequently asked questions
How can I verify the correct position of the contacts?
Check the datasheet of the button and the battery holder.
Can I use rechargeable AA batteries?
Yes, but make sure they are compatible with the holder and do not damage the button.
Is the button sufficient to control an LED?
Yes, but make sure to connect the resistor correctly to protect the LED.
Reviews
There are no reviews yet.