 EN
 IT Italiano
 ES Español
 FR Français
 DE Deutsch

Description
What it is
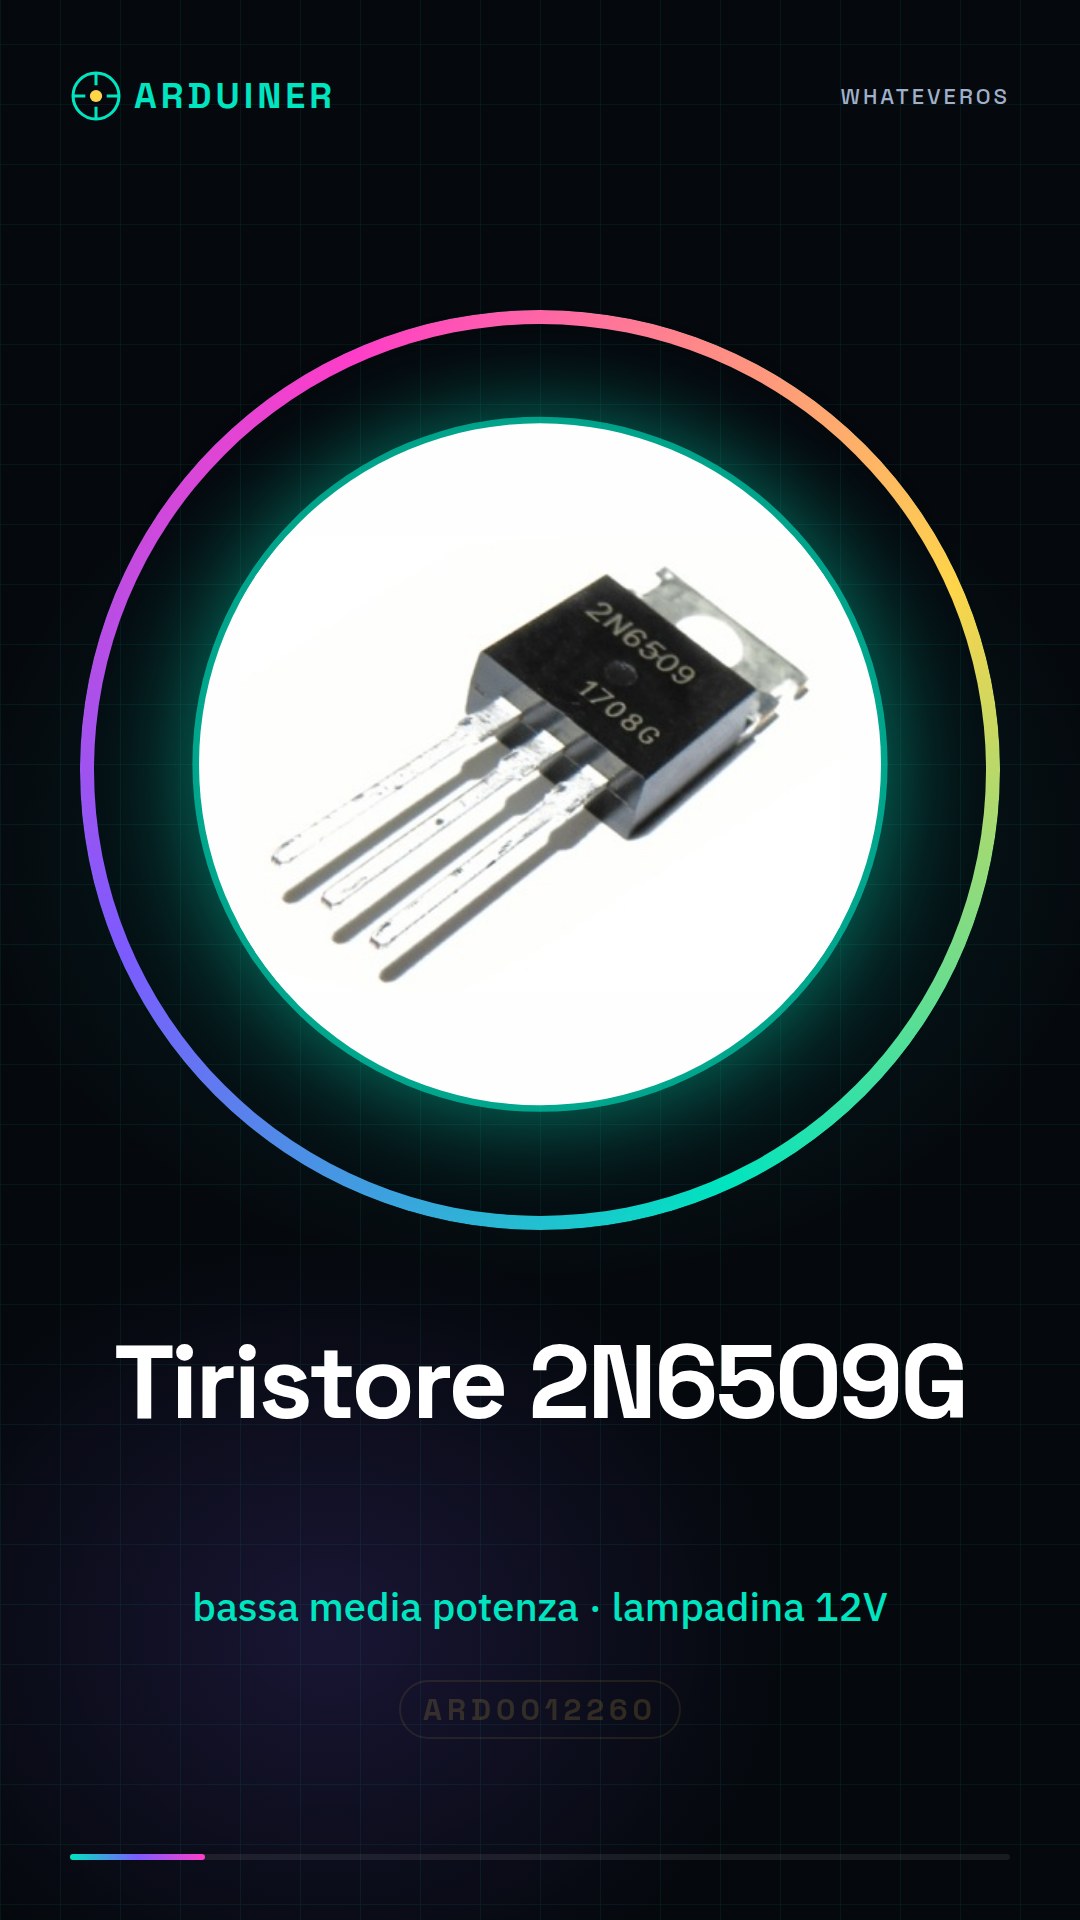
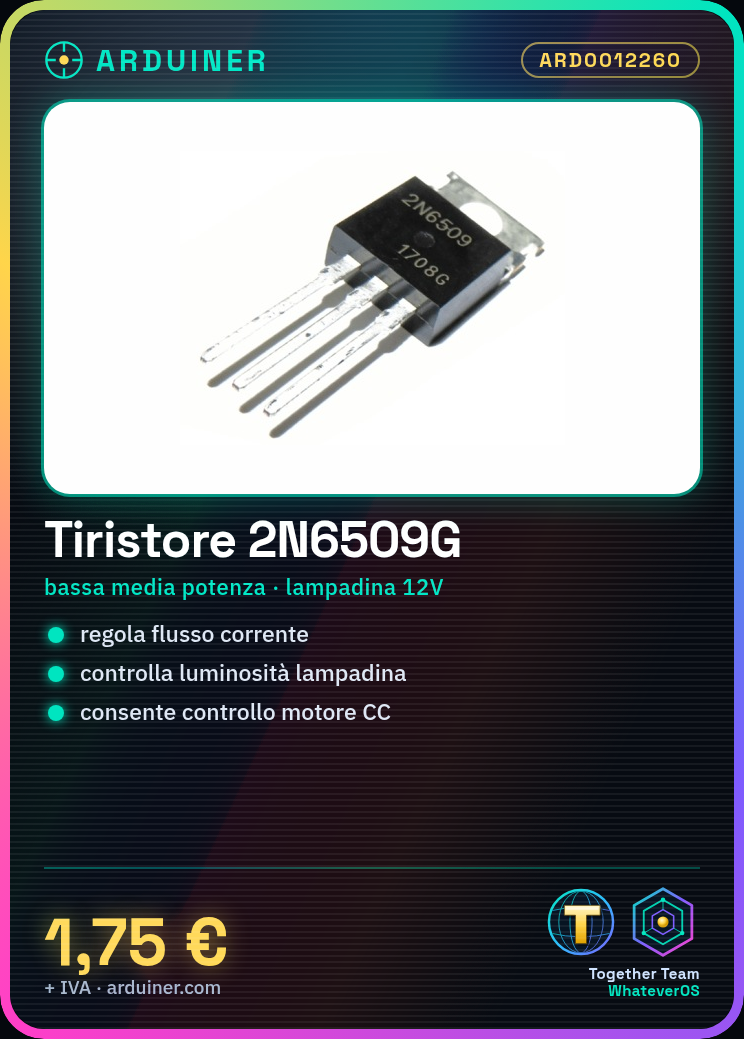
The 2N6509G thyristor is an electronic component used to control the flow of current in low and medium power circuits. It is a fundamental component for makers and beginners who want to control devices such as lamps or DC motors.
Features
- Model: 2N6509G
- Sku: ARD0012260
- Price: 1.75 €
What it is for
The 2N6509G thyristor is used to regulate the brightness of a 12V lamp through a simple Arduino command. It is compatible with projects that require the control of low and medium power electrical devices.
Tutorial: How to Use the 2N6509G Thyristor
The 2N6509G thyristor is an electronic component used to control the flow of current in low and medium power circuits. It is ideal for beginners and makers who want to control devices such as lamps or DC motors.
What you need
- Arduino Uno
- 12V Bulb
- 1kΩ Resistor
- 0.1µF Capacitor
- 25cm cable
- Cross pliers
Steps
- Connect the thyristor to the circuit so that the current passes through the thyristor and the light bulb.
- Connect a capacitor between MT1 and MT2 of the thyristor to protect the circuit.
- Connect a resistor between the gate of the thyristor and the output of an Arduino pin to control the thyristor.
- Write an Arduino sketch that sends PWM pulses to the thyristor to regulate the current intensity.
- Check the proper functioning of the circuit with a multimeter.
- Adjust the PWM level to vary the brightness of the light bulb.
- Test the circuit with different PWM levels to understand the control of brightness.
- Check the datasheet for the maximum power of the thyristor and temperature limits.
Example code
void setup() {
  pinMode(9, OUTPUT);
}

void loop() {
  for (int i = 0; i <= 255; i++) {
    analogWrite(9, i);
    delay(10);
  }
}
Mini project
Brightness regulator: Build a circuit that allows you to regulate the brightness of a light bulb with a simple Arduino command.
Common mistakes
- Do not connect the capacitor between MT1 and MT2 of the thyristor.
- Use a resistance that is too high between the gate of the thyristor and the Arduino output.
- Do not check the power rating of the thyristor before connecting it to the circuit.
- Use a PWM level that is too high which could damage the thyristor.
Recommended accessories
- Arduino Uno
- Prototype Kit
- Capacitor Kit
- Resistance Kit
Frequently asked questions
What is the difference between a thyristor and a transistor?
A thyristor is a semiconductor device that controls the flow of current once it is triggered, while a transistor can regulate the flow of current continuously.
How can I protect the thyristor from current spikes?
Use a capacitor between MT1 and MT2 of the thyristor to dampen current spikes.



Reviews
There are no reviews yet.