 EN
 IT Italiano
 ES Español
 FR Français
 DE Deutsch
Description
What it is
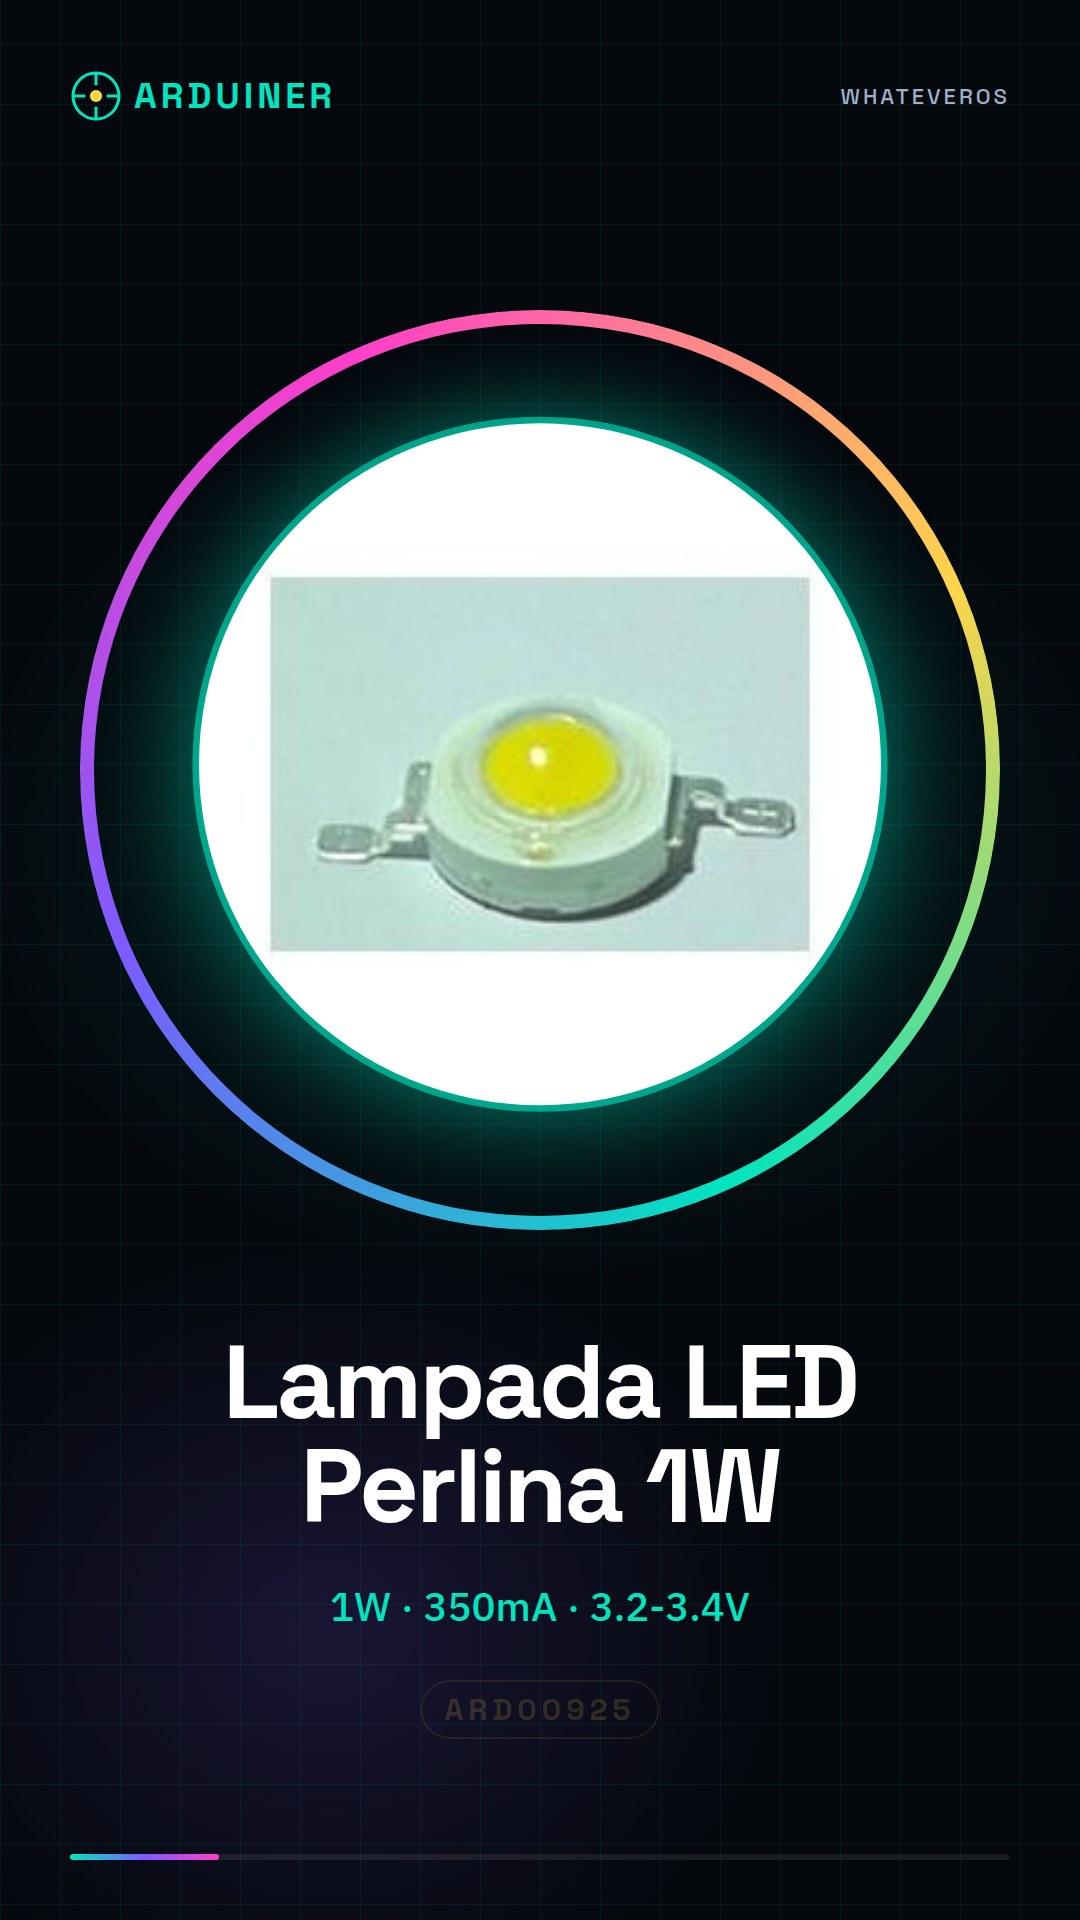
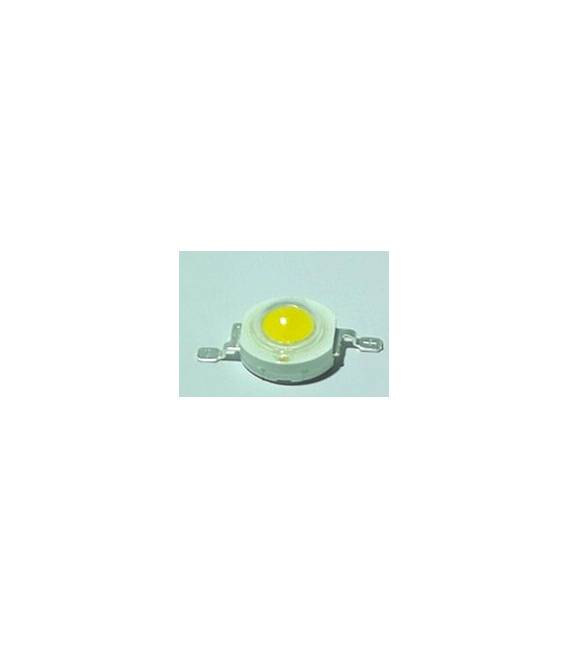
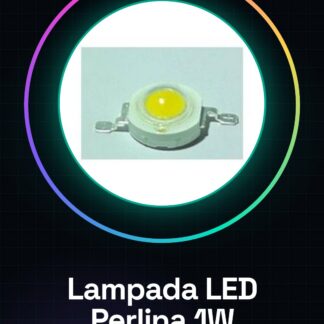
These high-intensity beaded LED wire lamps are ideal for Arduino projects and DIY applications, offering reliable illumination for both creative work and 3D printing.
Features
- Power: 1W each
- Operating voltage: 3.2v-3.4v
- Light level: 350mA
- Available color temperatures: bright white (6000K-6500K) and warm white (3000K-3500K)
What it is for
Controllable illumination through Arduino or ESP. Connect multiple beaded LED lamps to create a custom lighting system using buttons or sensors.
Tutorial: How to Use High-Power Beaded LED Lamp
These high-power beaded LED lamps are ideal for project lighting and DIY applications. They are particularly useful for beginner and intermediate makers looking for reliable and versatile lighting.
What you need
- Arduino Uno or compatible
- 5V-12V power supply
- jumper cable
Steps
- Connect the positive terminal of the LED lamp to the output pin of the Arduino.
- Connect the negative terminal of the LED lamp to the ground (GND) of the Arduino.
- Check the electrical current required by the lamp to avoid damage to the power supply or the Arduino.
- If necessary, add a protection resistor between the Arduino and the lamp to limit the current.
- Test the lamp by turning on the pin of the Arduino through the Arduino sketch.
Example code
void setup() {
  pinMode(13, OUTPUT);
}

void loop() {
  digitalWrite(13, HIGH); // Accende la lampada LED collegata al pin 13
  delay(1000);
  digitalWrite(13, LOW); // Spegne la lampada LED
  delay(1000);
}
Mini project
Create a controllable lighting system using Arduino. Connect multiple LED pearl lamps and use buttons or sensors to turn the lights on or off.
Common mistakes
- Do not check the current of the lamp.
- Connect the positive terminal of the lamp directly to the 5V pin of the Arduino without a protection resistor.
- Use a power supply that does not provide sufficient current for the LED lamps.
- Ignore the datasheet to verify technical specifications such as voltage and current requirements.
Recommended accessories
- 220 ohm resistor
- Relay Module
- PIR motion sensors
- Variable USB power supply
Frequently asked questions
How can I control the LED lamp brightness?
You can use a transistor or MOSFET to regulate the current level and thus the brightness.
Can I connect multiple lamps in series or parallel?
To connect them in parallel, make sure the power supply can provide sufficient current. For series, check the datasheet to see if it is possible and calculate the total voltage.
Reviews
There are no reviews yet.