 EN
 IT Italiano
 ES Español
 FR Français
 DE Deutsch
Description
What it is
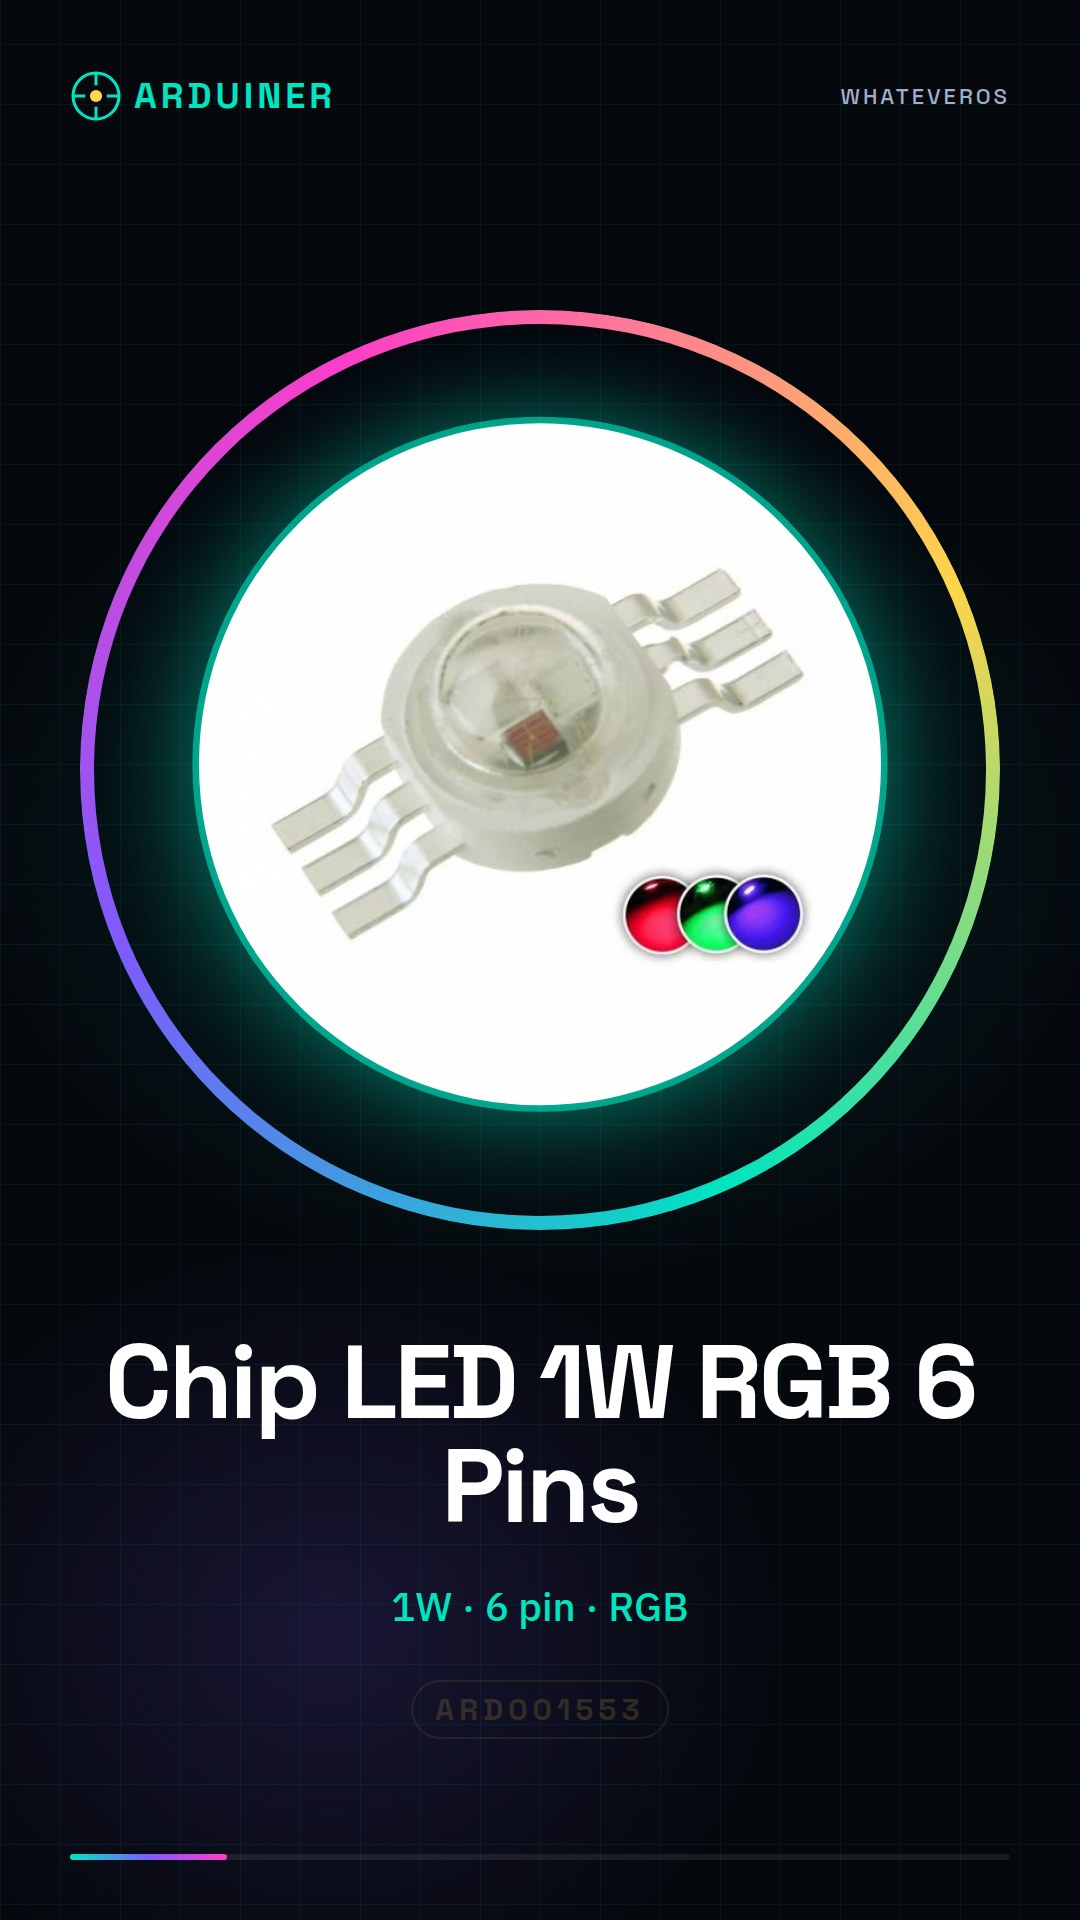
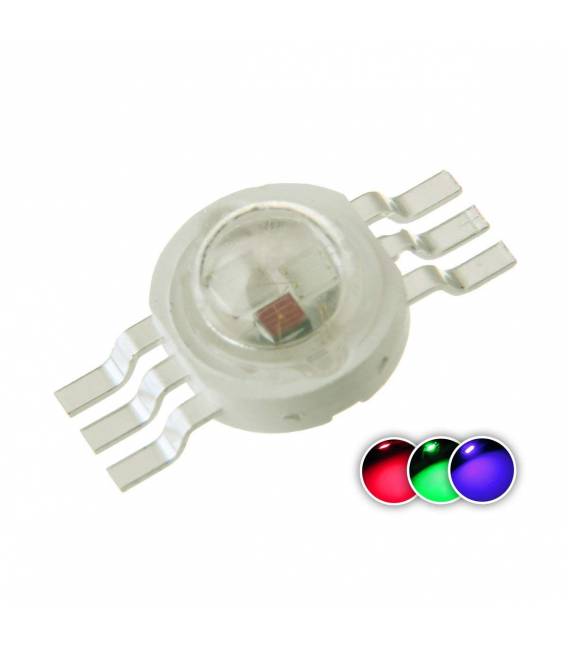
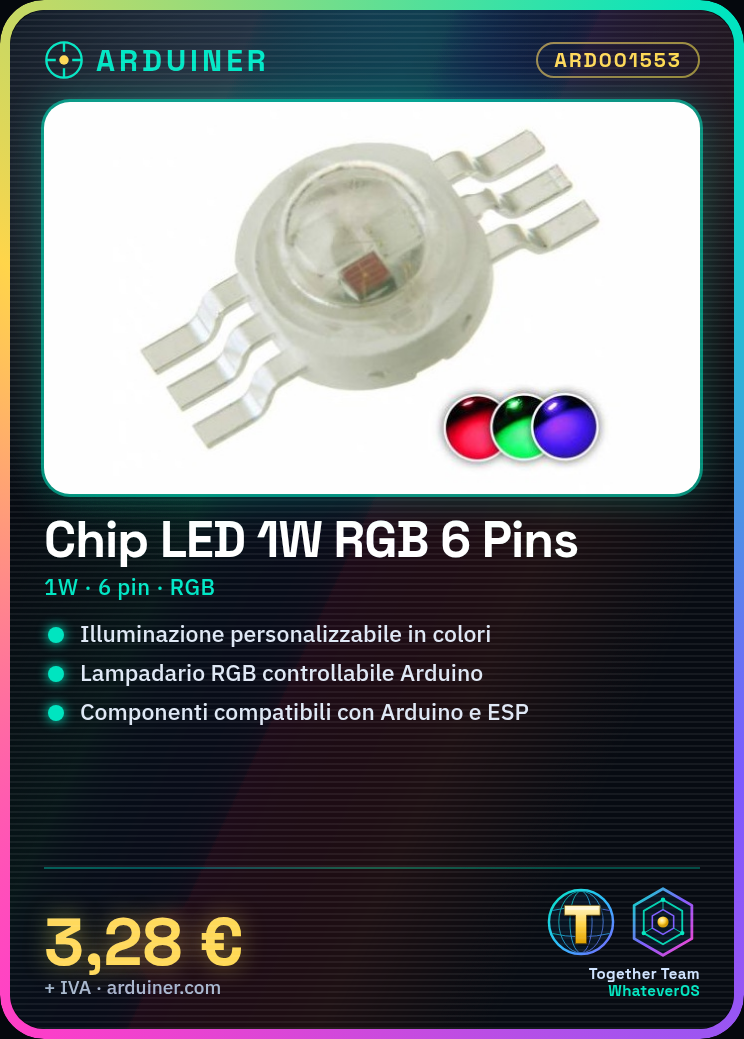
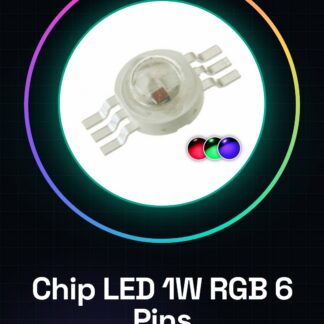
The RGB 1W LED Chip 6 Pin is an electronic component designed to offer high brightness and the ability to customize lighting in different colors. It is ideal for integrating into your Arduino creations, providing flexibility in light usage.
Features
- Type: RGB 1W LED Chip
- Pins: 6
What it is for
Ideally used for custom lighting projects, such as creating an RGB chandelier controllable via Arduino. It can also be used to add lighting effects to rooms or user interfaces. Compatible with Arduino and ESP.
Tutorial: How to Use RGB 1W High Brightness LED Chip
This 6-pin RGB LED chip is ideal for projects requiring colorful and highly customizable lighting. It is suitable for both Arduino beginners and experts.
What you need
- Arduino Uno or compatible
- USB cable
- Capacitors (check the datasheet)
- Resistors (check the datasheet)
Steps
- Connect the pins of the LED chip to the digital pins of the Arduino using conductors.
- Check the resistors and capacitors necessary to protect the circuit (check the datasheet).
- Load the Arduino sketch that manages the RGB lighting.
- Check the correct lighting of the LED using the Arduino Serial Monitor software.
- Modify the sketch to change the colors and lighting modes.
- Verify operation under different conditions (e.g., environmental variables).
- Optimize the lighting based on the project requirements.
- Try adding sensors to control the brightness and colors automatically.
Example code
void setup() {
  pinMode(9, OUTPUT);
pinMode(10, OUTPUT);
pinMode(11, OUTPUT);}

void loop() {
analogWrite(9, 255);
analogWrite(10, 0);
analogWrite(11, 0);} //rosso
Mini project
Create an RGB chandelier controllable via Arduino. Use the LED chip to light the room with lighting effects.
Common mistakes
- Use of inappropriate resistors or capacitors
- Missing correct connection of the LED chip pins
- Error in the Arduino programming
Recommended accessories
- Ceramic Capacitor 10uF
- Resistor 220 Ohm
- Light Sensor LDR
- LED Driver PWM
Frequently asked questions
How can I protect the LED chip from overloads?
Use capacitors and resistors according to the specifications in the datasheet.
What is the difference between this LED chip and a standard one?
This chip has higher power (1W) and can handle three separate colors (RGB).
Can I use the LED chip with a Raspberry Pi?
Yes, but you will need to adapt the Arduino sketch to Python or C++.
Reviews
There are no reviews yet.