 EN
 IT Italiano
 ES Español
 FR Français
 DE Deutsch
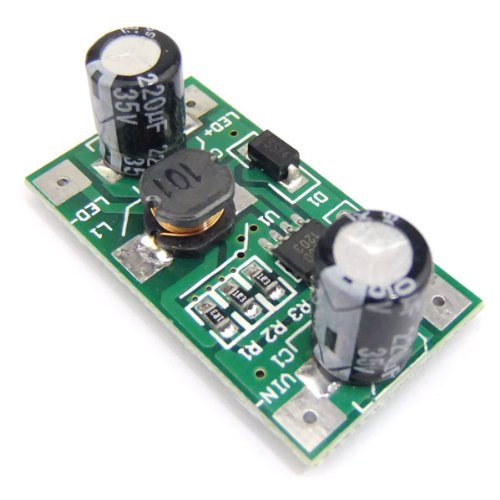
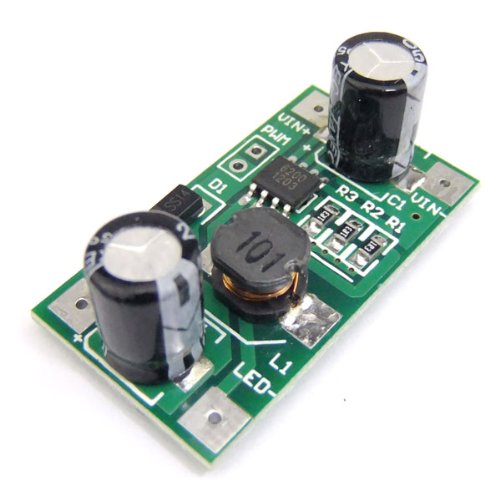
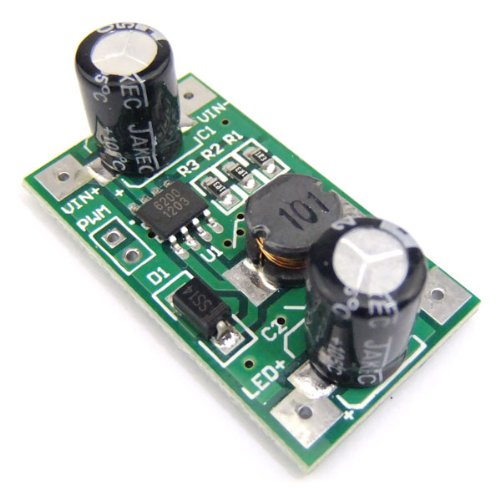
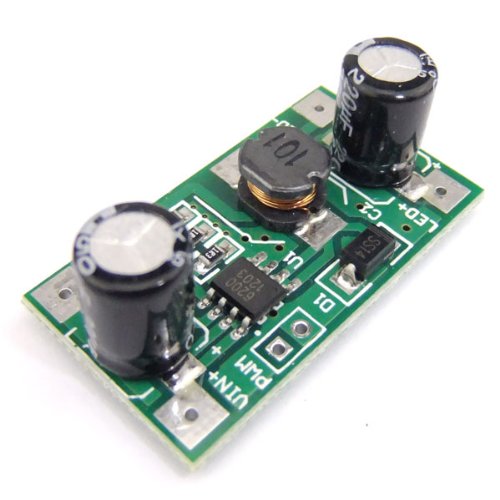
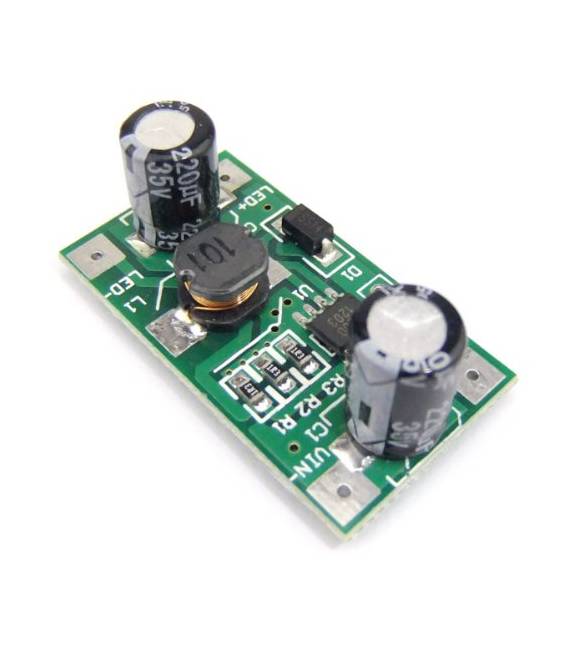
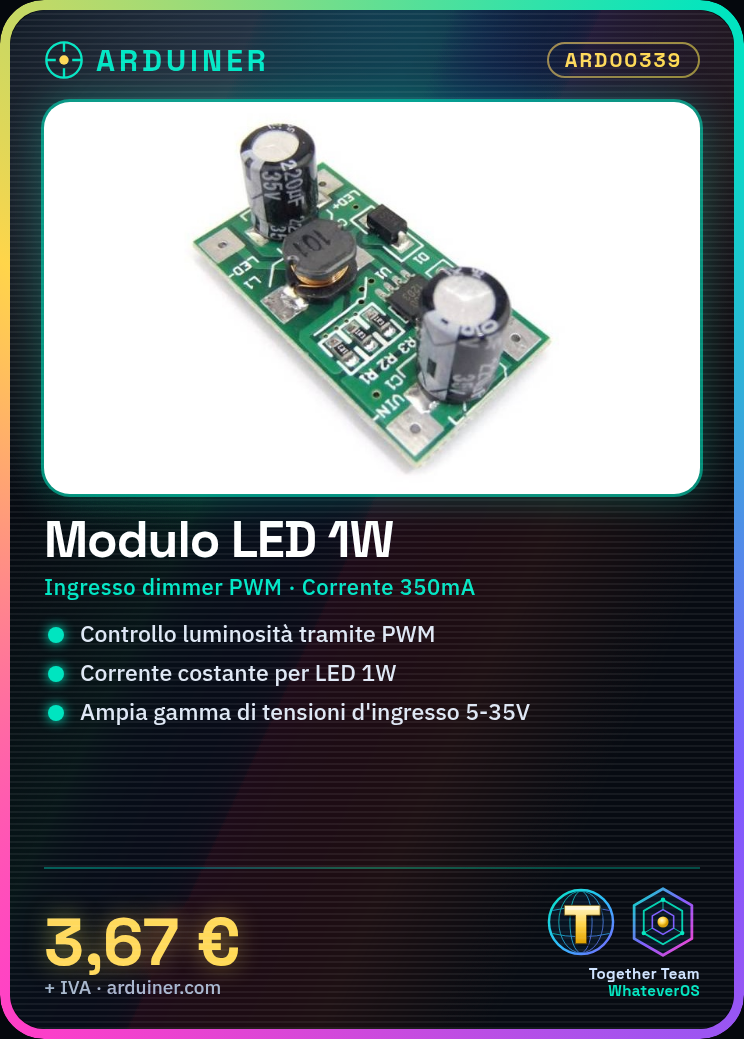
Description
The 1W LED driver with PWM dimmer input and step-down DC-DC converter is designed to provide constant current to LEDs in various projects, such as custom lighting systems. Features: PWM dimmer input, step-down DC-DC converter. Input voltage: 5-35V. Check datasheet for missing numerical specifications. Ideal for makers who want to control the brightness of their LED projects. Can be used in combination with microcontrollers like Arduino or ESP, allowing the creation of LED lighting systems controllable via smartphone. Tutorial: How to Use 1W PWM LED Driver Connect the module to the microcontroller: VCC to 5V, GND to ground. Connect the module output to the anode of the LED. Connect the LED cathode to ground. Configure a PWM pin on the microcontroller to control the brightness. Write a sketch that modulates the PWM output value (0-255). Check the correct input voltage on the datasheet to power the module. Increase or decrease LED power by varying the PWM value. Monitor brightness and adjust until desired. Example code: int ledPin = 9; // PWM pin on Arduino void setup() { pinMode(ledPin, OUTPUT); } void loop() { analogWrite(ledPin, 128); // Set brightness to half } Mini-project: Create a smartphone-controllable LED lighting system by connecting the module to the microcontroller and using an app like Blynk to send PWM commands. Common errors: Not verifying the correct input voltage, connecting LED anode to ground instead of module output, using too high a PWM value to damage the LED, or omitting to connect GND to the microcontroller. Recommended accessories: Arduino Uno R3, RGB 5mm LED, Female-Male Jumper Wires, Breadboard for prototyping. Frequently asked questions: Can the module handle multiple LEDs? Check the datasheet for the maximum current supported and calculate if it is sufficient for your LEDs.

Reviews
There are no reviews yet.