 EN
 IT Italiano
 ES Español
 FR Français
 DE Deutsch
Description
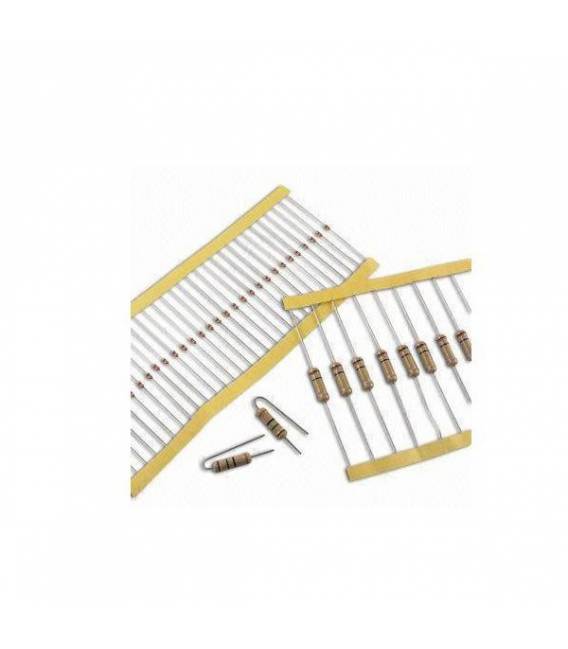
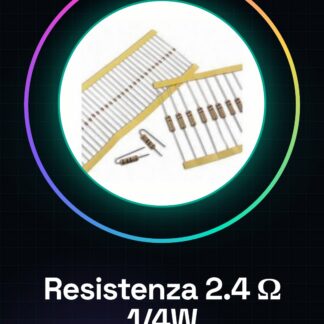
Tutorial: How to use 2.4 ohm 1/4W 5% Resistor Resistors are crucial for limiting current flow in an electronic circuit. This 2.4 ohm resistor is ideal for Arduino projects, electronic prototypes, or any other schematic requiring a specific resistance value. What you need Arduino Uno, Perfboard, Soldering Iron, Soldering Wire Steps Check the resistance value using a multimeter in ohm mode. If necessary, cut and prepare wires to connect the resistor to the circuit. Attach one end of the wire to a hole on the perfboard and solder the end of the resistor. Repeat the previous step with the other end of the wire. Ensure connections are secure and free of short circuits. If necessary, apply a resin-based coating to protect the soldering. Mini-project Create a simple LED lamp controlled by Arduino. Connect the LED through a resistor to an output pin of the Arduino and use a modified Blink sketch to turn the LED on and off. Common mistakes Using a resistor with the wrong value, which can damage the connected electronic component. Not soldering the resistor correctly, causing intermittent contact. Using wires that are too short to reach the perfboard holes. Failing to check the resistance value before use. Recommended accessories Arduino Uno, Perfboard, Soldering Iron, Various LEDs Frequently Asked Questions What is the maximum power I can apply to this resistor? Check the datasheet, but generally for a 1/4W resistor, you should not exceed this value. Can I use this resistor in a higher power circuit? No, use a resistor suitable for the power of your circuit to avoid damage.
Reviews
There are no reviews yet.