 EN
 IT Italiano
 ES Español
 FR Français
 DE Deutsch
Description
What it is
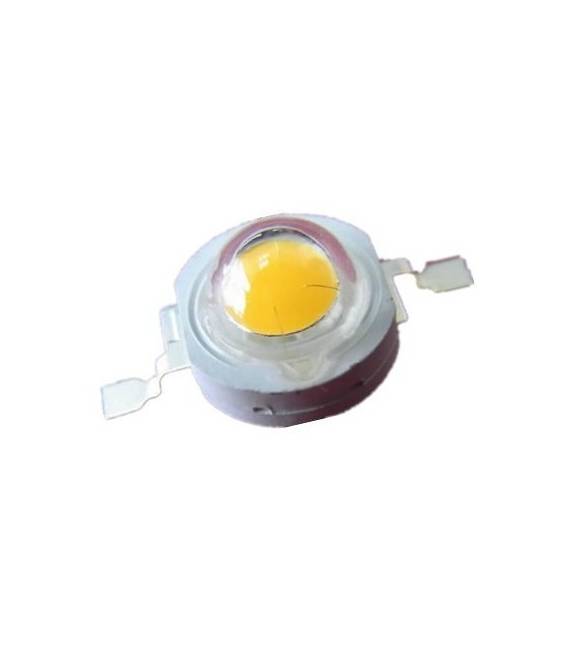
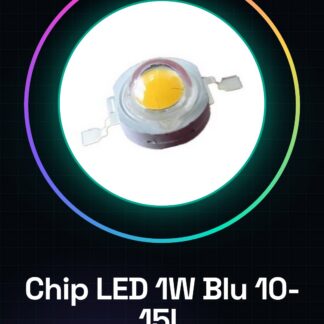
The Blue 1W LED Chip 10-15 Lumen is an electronic component designed to provide concentrated bright light in a small size. This 1 watt blue LED chip is ideal for incorporating intense light into your Arduino or 3D printing projects.
Features
- Type: Blue 1W LED Chip
- Brightness: 10-15 Lumen
What it is for
Ideally used for portable lighting projects, such as creating a small LED lamp. You can easily integrate it with Arduino or ESP32/ESP8266 to control the lighting via electronic code.
Tutorial: How to Use Blue 1W LED Chip
The 1 watt blue LED chip is ideal for projects that require concentrated bright light. It is particularly useful for beginners and intermediate makers who want to explore intense light in small sizes.
What you need
- Arduino Uno or compatible
- Resistor (check the datasheet)
- Jumper wire
- Stable supplier
Steps
- Check the LED chip specifications in its documentation to determine the correct resistor.
- Connect the power supply to the positive and negative pin of the LED chip via jumper wires.
- Connect the Arduino to the computer through the USB connector.
- Load the Arduino sketch that controls the light intensity (see code below).
- Test the brightness and power supply of the LED chip to ensure everything is working correctly.
- Optimize your project by adjusting the values in the Arduino code if necessary.
Example code
void setup() {
  pinMode(LED_BUILTIN, OUTPUT);
}

void loop() {
  digitalWrite(LED_BUILTIN, HIGH);   // Accendi l'LED
  delay(1000);                       // Attende un secondo
  digitalWrite(LED_BUILTIN, LOW);    // Spegni l'LED
  delay(1000);                        // Attende un secondo
}
Mini project
Create a portable LED lamp with the blue LED chip. You can use a small container as a base and add a button to turn the light on and off.
Common mistakes
- Using a resistor that is too high or too low can damage the LED chip.
- Incorrect power supply connection, risking to burn both Arduino and the LED.
- Omission of the resistor, leading to uncontrolled electrical consumption.
Recommended accessories
- Variable resistors
- Buttons for user input
- Plastic or metal containers as base projects
- Environmental sensors (light, motion) to automatically control brightness.
Frequently asked questions
What is the maximum power consumption of the LED chip?
Check the datasheet. The output power can vary depending on the resistor and power supply used.
Can I connect it directly to the battery?
No, a stable provider with regulation is necessary to prevent damage to the LED chip.
Reviews
There are no reviews yet.