 EN
 IT Italiano
 ES Español
 FR Français
 DE Deutsch

Description
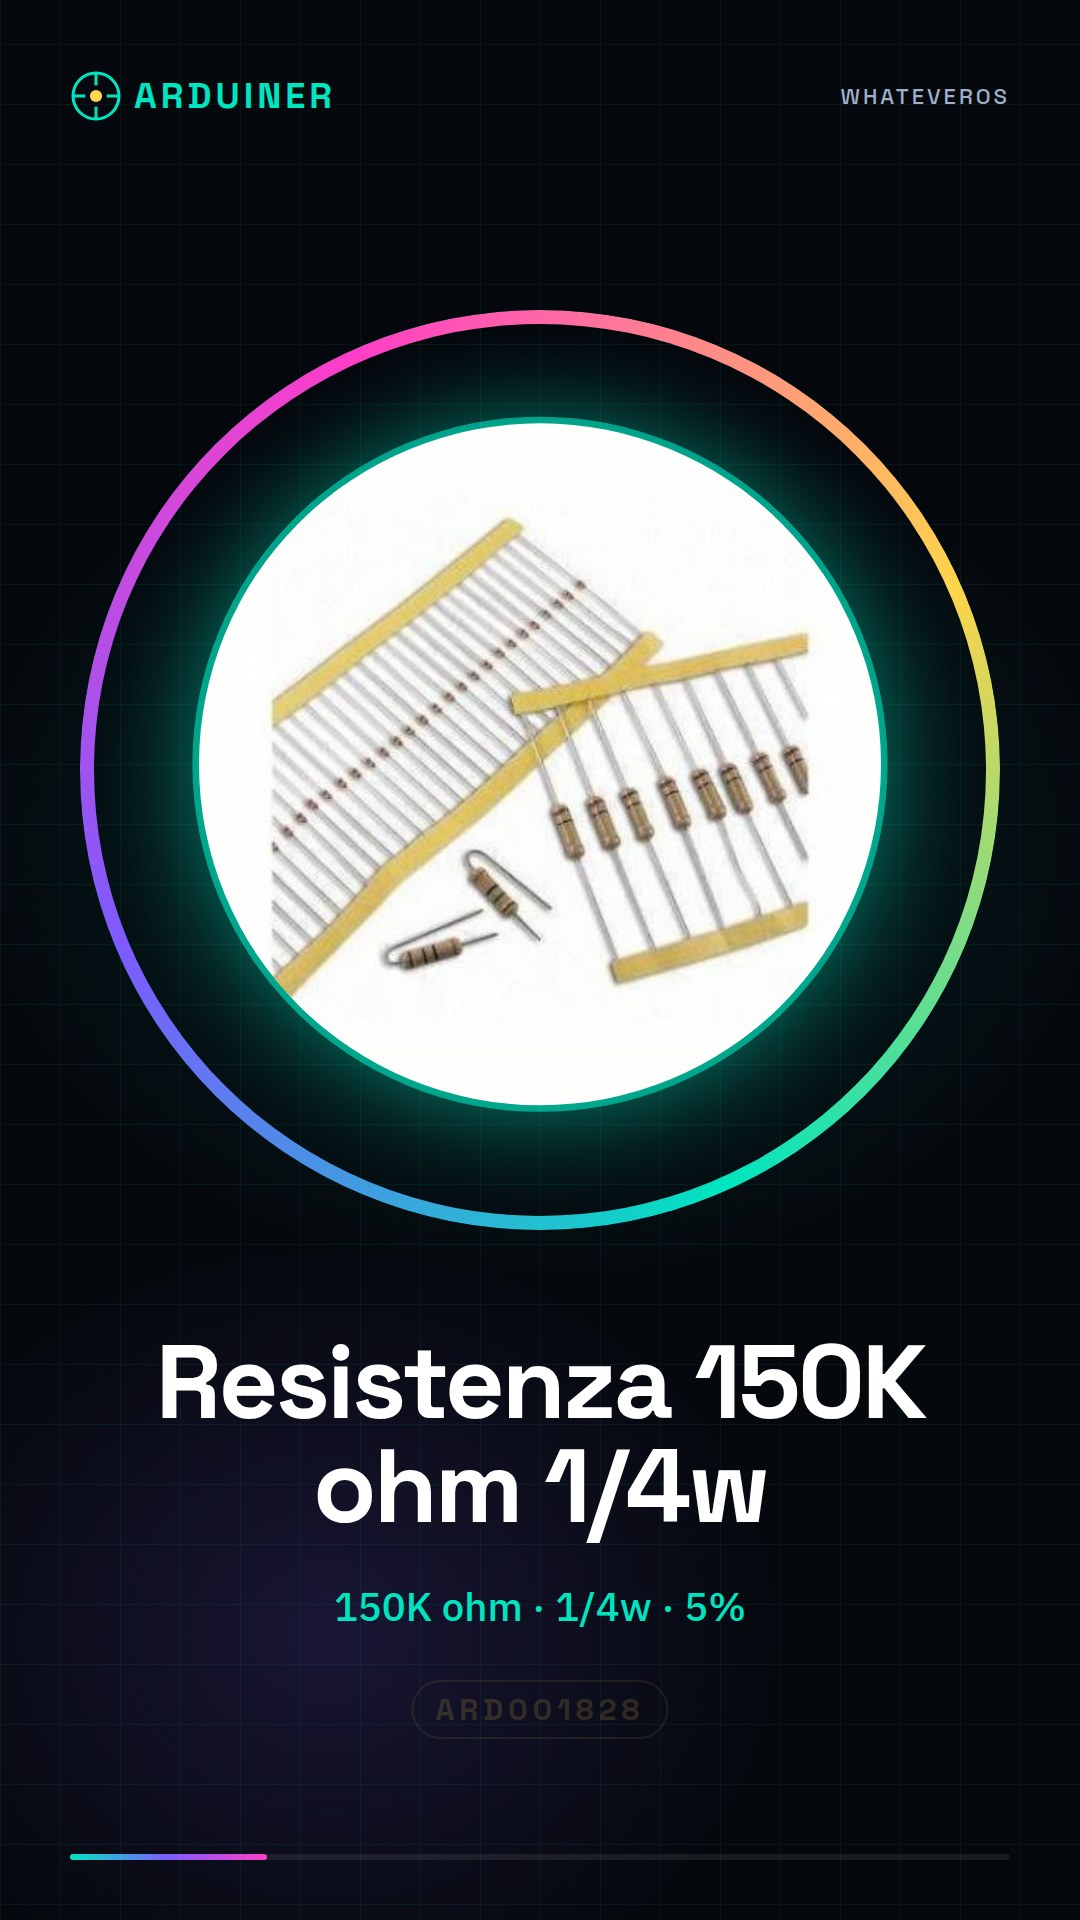
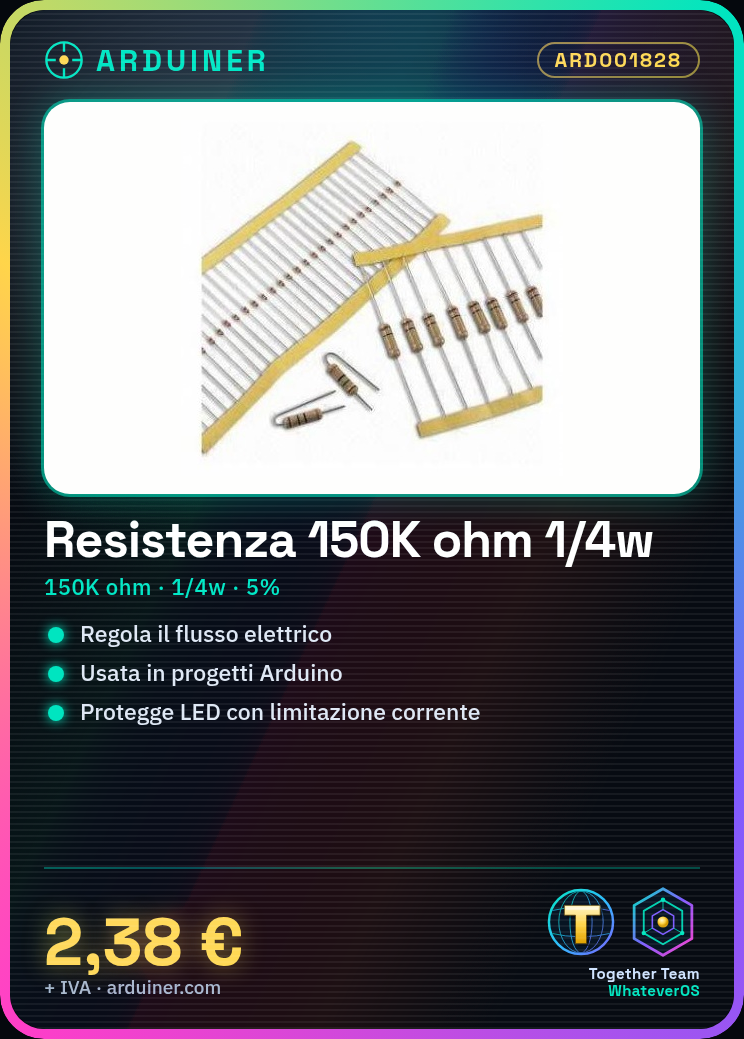
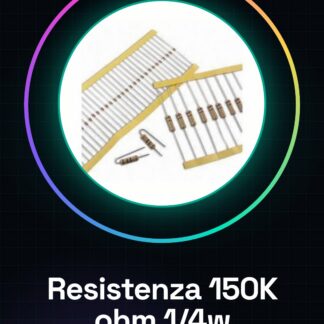
50PCS 150K ohm 150000 ohm 1/4w 1/4 w 5%
Tutorial: How to use 150K ohm Resistor
The 150k ohm resistor is a fundamental component to regulate the electric current in various circuits. This tutorial will guide you through the basic steps to use it correctly in your Arduino projects.
What you need
- Arduino uno or compatible
- LED
- 5V power supply
Steps
- Check the datasheet for the maximum power of the resistor (1/4w in this case)
- Connect one end of the resistor to a digital pin of the Arduino
- Connect the other end to the anode of an LED
- Connect the cathode of the LED to GND through another resistor to limit the current
Example code
void setup() {
  pinMode(13, OUTPUT);
}

void loop() {
  digitalWrite(13, HIGH);
  delay(1000);
  digitalWrite(13, LOW);
  delay(1000);
}
Mini project
Create a simple LED blinker that flashes every second. Use the resistor to limit the current and protect your LED.
Common mistakes
- Using a resistor with insufficient power
- Not verifying the direction of the current flow in the circuit
- Omit ground GND
Recommended accessories
- Variable resistors
- Digital multimeter
- Basic Arduino kit
Frequently asked questions
How much heat can a 150k ohm resistor generate at full power?
Check the datasheet for the maximum power rating of the resistor (for example, 1/4w) and calculate the heat based on Joule’s law.
How can I verify the orientation of the resistor?
Resistors do not have polarity. You can connect them in any direction without any issues.
Reviews
There are no reviews yet.