 EN
 IT Italiano
 ES Español
 FR Français
 DE Deutsch
Description
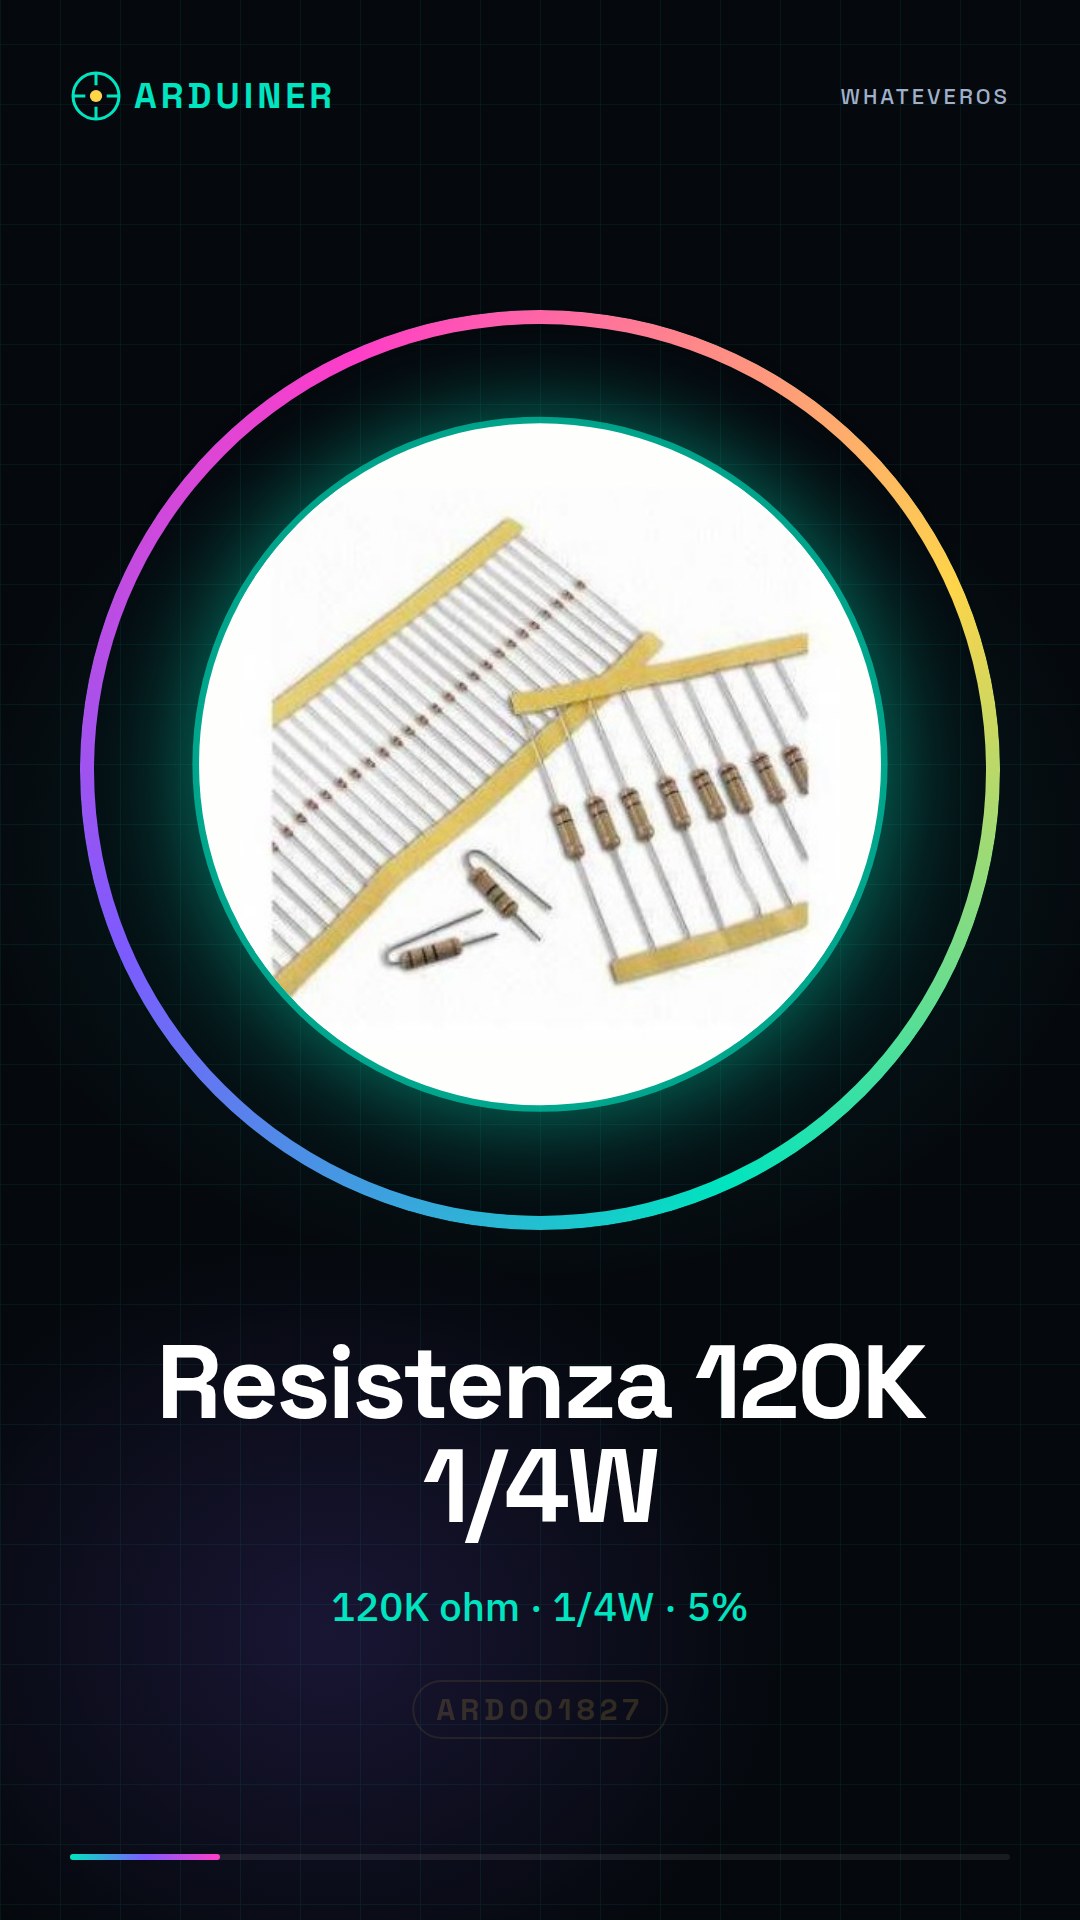
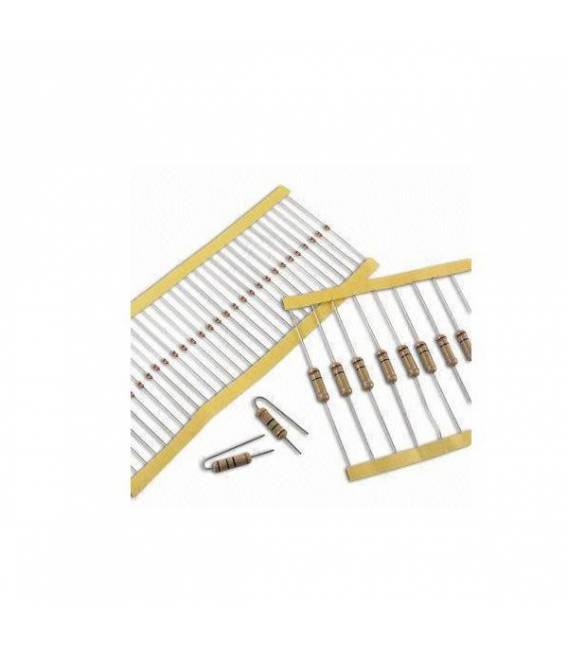
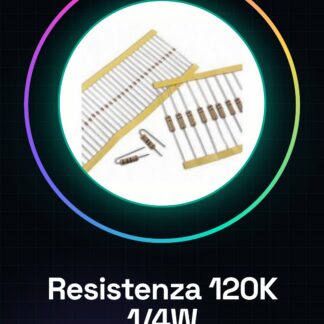
50PCS Resistor 120K ohm 120000 ohm 1/4w 1/4 w 5%
Tutorial: How to use Resistor 120K ohm
The 120k ohm resistor is a fundamental component for electronic projects that require current limiting or voltage level shifting. Ideal for beginners and intermediate makers.
What you need
- Arduino Uno
- Digital Multimeter
Steps
- Check the datasheet of the 120K ohm resistor for its color code or written value to confirm it corresponds to 120k ohm.
- Connect one end of the resistor to the digital output pin of the Arduino Uno and the other end to ground (GND).
- Open the Arduino IDE software, create a new sketch and write the script to turn on and off the port connected to the resistor.
- Verify with a multimeter that the voltage measured on the Arduino pin corresponds to the expected value when the port is active.
- If necessary, repeat the previous steps with other pins to test different configurations.
Example code
void setup() {
  pinMode(13, OUTPUT);
}

void loop() {
  digitalWrite(13, HIGH);
  delay(1000);
  digitalWrite(13, LOW);
  delay(1000);
}
Mini project
Create a simple timer with the Arduino Uno and the 120K ohm resistor. Connect a 5V LED lamp to pin 13 of the Arduino through the resistor. Use the sketch above to turn the LED on and off every second.
Common mistakes
- Using a resistor with a value that is too low, which could damage the microcontroller’s output.
- Failing to verify the value of the resistor before use.
- Ignoring the power dissipation specifications of the resistor (1/4w in this case).
- Using it in a circuit where it is not necessary or appropriate.
Recommended accessories
- Arduino Uno R3
- Variable resistor set
- Basic Arduino kit
Frequently asked questions
How can I verify the value of the resistor?
Use a multimeter in ohmmeter mode.
Why does the resistor have a specific power dissipation specification (1/4w)?
The resistor can handle up to 250 mW of power before it needs to be cooled or replaced to avoid damage.
Reviews
There are no reviews yet.