 EN
 IT Italiano
 ES Español
 FR Français
 DE Deutsch
Description
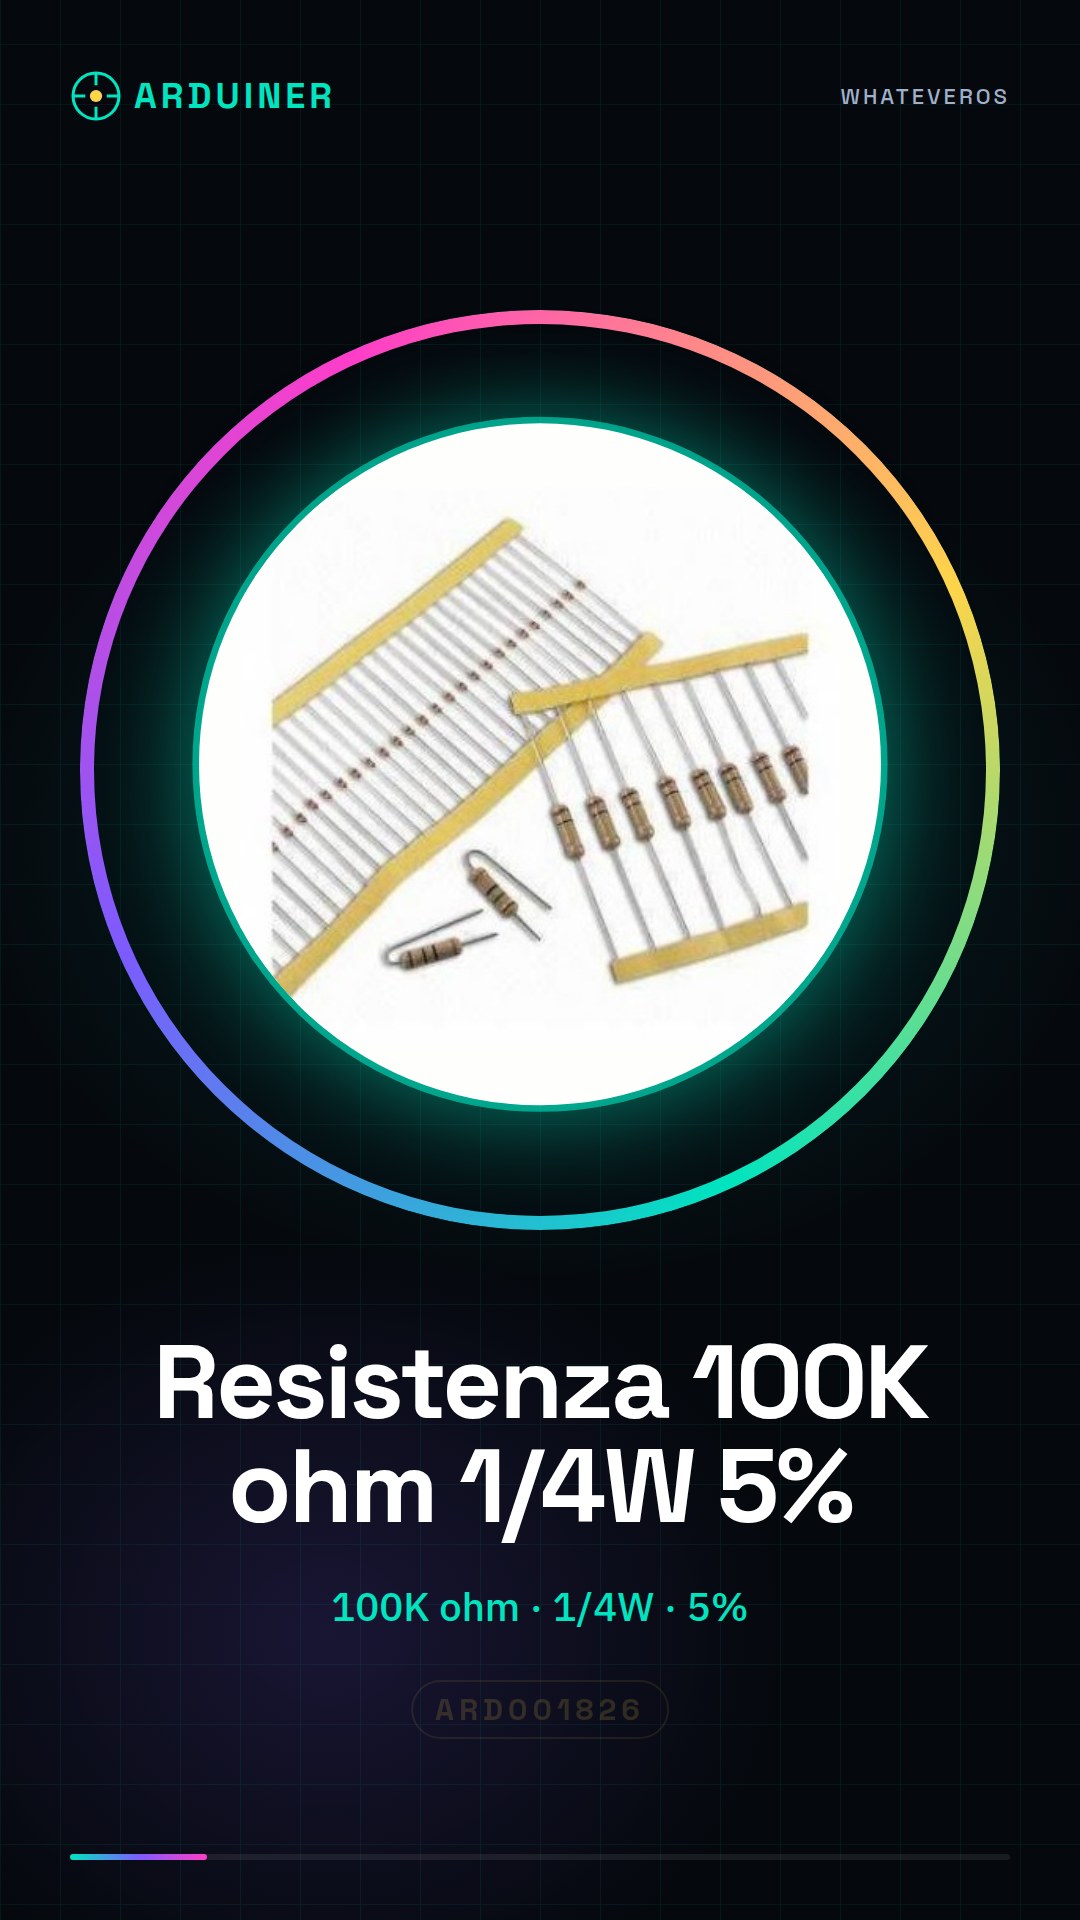
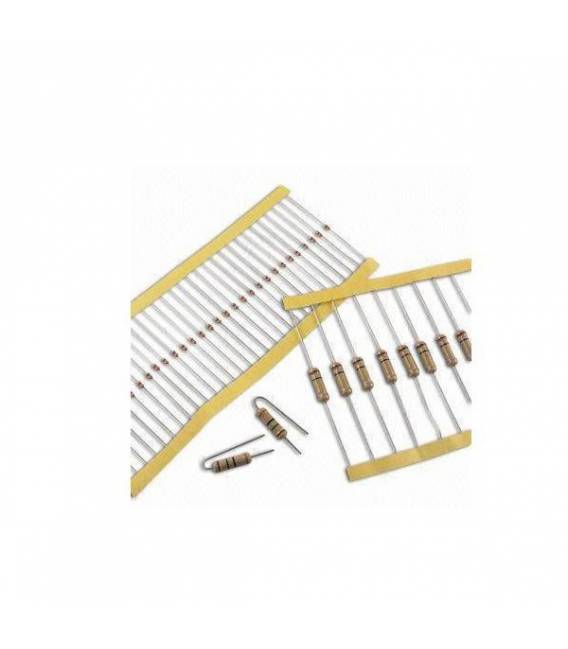
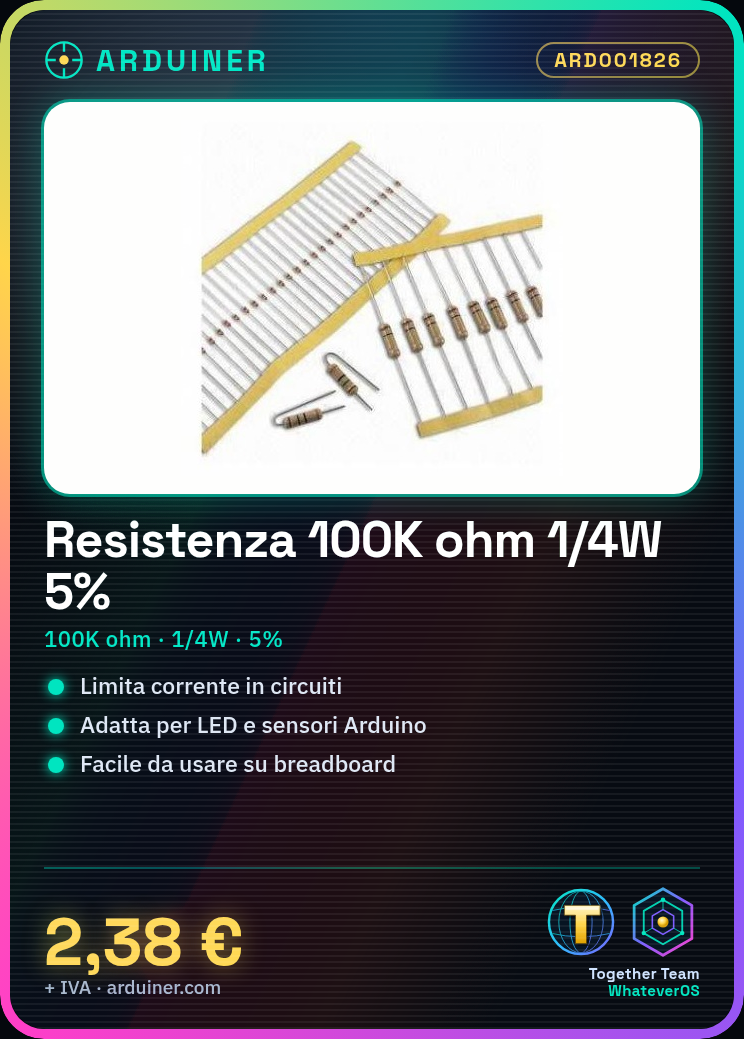
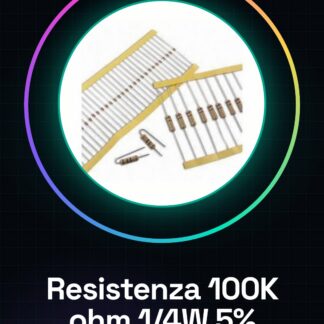
50PCS Resistor 100K ohm 100000 ohm 1/4w 1/4 w 5%
Tutorial: How to use Resistor 100K ohm
Resistors are fundamental components to limit the flow of current in an electronic circuit. This 100K ohm resistor is ideal for Arduino projects, sensor systems, and control systems.
What you need
- Arduino
- Breadboard
- Test Connection
- LED Indicator
Steps
- Check the resistance using a multimeter.
- Connect the red end of the LED indicator to the breadboard.
- Connect the other end of the LED to one of the bands of the 100K ohm resistor.
- Connect the other band of the resistor to the digital output of Arduino (for example, pin 2).
- Insert the code below into your Arduino IDE and save it as ‘ResistorLED’.
- Upload the sketch to your Arduino.
- Press the ‘Upload’ button to send the code to the Arduino.
- Observe the LED turning on and off.
Example code
const int ledPin = 2; // definisci la porta dell'LED
void setup() {
  pinMode(ledPin, OUTPUT); // imposta come uscita il pin LED
}
void loop() {
  digitalWrite(ledPin, HIGH); // accendi l'LED
  delay(1000); // attende un secondo
  digitalWrite(ledPin, LOW); // spegni l'LED
  delay(1000); // attende un secondo
}
Mini project
Create a motion sensor with Arduino and a 100K ohm pull-down resistor to filter signals.
Common mistakes
- Incorrect LED connection
- Incorrect pin setting in Arduino
- Use of an unsuitable resistor for the LED
Recommended accessories
- Arduino Uno R3
- Breadboard 400 points
- Set of test connectors
- Electronic sensor kit
Frequently asked questions
What is the maximum power of the resistor?
Check the datasheet
Can I use this resistor with a low current LED?
Yes, but verify the resistance value to properly limit energy to the LED.
Reviews
There are no reviews yet.