 EN
 IT Italiano
 ES Español
 FR Français
 DE Deutsch

Description
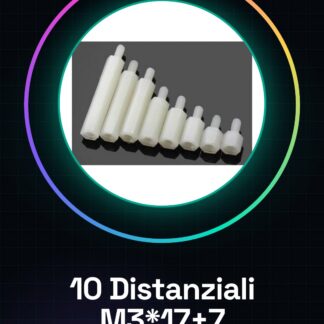
Datasheets for all components are available. If not present in the product download, contact us via the contact form and we will publish it as soon as possible. Tutorial: How to Use M3*5+6 Spacers These spacers are essential for maintaining the correct distance between electronic components and are useful for Arduino and 3D printing projects. What You Need M3 Spacers M3 Nut M3 Anti-slip Pad Soldering Pen Check the specifications of the spacer in the datasheet. Prepare an M3 nut for each spacer. Connect the spacer to the nut using an anti-slip pad. Mount the nut on a mounting board or printed circuit. Repeat for all necessary spacers. Ensure the spacers are securely mounted and there are no movements. Mini-Project Mount a pressure sensor on a printed circuit using M3*5+6 spacers to avoid unwanted electrical contacts. Common Errors Do not use spacers other than M3. Do not apply excessive force during installation. Do not mix spacers with conductive materials. Do not use spacers on sensitive components. Recommended Accessories M3 Nut M3 Nut M3 Anti-slip Pad Soldering Pen Frequently Asked Questions Can I use spacers other than M3? No, always check the product specifications. Do I need special tools to mount these spacers? No, an M3 nut and an anti-slip pad will suffice. Can these spacers be used for 3D printing? Yes, but ensure the print is insulating. How can I check if the spacers are correctly mounted? Ensure there are no movements and the spacers are securely fixed.



Reviews
There are no reviews yet.