 EN
 IT Italiano
 ES Español
 FR Français
 DE Deutsch
Description
What it is
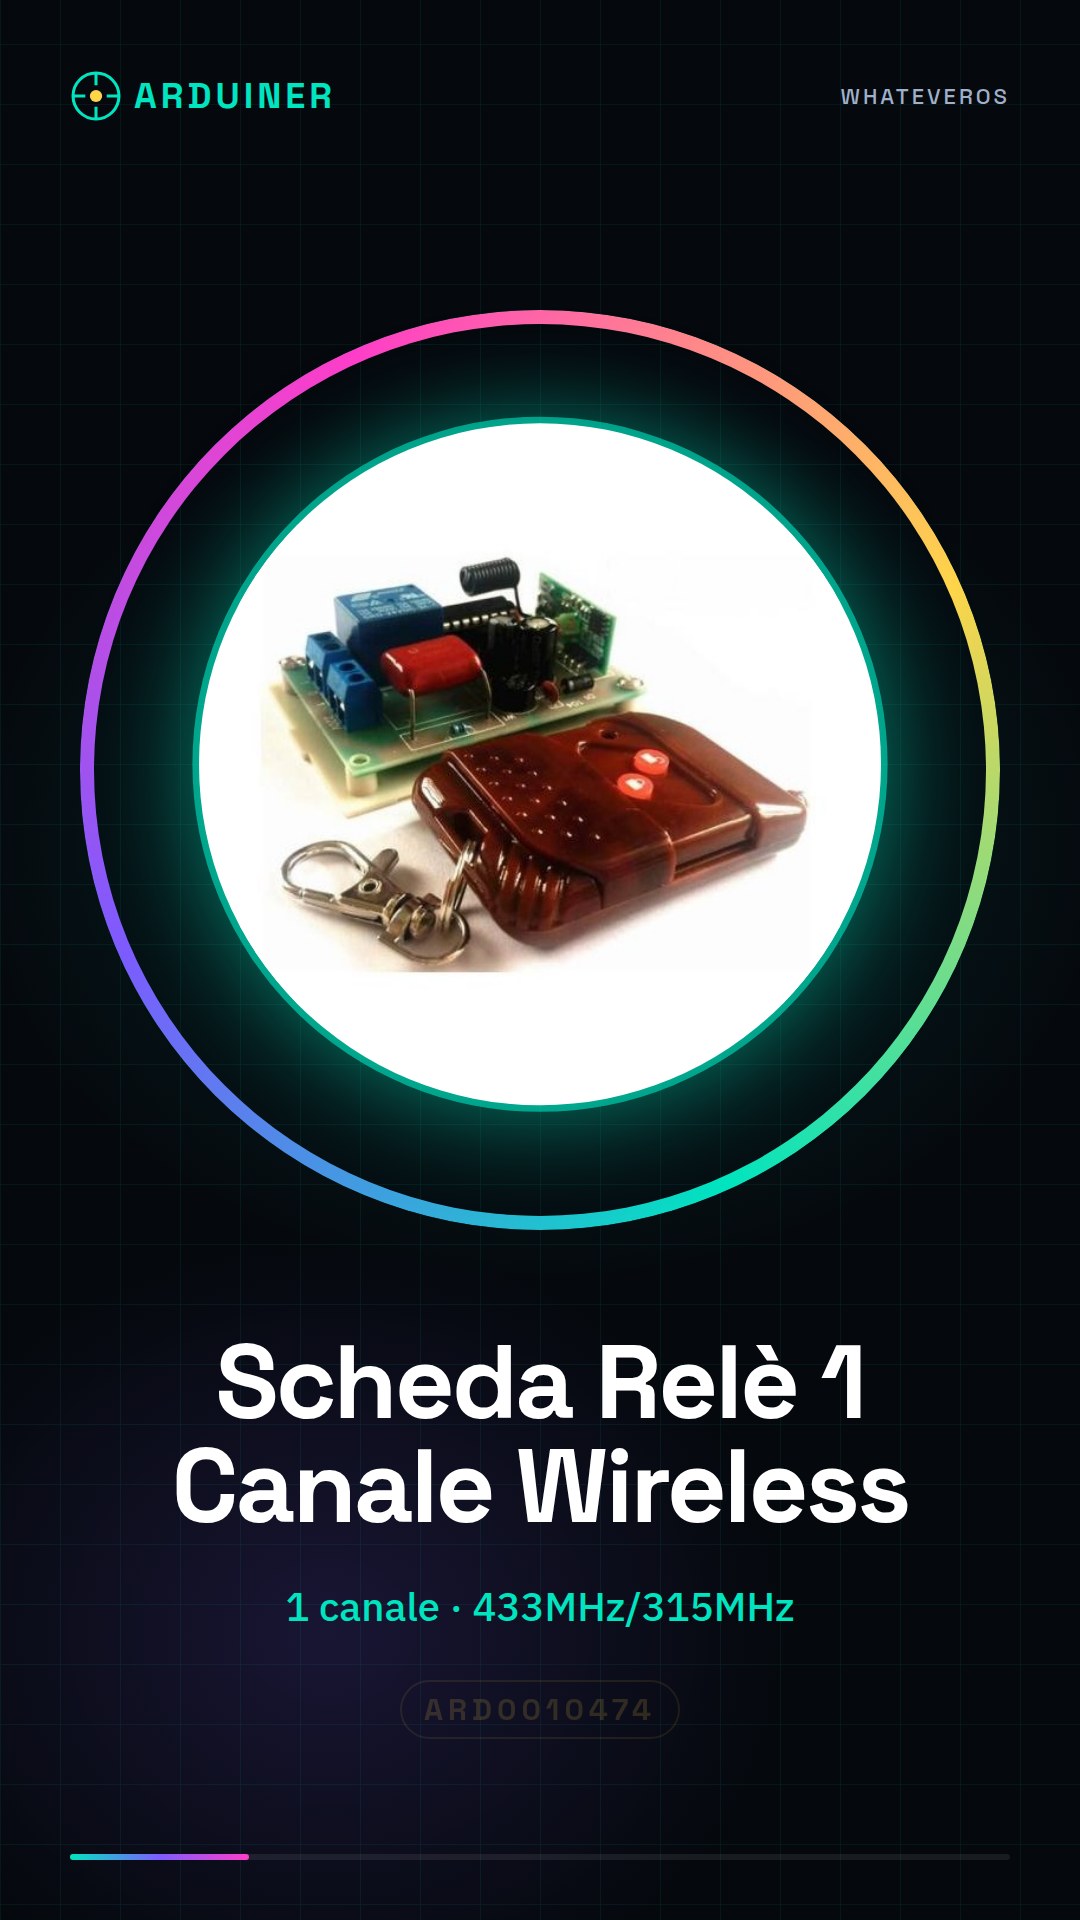
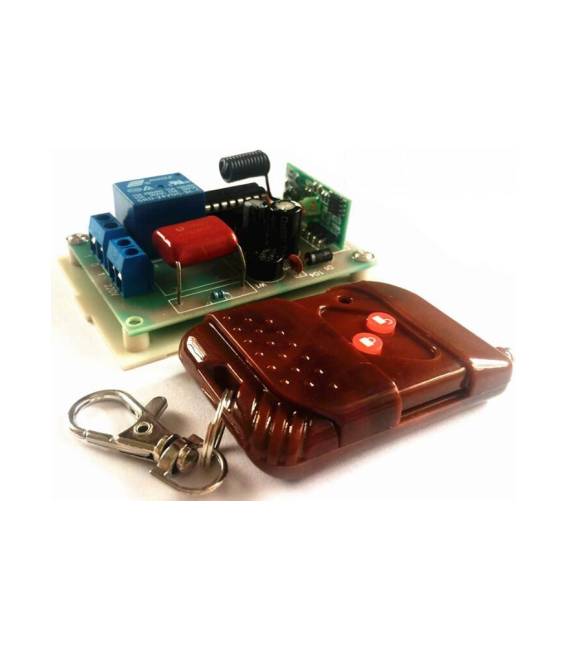
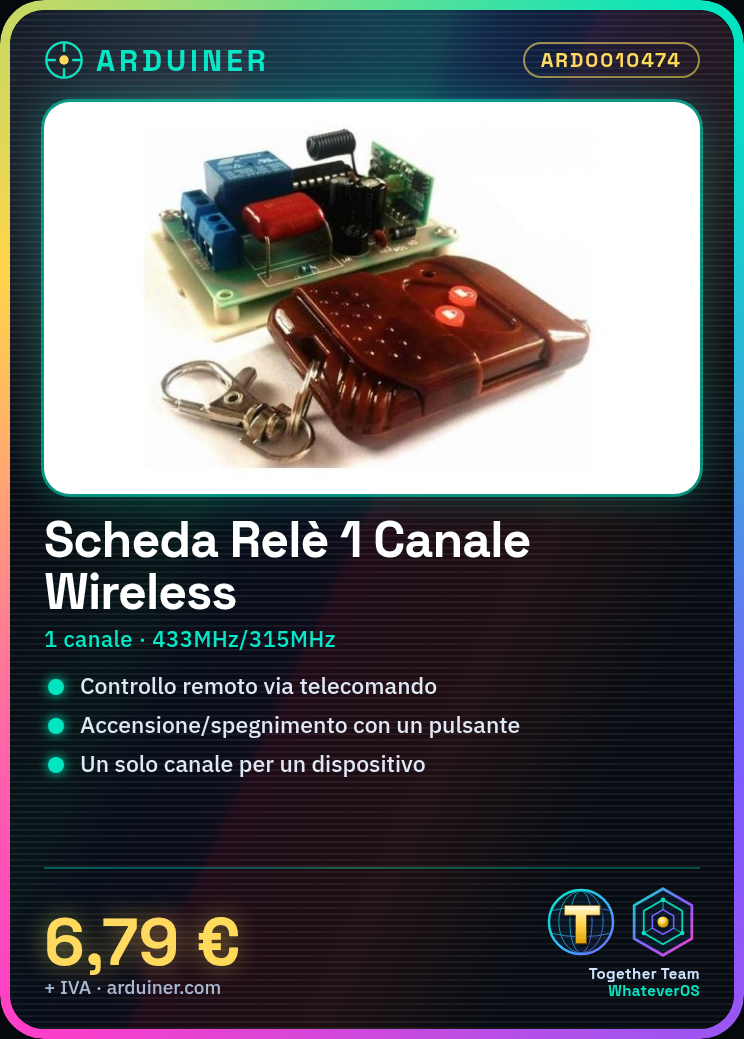
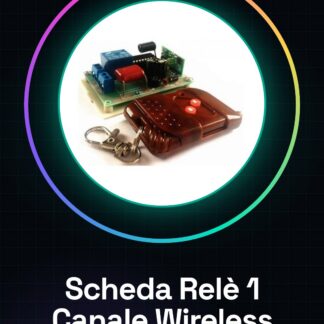
The 1 Channel Wireless Remote Control Relay Board is a device that allows you to remotely control the presence or absence of electrical current in a circuit. This component is useful for home or industrial automation projects.
Features
- 1 Channel Relay Board
- Remote control frequencies: 433Mhz and 315Mhz
- Remote control button for on/off
What it is for
The board is ideal for projects that require remote control, such as home lighting. You can connect a lamp to the relay and use the remote control to turn the light on or off. Check the datasheet for further information on compatibility with Arduino or ESP.
Tutorial: How to Use 1 Channel Wireless Remote Control Relay Board
The wireless remote control relay board is ideal for anyone who wants to control electrical devices from a distance. It is perfect for home or industrial automation projects.
What you need
- Arduino Uno
- 3V Battery
- Wireless Remote Control Compatible 433Mhz/315Mhz
- Jumper Wire
Steps
- Connect the relay board to the Arduino using jumper wires, following the datasheet.
- Check that the remote control is compatible with the board frequency (433Mhz or 315Mhz).
- Load the provided Arduino sketch to initialize the relay and receive commands from the remote control.
- Press a button on the remote control to send the signal to the relay board.
- Verify that the status light on the board lights up when the signal is received correctly.
- Connect an electrical device to the relay (check the maximum voltage of the relay in the datasheet).
- Test the system by closing and opening the relay contacts with the remote control.
- Configure additional features such as sending multiple commands or storing codes.
Example code
void setup() {
  Serial.begin(9600);
}

void loop() {
  if (digitalRead(RELAIS_PIN) == HIGH) {
    digitalWrite(RELAIS_PIN, LOW); // apri i contatti del relè
  } else {
    digitalWrite(RELAIS_PIN, HIGH); // chiudi i contatti del relè
  }
}
Mini project
Create a remote lighting system: connect a lamp to the relay and use the remote control to turn the light on or off.
Common mistakes
- Do not verify the remote control frequency compatibility.
- Connect voltage higher than the relay specification.
- Ignore the electrical assembly instructions on the datasheet.
- Use an Arduino code not suitable for relay control.
Recommended accessories
- 433Mhz/315Mhz Remote Control
- Arduino Uno R3
- 3.7V LiPo Battery
- Electrical Socket
Frequently asked questions
What is the maximum voltage the relay can handle?
Check the datasheet.
Does the remote control work only at a specific frequency?
Yes, make sure to use a remote control compatible with 433Mhz or 315Mhz.
Can I connect multiple relays to the same board?
This product is designed for a single channel. For multiple channels, purchase a multi-relay board.
Reviews
There are no reviews yet.