 EN
 IT Italiano
 ES Español
 FR Français
 DE Deutsch
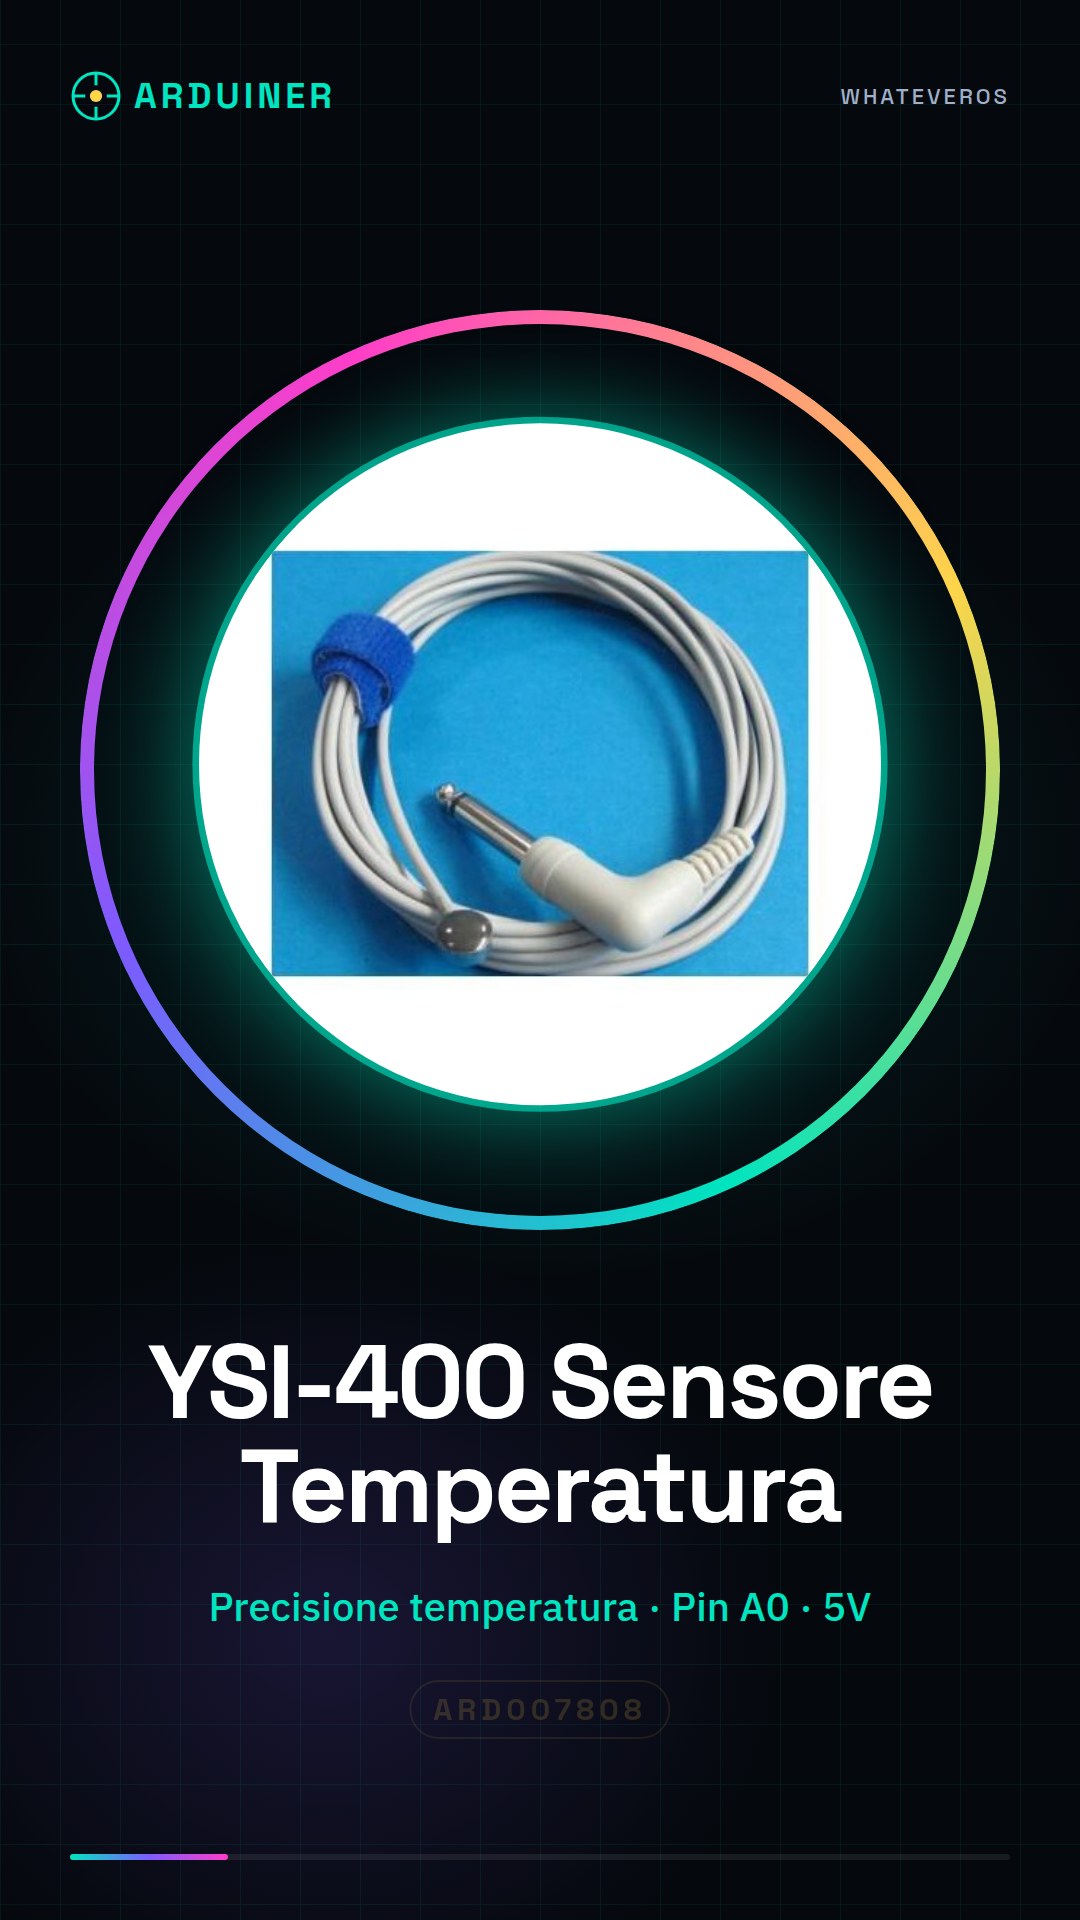
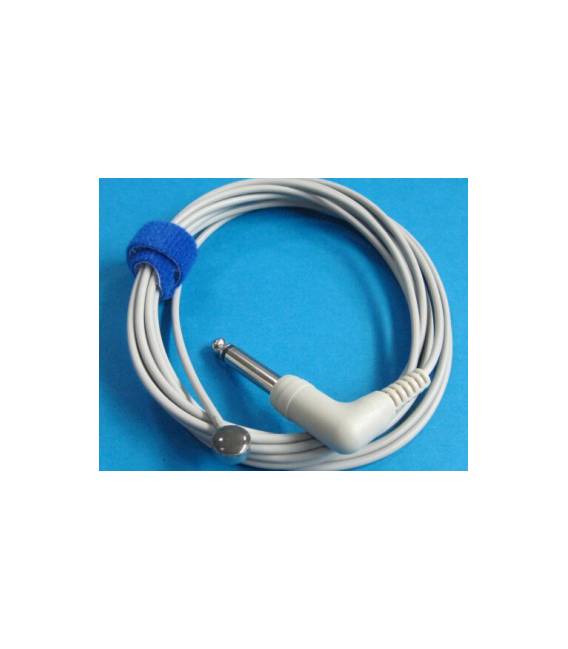
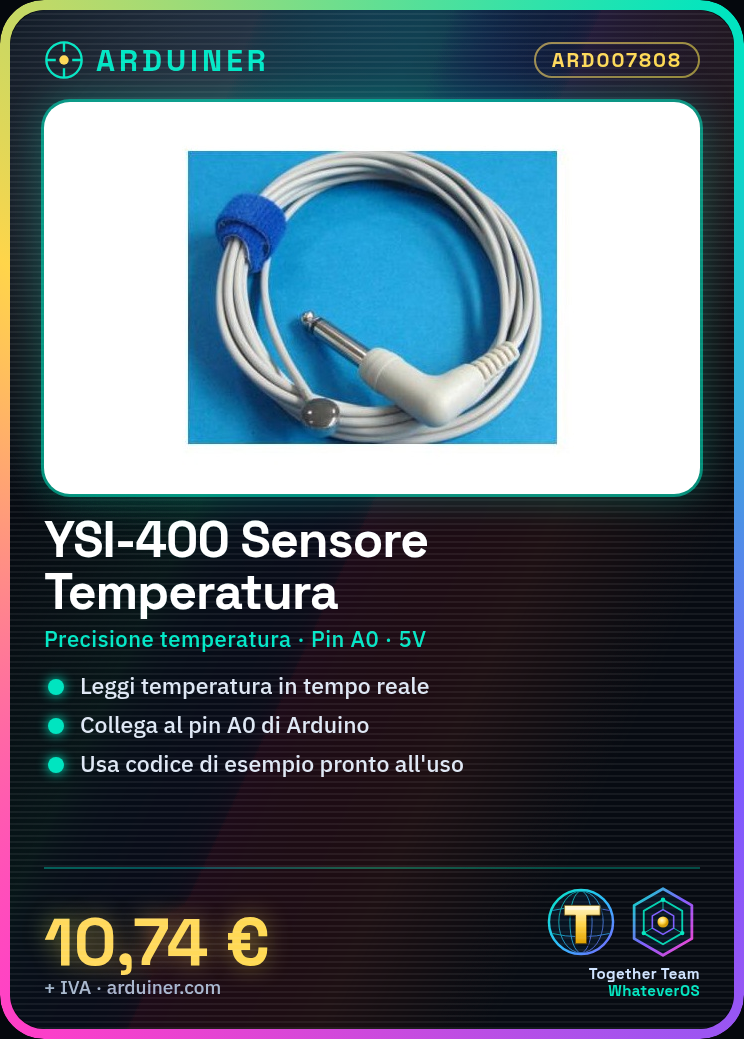
Description
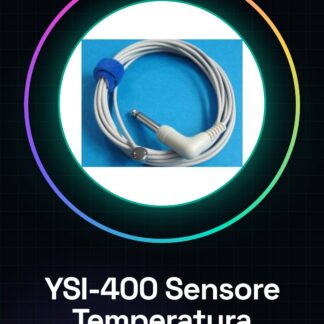
Tutorial: How to Use YSI-400 Temperature Sensor The YSI-400 temperature sensor measures temperature with precision, ideal for environmental and laboratory monitoring projects. What you need: Arduino UNO or compatible, Connection cable (optional), ESD protection (optional). Steps: 1. Check the datasheet for sensor specifications. 2. Connect the sensor to pin A0 on Arduino. 3. Connect the sensor GND to Arduino GND. 4. Connect the sensor VCC to Arduino 5V. 5. Install the sensor in a protected environment. 6. Run the following code to read the temperature. 7. Verify the reading with a digital thermometer. 8. Calibrate the sensor if necessary. Example code: “` #include #include #include Adafruit_YSI400 tempSensor; void setup() { Serial.begin(9600); if (!tempSensor.begin()) { Serial.println(“YSI-400 not found!”); while (1); } } void loop() { float temperature = tempSensor.readTemperature(); Serial.println(temperature); delay(1000); } “` Mini-project: Build a temperature monitor for your office or lab in 30 minutes. Common errors: Connecting VCC to 3.3V instead of 5V, omitting ESD protection, not verifying connections before running code, forgetting to update the sensor library. Recommended accessories: Digital thermometer, Arduino connection cable, Arduino case, Arduino YSI-400 library. Frequently asked questions: How can I verify the connection? Run the example code and verify the reading with a digital thermometer. Does the sensor work with Arduino Nano? Yes, the sensor works with Arduino Nano or compatible boards. How long does the battery last? The sensor does not use batteries; power is supplied by the Arduino. Can I use this sensor in a humid environment? Check the datasheet to see if the sensor is moisture-resistant.
Reviews
There are no reviews yet.