 EN
 IT Italiano
 ES Español
 FR Français
 DE Deutsch
Description
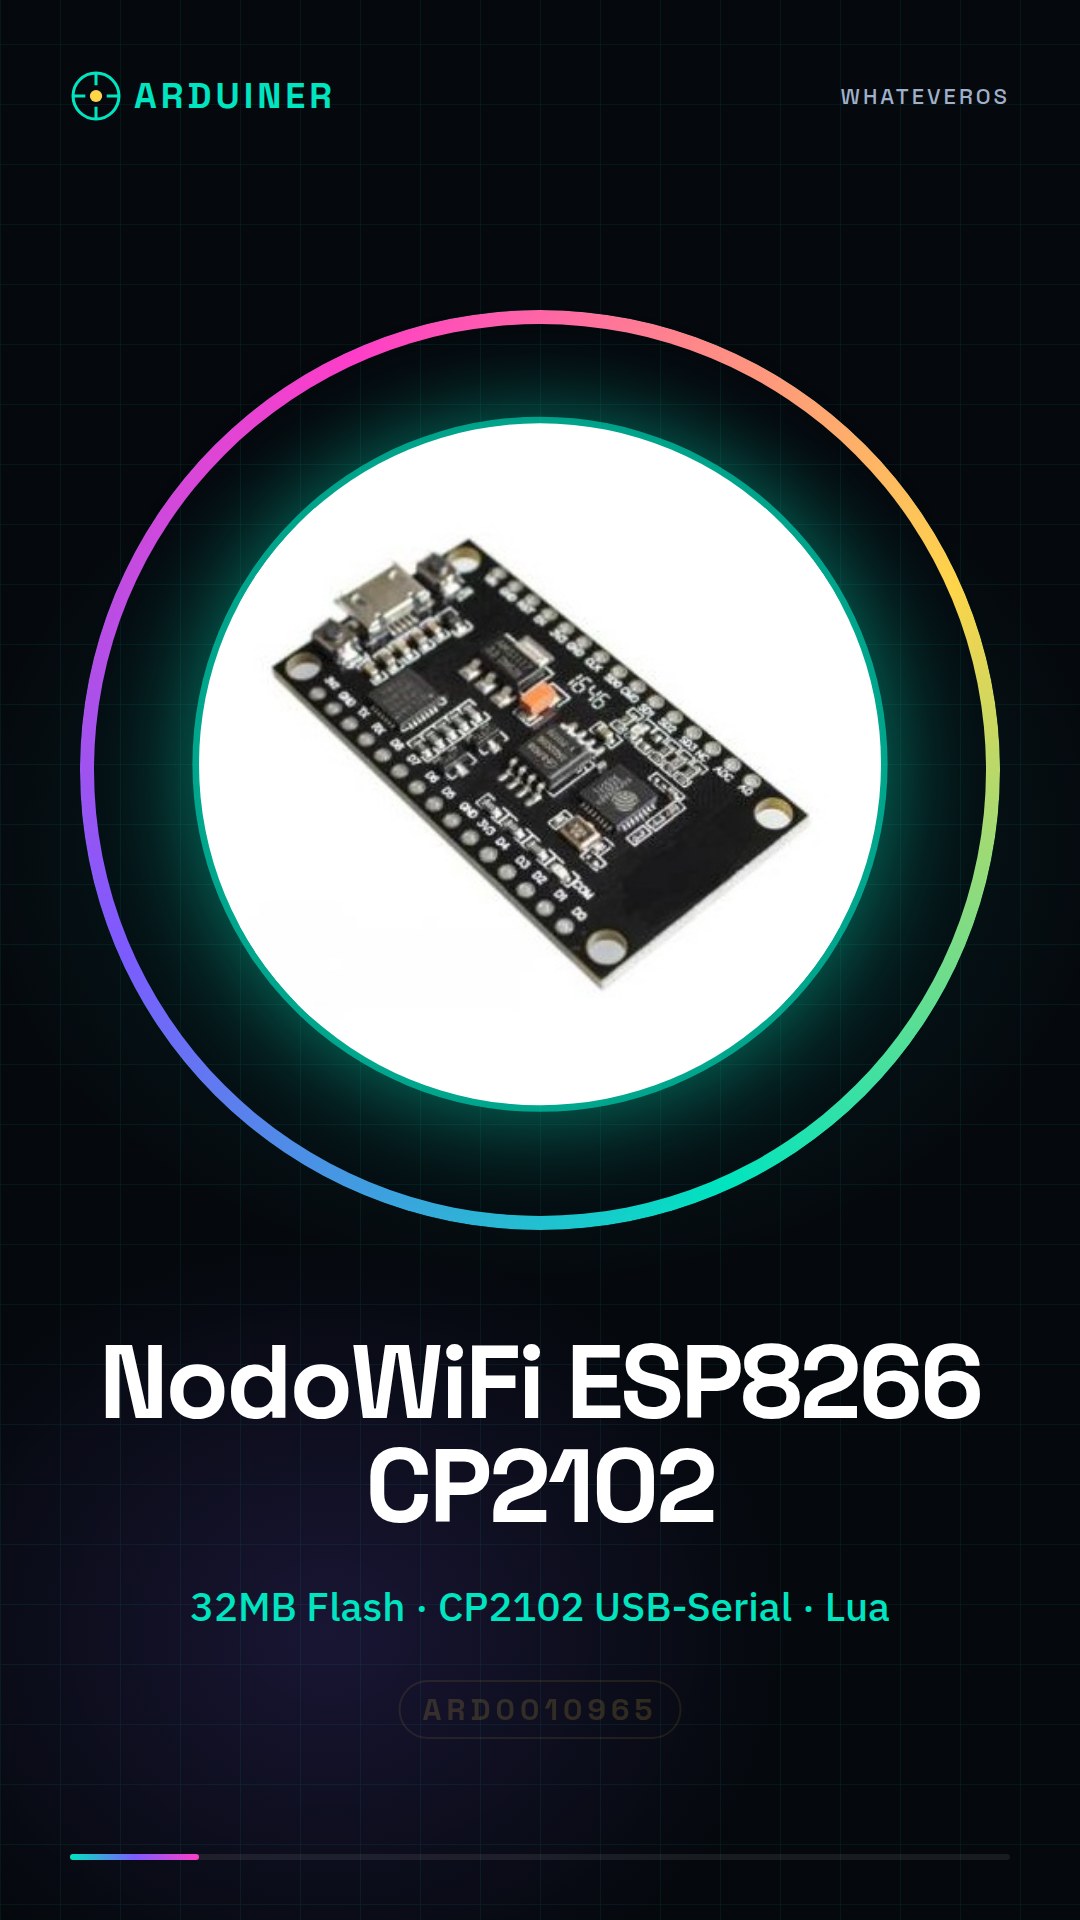
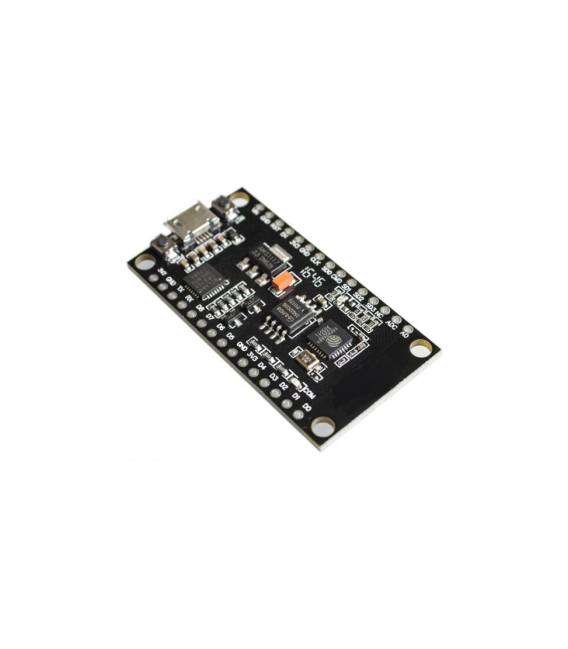
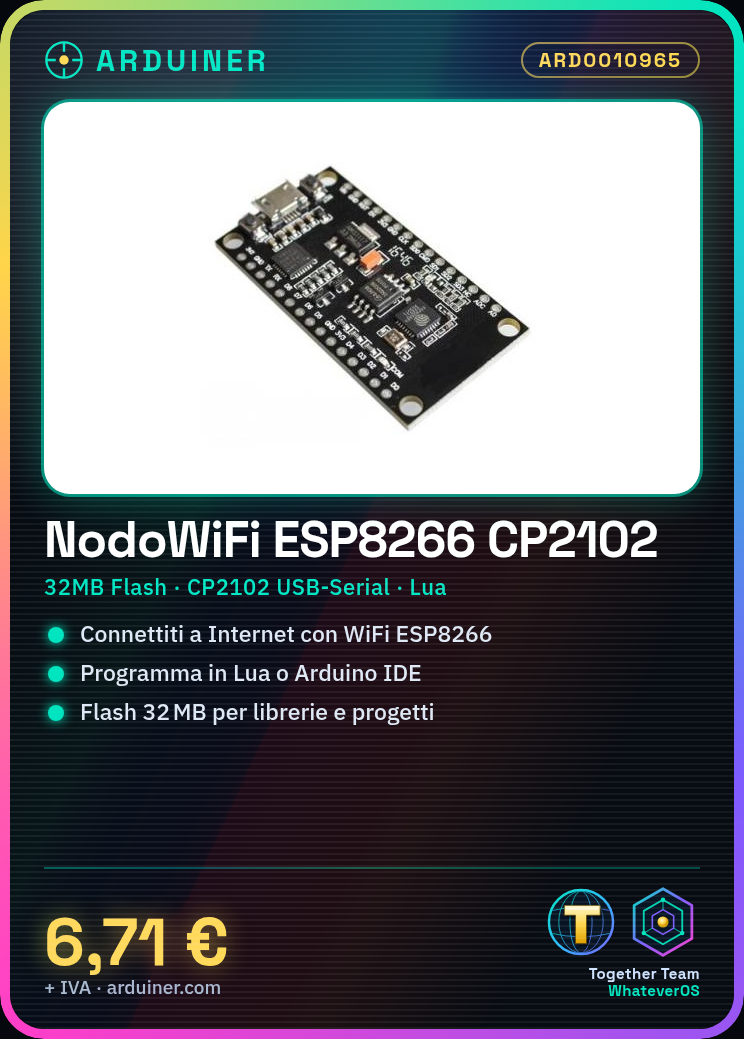
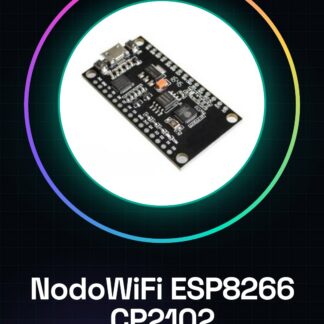
WiFi NODEMCU ESP8266 Module with CP2102 (USB to Serial Converter)
Nodemcu V3 Lua WiFi Integrated ESP8266 Module + 32 M FLASH Memory, USB Serial Port CH340G
Modern WiFi ESP8266 + 32 MB, the module is based on a wide range of ESP8266 system chip from expressif. Modern WiFi ESP8266 + 32 MB, compatible with nodemcu board. We have added an additional 32 MB of memory. This is better for large library projects. No need to worry about memory size. On board there is a USB-TTL serial converter CH340G, mini USB port. DC 4 ~ 9 V PowerIn pin VIN. 2.54mm (0.1″) 15 X pin set. Do not solder. Combine WiFi access point and programming station + microcontrollers using simple Lua language. Modern WiFi ESP8266 + 32 MB, provides: Arduino hardware IO. Can be used in Arduino IDE event-driven API network application 10 D0-D10, PWM programming function, IIC and SPI communication, on a WiFi wireless network card and ADC (A0, etc can be used as an access point and/or station, host server), connect to the Internet, get or load data, and developing card use the mounting card.
Tutorial: How to Use the NodeMCU ESP8266 WiFi Module with CP2102
The NodeMCU ESP8266 WiFi Module with CP2102 is perfect for connecting your projects to the Internet. Ideal for beginners and intermediates, it allows you to add WiFi connectivity features to your circuits.
What you need
- NodeMCU ESP8266 WiFi Module with CP2102
- Arduino IDE
- USB Cable
- 10kΩ Resistor (for pin D3)
- PC with supported operating system
Steps
- 1. Software Installation: Download and install the Arduino IDE.
- 2. Module Connection: Connect the NodeMCU module to your PC using the USB cable.
- 3. Module Configuration: Check the datasheet for the pin D3 (GPIO0) configuration with a 10kΩ resistor.
- 4. First Sketch Creation: Open the Arduino IDE and create a new sketch.
- 5. Base Code: Insert the base code to initialize the WiFi module.
- 6. Code Upload: Upload the code to the NodeMCU module.
- 7. WiFi Configuration: Modify the WiFi parameters in the code.
- 8. Test: Connect the module to the Internet and verify the connection.
Example code
```
#include <ESP8266WiFi.h>

const char* ssid = "nome_rete";
const char* password = "password_rete";

void setup() {
  Serial.begin(115200);
  WiFi.begin(ssid, password);
  delay(10000);
  Serial.println("Connesso a WiFi");
}

void loop() {}
```
Mini project
Create a simple HTTP server to control a remote LED. In 30 minutes, you can configure the NodeMCU module to turn an LED on/off with a web browser.
Common mistakes
- Forgot to configure the 10kΩ resistor for pin D3.
- Did not configure the WiFi parameters correctly.
- Did not use an appropriate USB cable.
- Entered incorrect or incomplete code.
Recommended accessories
- LED with resistor
- LiPo battery
- 1.3″ OLED display
- PIR motion sensor
Frequently asked questions
How to configure the WiFi module?
Modify the WiFi parameters in the Arduino code using your network details.
What are the PC requirements?
The PC must have a supported operating system (Windows, Linux, macOS).
Does the module work with batteries?
Yes, the module supports LiPo battery power.

Reviews
There are no reviews yet.