 EN
 IT Italiano
 ES Español
 FR Français
 DE Deutsch
Description
What it is
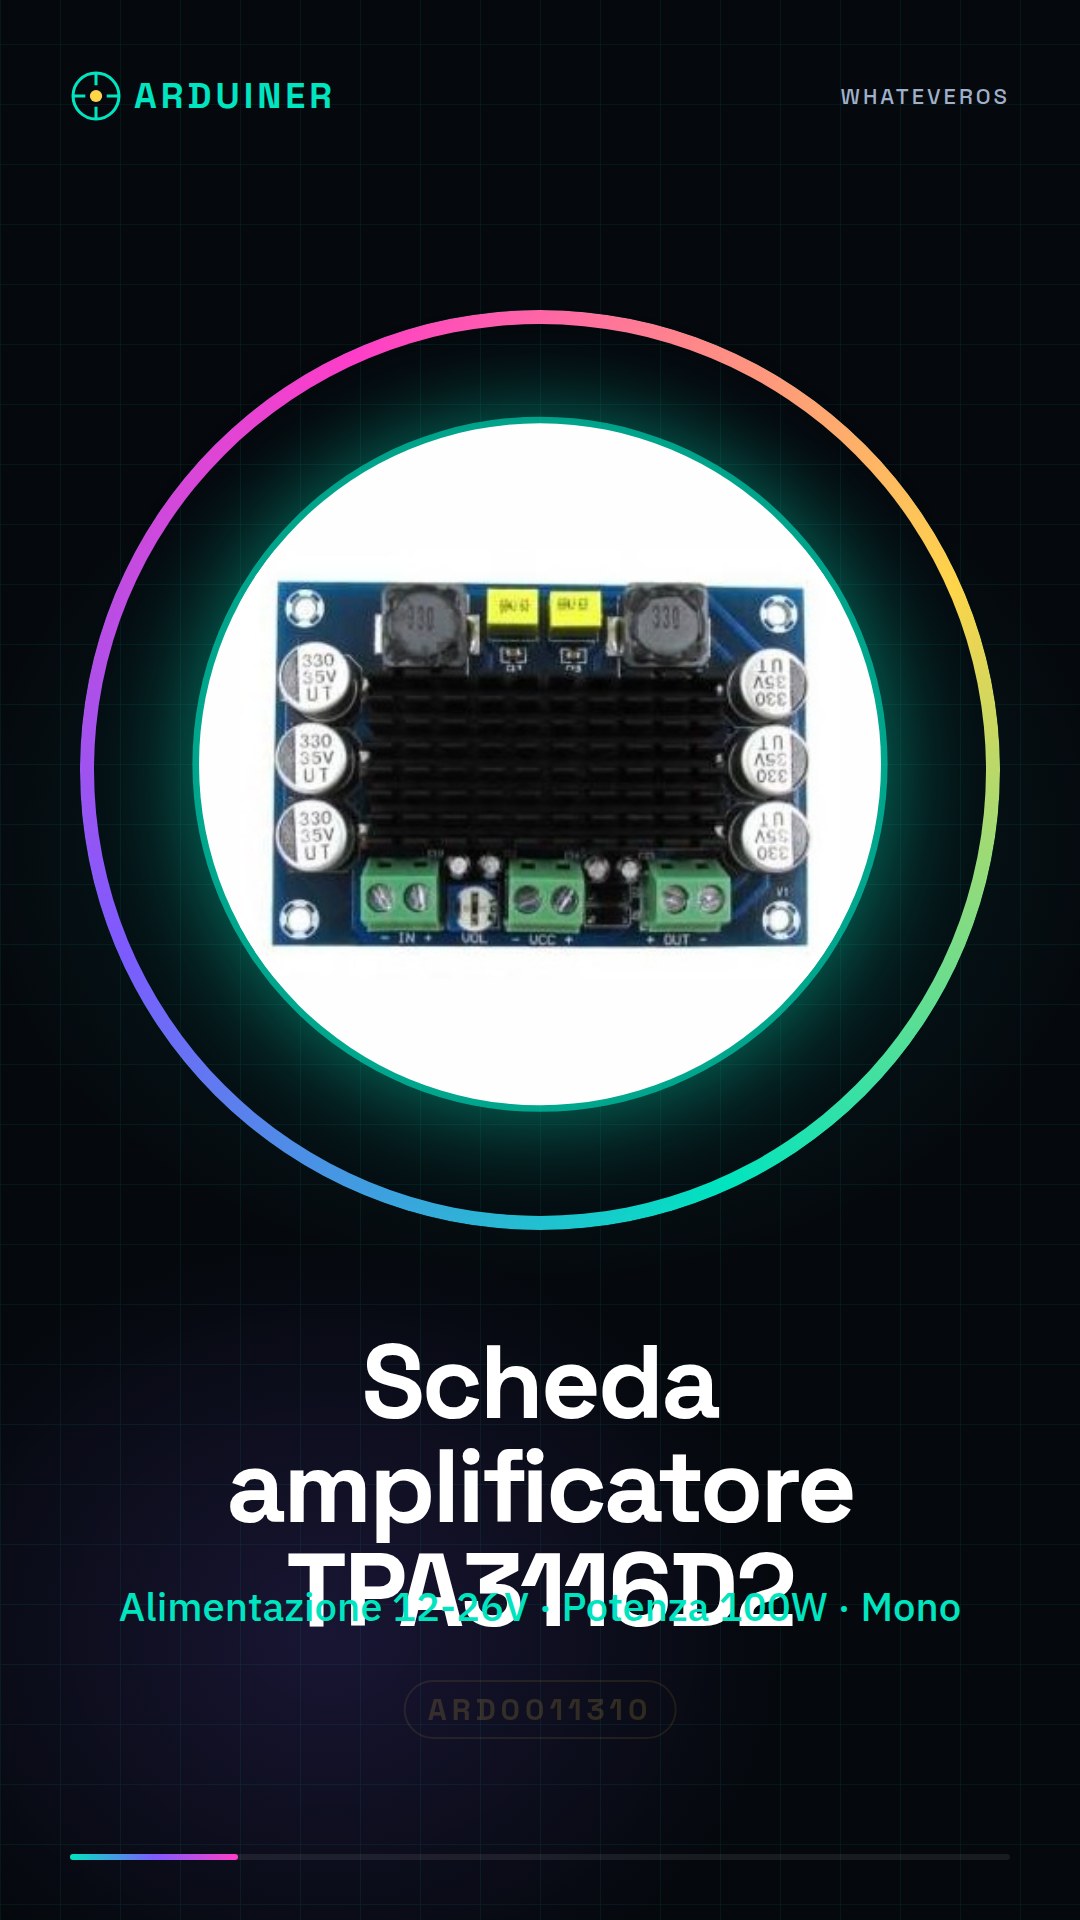
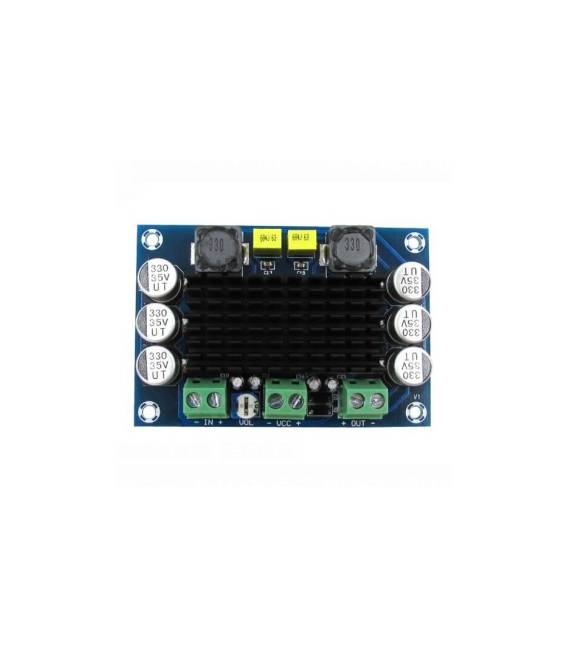
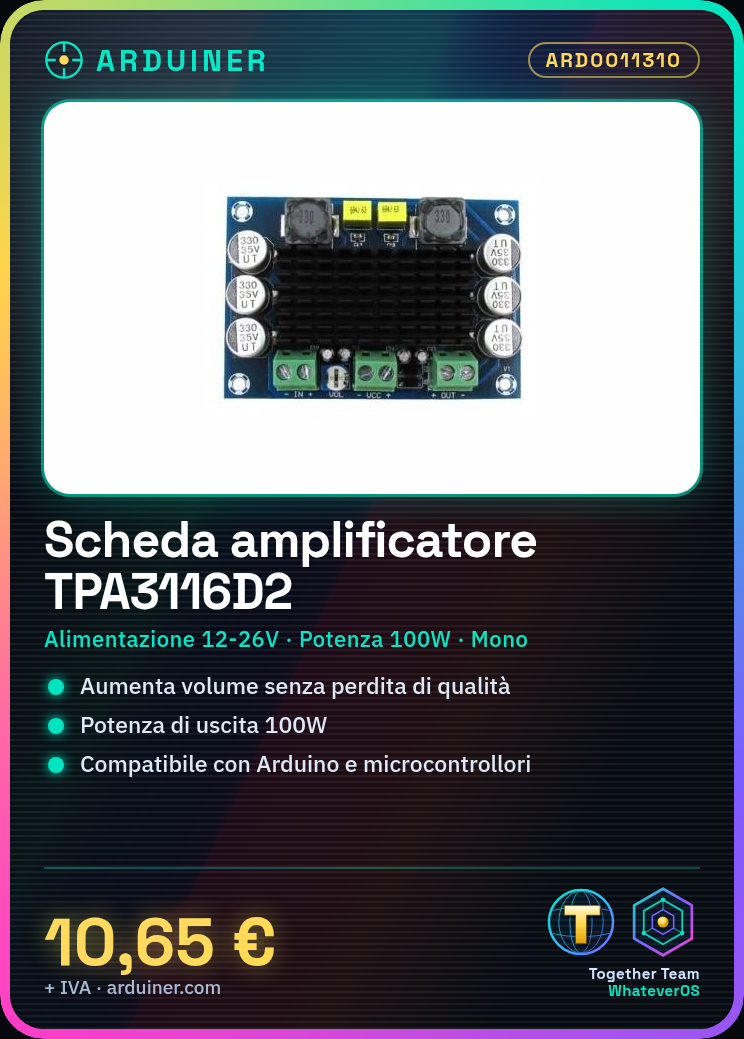
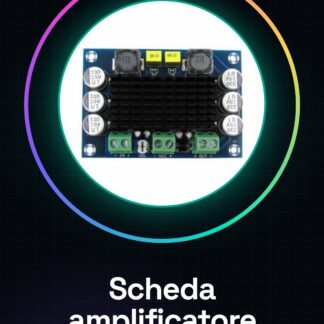
The TPA3116D2 board is a digital mono-channel audio amplifier, ideal for those who want to increase the volume of their electronic projects without compromising on sound quality. Based on the TPA3116DA chip, it offers high output power and excellent audio performance.
Features
- TPA3116DA digital mono-channel audio amplifier
- DC 12-26V power supply
- Output power 100W
What it is for
The TPA3116D2 board is perfect for DIY projects that require high audio quality and high output power. It can be used to create audio systems for speakers, home alarms, and much more. Its compatibility with Arduino and other microcontrollers makes it versatile for a wide range of applications.
Tutorial: How to use TPA3116D2 Audio Amplifier Board
The TPA3116D2 board is a digital mono-channel audio amplifier ideal for those who want to increase the volume of their electronic projects without compromising sound quality. This tutorial will guide you through installation and configuration.
What you need
- Arduino Uno or compatible
- USB Connections
- Power Supply from 12-26V
- Relay (optional for remote control)
- Speakers
Steps
- Connect the power supply to the TPA3116D2 board ensuring that the voltage is between 12 and 26V.
- Connect the audio input pins of the board to the microphone or desired audio source.
- If necessary, connect a relay for remote control of the amplifier (check the datasheet).
- Connect the audio output to the speakers.
- Configure Arduino to send digital signal to the amplifier if a relay is used.
- Check that the TPA3116D2 board is properly powered and that the audio signal is received without interruptions.
- Adjust the volume of the amplifier according to the project requirements.
- Test the audio to ensure everything works correctly.
Example code
// Codice Arduino minimo
// Collega un relé alla scheda TPA3116D2 se si utilizza il controllo remoto.
int relayPin = 7; // Pin del relé collegato all'amplificatore
void setup() {
    pinMode(relayPin, OUTPUT);
}
void loop() {
    digitalWrite(relayPin, HIGH); // Accende l'amplificatore
    delay(5000); // Aspetta 5 secondi
    digitalWrite(relayPin, LOW); // Spegne l'amplificatore
}
Mini project
Create a home security system with audio. Connect the TPA3116D2 board to a speaker and use Arduino to activate an audio signal when specific conditions are met.
Common mistakes
- Ensure the power supply is correct (12-26V).
- Check the audio pin connections.
- Verify the relay configuration if present.
- Adjust the amplifier volume to avoid distortion.
Recommended accessories
- 5V SPDT Relay
- USB Connections
- 12-26V AC Power Adapter
- Speakers
Frequently asked questions
How do I adjust the volume?
The volume can be adjusted via a potentiometer or through audio signal configuration.
Can I use this board with a battery?
Yes, but make sure the battery voltage is between 12-26V.
What are the physical dimensions of the board?
Check the datasheet to obtain precise information about size and connectivity.
Reviews
There are no reviews yet.