 EN
 IT Italiano
 ES Español
 FR Français
 DE Deutsch
Description
What it is
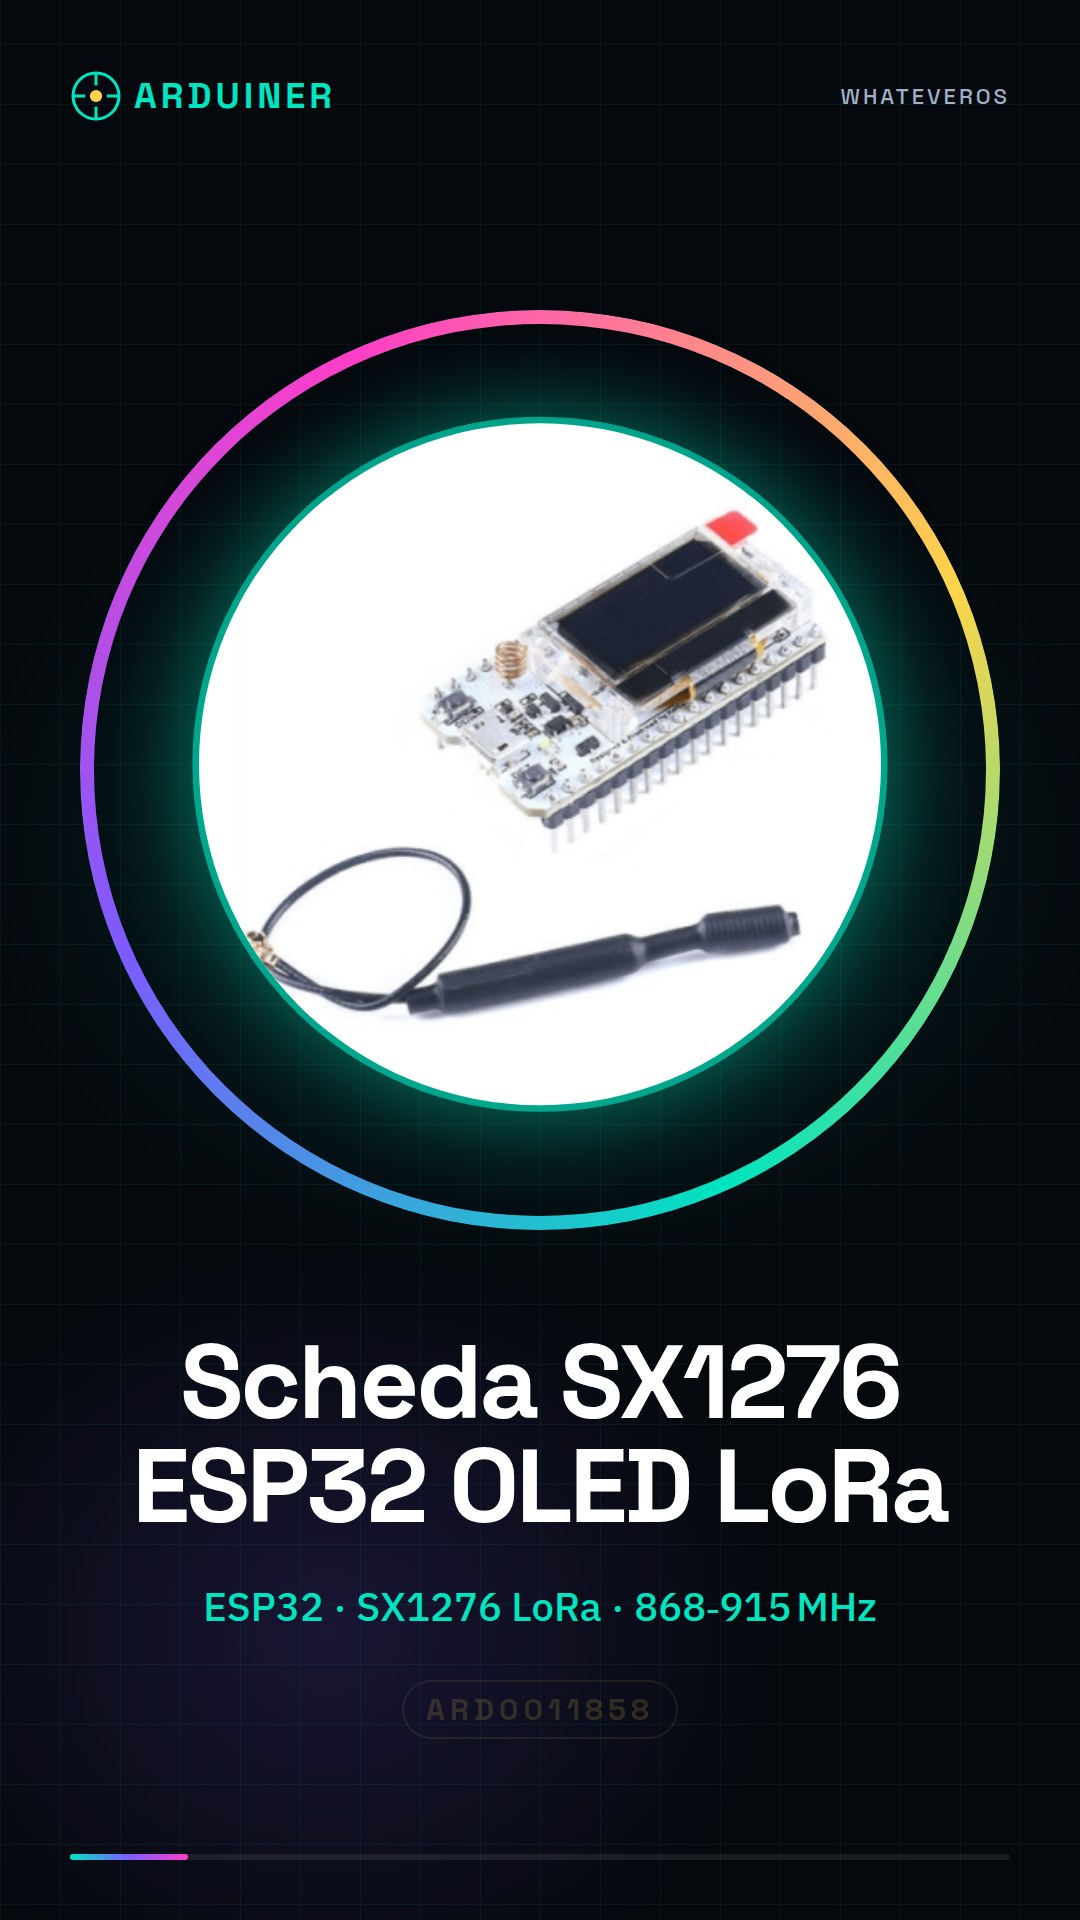
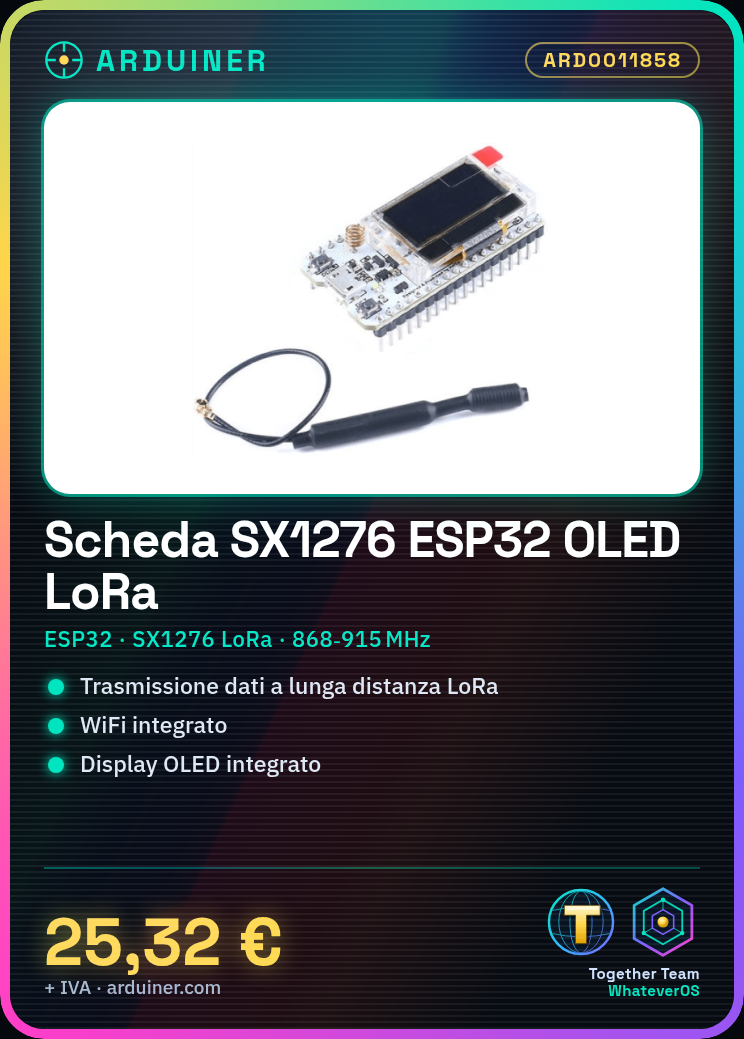
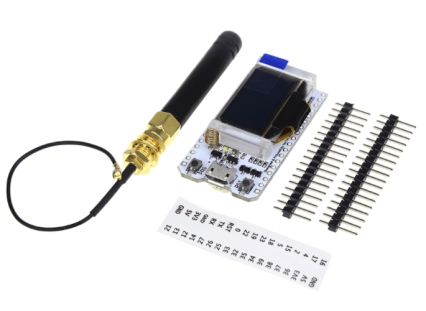
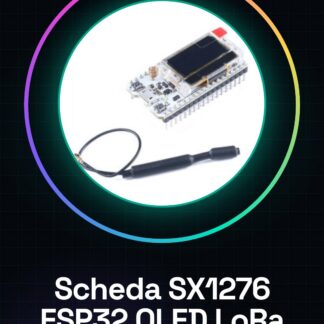
The SX1276 ESP32 OLED WIFI LoRa Node 868-915MHz development board is a module that combines an ESP32 processor, a LoRa transmitter/receiver SX1276, a WiFi connection, and an integrated OLED display.
Features
- Chipset: ESP32
- LoRa Module: SX1276
- LoRa Frequency: 868-915MHz
- Integrated WiFi connection
- Integrated OLED display
What it is for
The board is ideal for IoT (Internet of Things) projects that require long-range data transmission and low power consumption. It can be used to create remote monitoring systems, remote control systems, or long-range communication systems. Compatibility with Arduino and the presence of an OLED display simplify the development and programming of applications.
Tutorial: How to use SX1276 ESP32 OLED WIFI LoRa Node 868-915MHz
This board allows you to transmit and receive data over long distances using LoRa technology. Ideal for remote monitoring projects, remote controls, or communication systems.
What you need
- SX1276 ESP32 OLED WIFI LoRa Node 868-915MHz
- Arduino IDE
- PC with USB connector
- Arduino ESP32
Steps
- 1. Install the Arduino IDE.
- 2. Install the SX1276 library package.
- 3. Connect the SX1276 board to your ESP32 via I2C pins.
- 4. Check the datasheet for I2C configuration.
- 5. Connect the OLED to the ESP32.
- 6. Configure the code for LoRa communication.
- 7. Verify the WiFi connection.
- 8. Test data transmission and reception.
Example code
```
#include <Wire.h>
#include <Adafruit_SSD1306.h>
#include <SX1276.h>

#define OLED_RESET 4
Adafruit_SSD1306 display(OLED_RESET);
SX1276 radio;

void setup() {
  display.begin(SSD1306_SWITCHCAPVCC, 0x3C);
  display.clearDisplay();
  display.display();
  radio.init();
  radio.setFrequency(868.0); // Verifica sul datasheet
  radio.setTxPower(13); // Verifica sul datasheet
}

void loop() {
  display.clearDisplay();
  display.display();
}
```
Mini project
Create a remote monitoring system using the SX1276 ESP32 OLED WIFI LoRa Node 868-915MHz board. Configure the board to send and receive test messages.
Common mistakes
- Properly connect I2C.
- Verify LoRa frequency configuration.
- Check WiFi connection.
- Check the library being used.
Recommended accessories
- Arduino ESP32
- OLED 128×64
- LoRa Antenna
- I2C Cable
Frequently asked questions
What are the minimum requirements for the Arduino IDE?
At least Arduino IDE version 1.8.15.
Can I use this board with Arduino Uno?
No, this board is designed for Arduino ESP32.
What frequencies are supported?
868-915MHz.
Reviews
There are no reviews yet.