 EN
 IT Italiano
 ES Español
 FR Français
 DE Deutsch
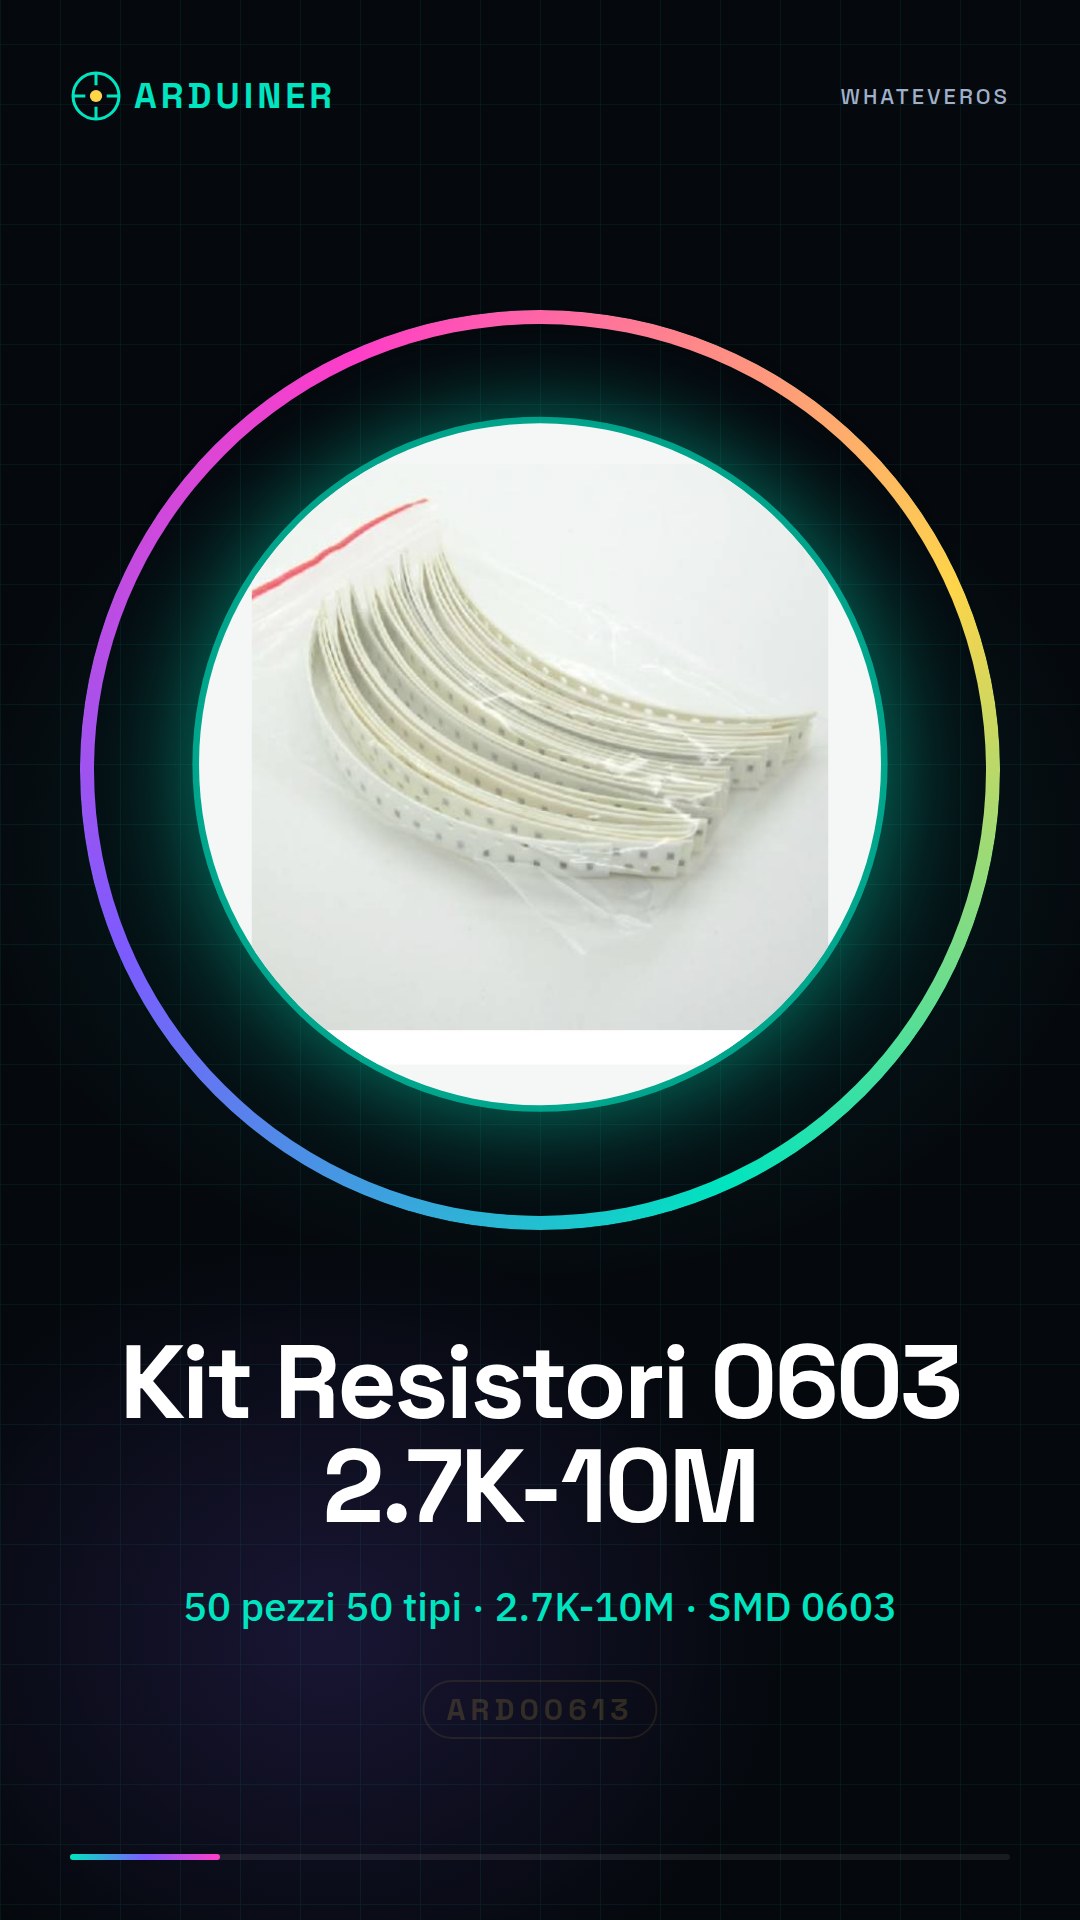
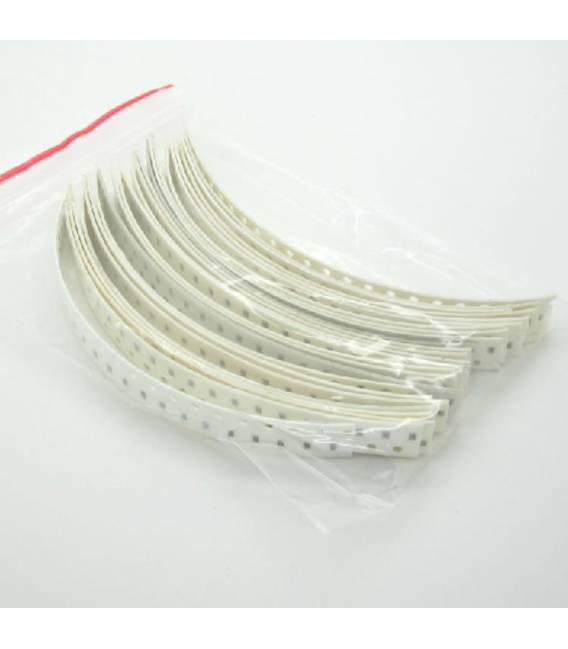
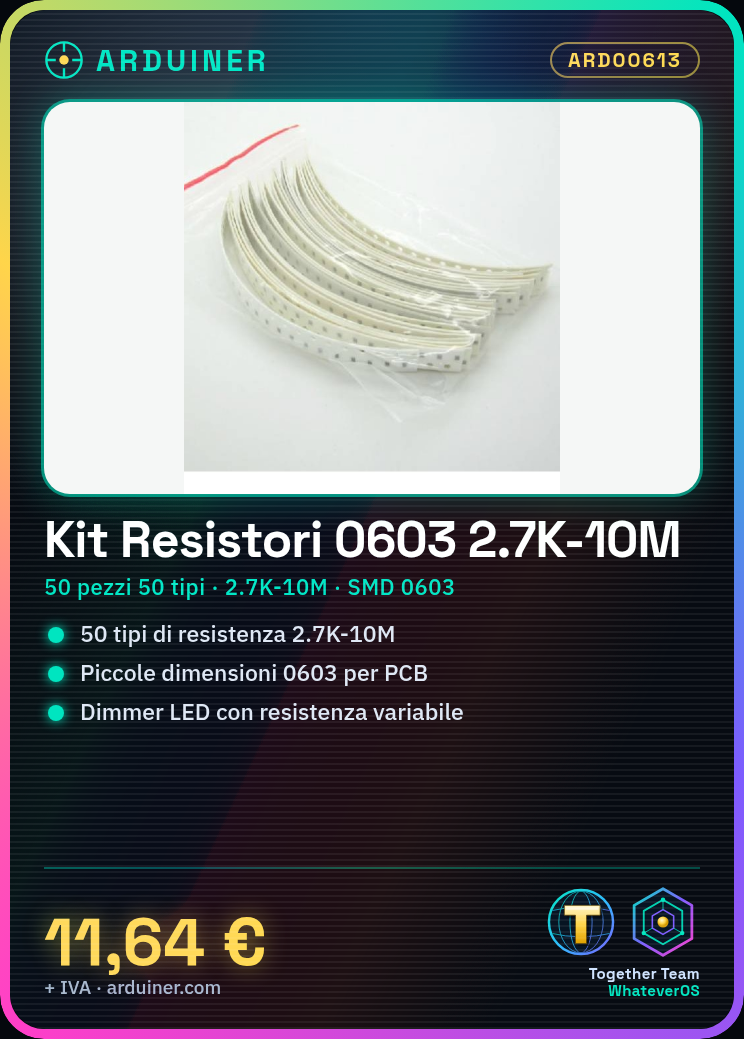
Description
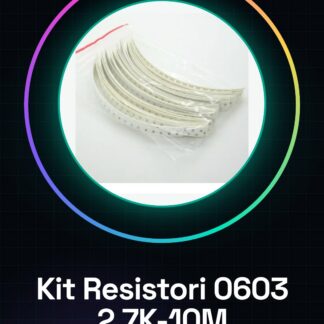
Tutorial: How to Use 0603 SMD Resistor Kit
The 0603 SMD resistor kit is essential for electronic projects that require small size and high precision. Ideal for beginner and intermediate makers looking to explore the world of SMD resistors.
What you need
- Arduino Projects
- Custom PCB Circuits
- Testing and Calibration
Steps
- Check the components in the kit: you should find 50 pieces of 50 different types.
- Identify the values of the resistors using the colored or numeric code on the surface of the component (check the datasheet).
- Select the appropriate SMD resistor for your project based on current and voltage requirements.
- Use a thermal plate or a low-temperature soldering iron to install the resistors on a PCB board.
- Check the installation with a resistance probe or a multimeter.
- If necessary, use the desoldering function of your soldering iron to remove and reinstall components.
- Check the entire circuit before powering it up.
- Document your choices and measurements for future reference or improvements.
Mini project
Create a simple LED dimmer using an SMD variable resistor and a BJT transistor. Adjust the brightness of the LED by changing the resistance.
Common mistakes
- Do not use soldering temperatures that are too high and damage SMD components.
- Do not install resistors backwards, causing short circuits or incorrect operation of the project.
- Do not check the resistance after installation, it may have lost its specified value during the soldering process.
Recommended accessories
- Low Flow Soldering Iron Kit
- SMD Thermal Plate
- Multimeter
- Resistance Tester
Frequently asked questions
How can I verify the correct value of the resistance?
Use a multimeter or resistance probe to measure the resistance after installation.
What is the difference between an SMD resistor and a through-hole resistor?
SMD resistors are smaller, suitable for projects with space limitations. Through-hole resistors are easier to handle but take up more space.
Reviews
There are no reviews yet.