 EN
 IT Italiano
 ES Español
 FR Français
 DE Deutsch
Description
What it is
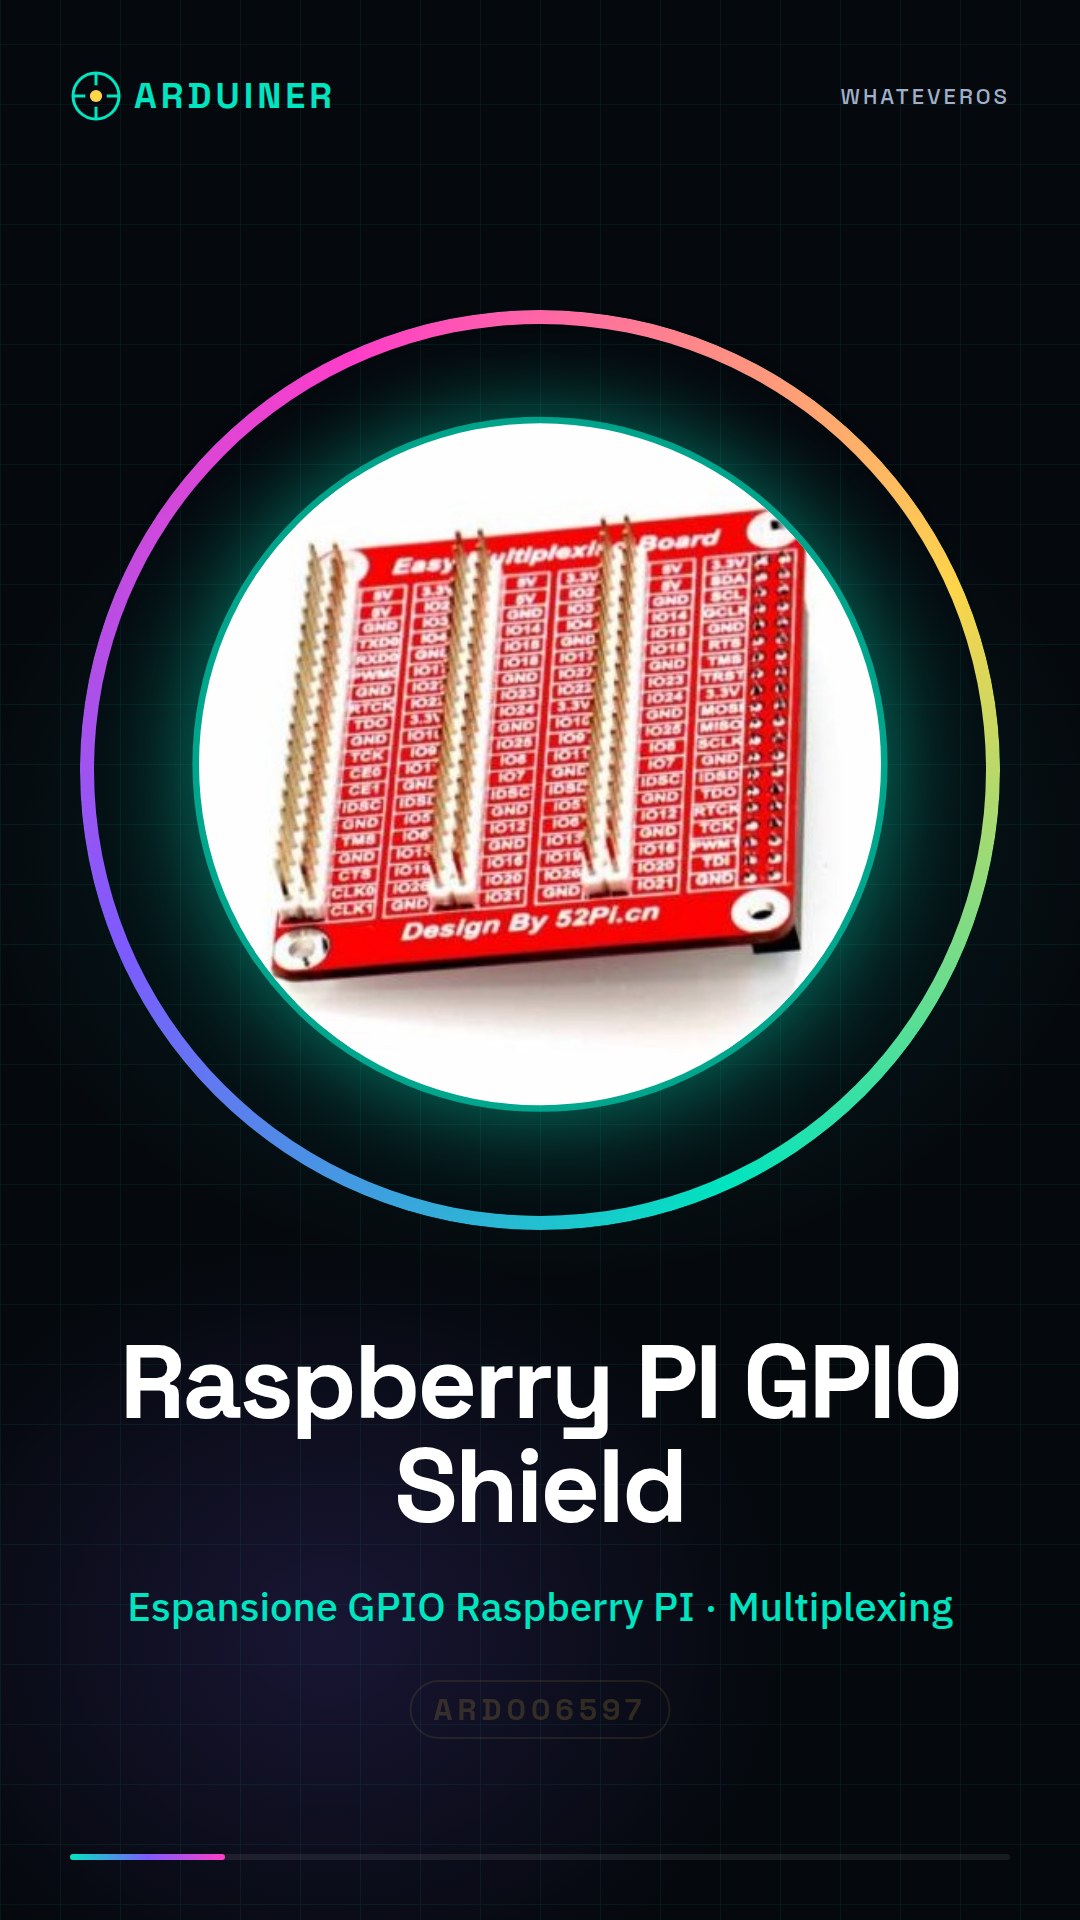
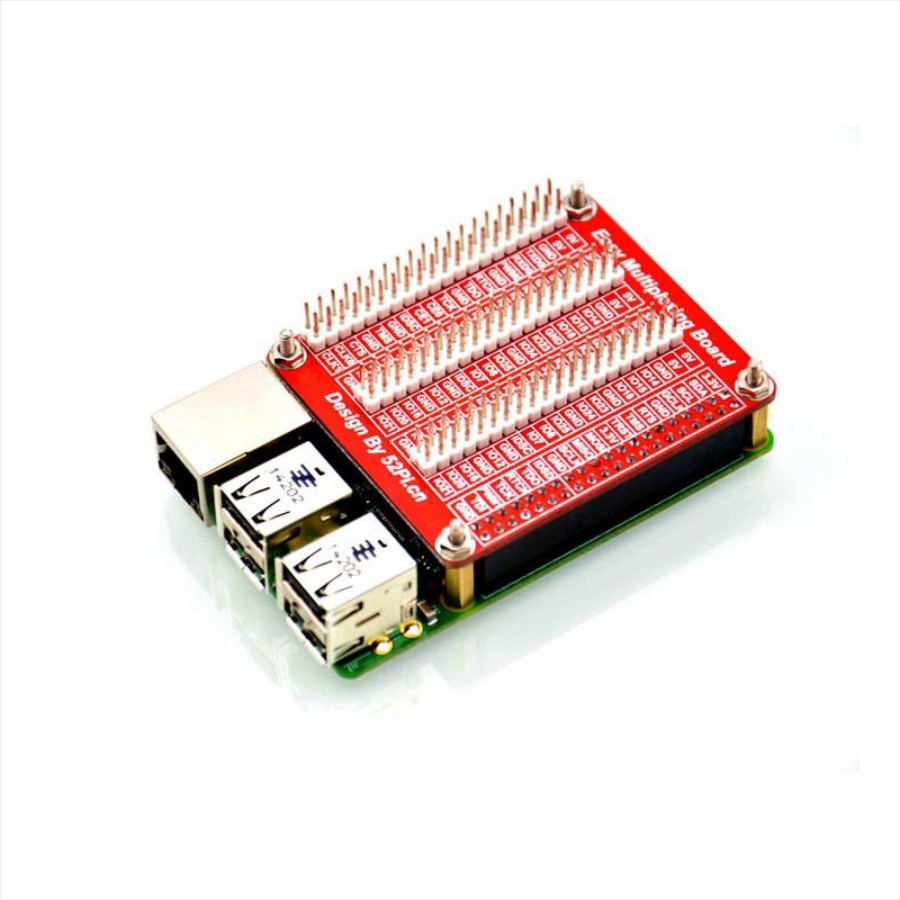
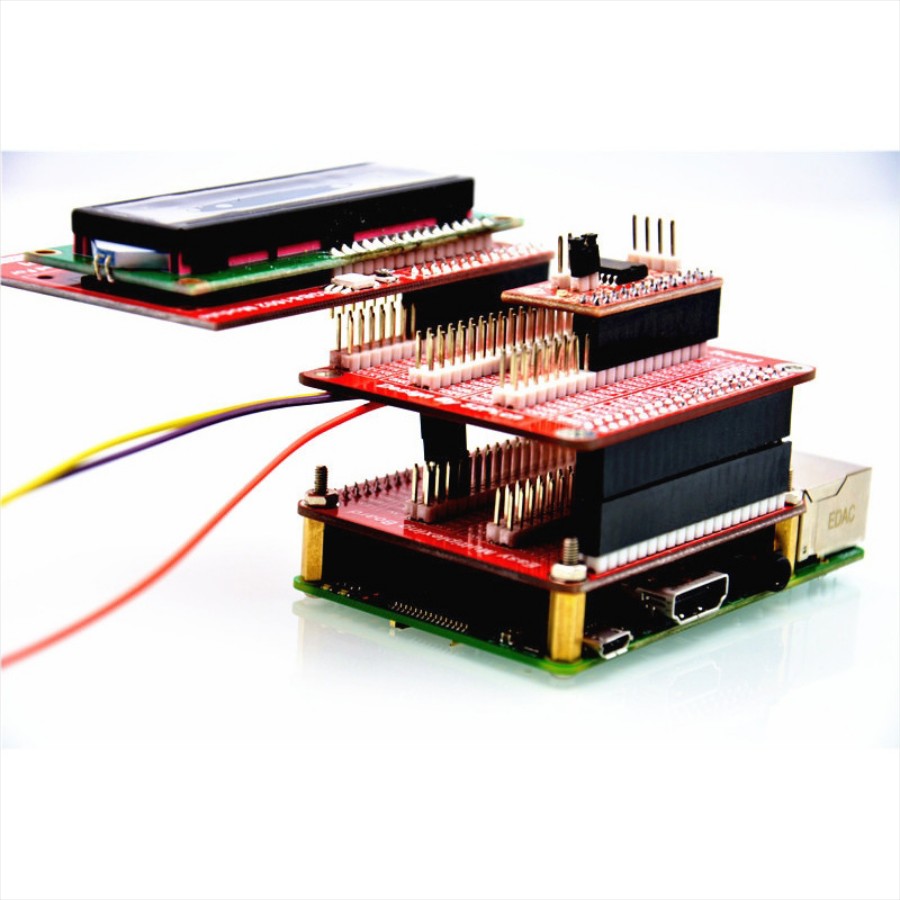
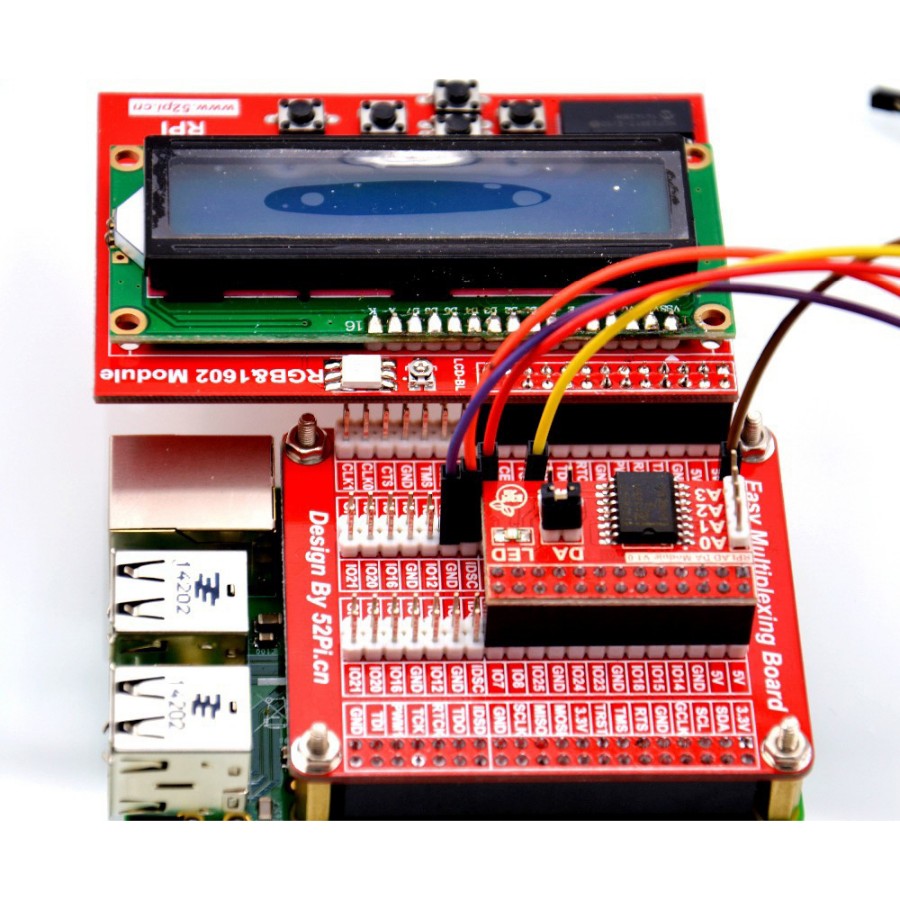
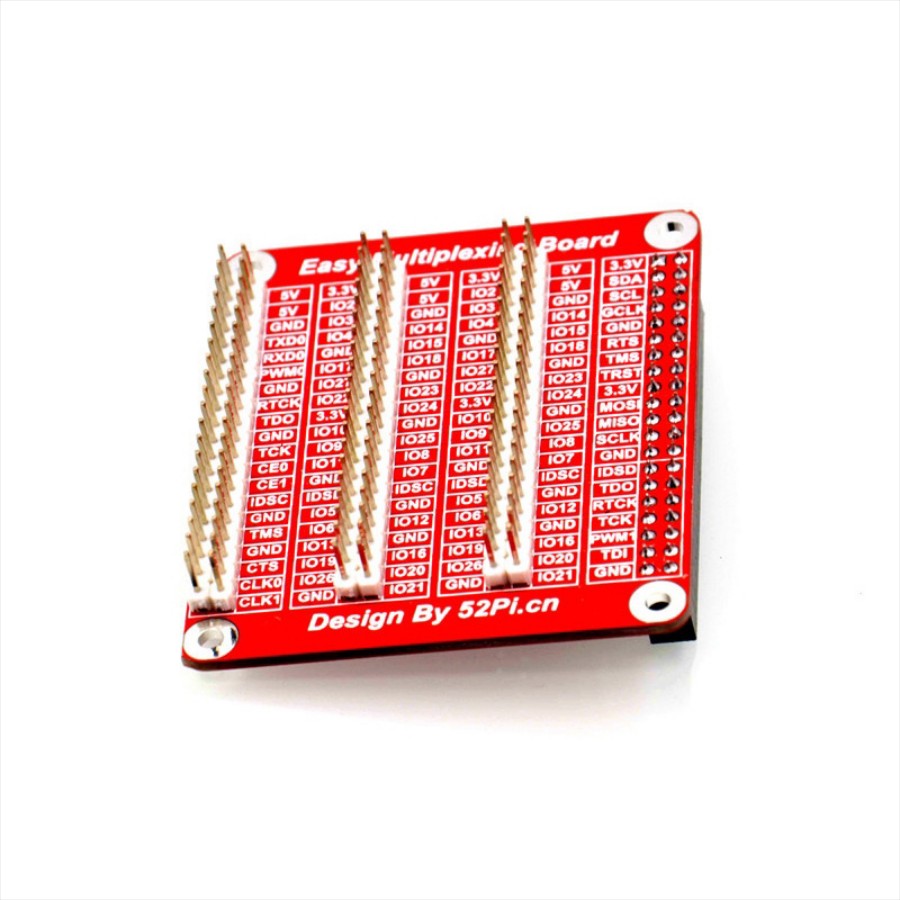
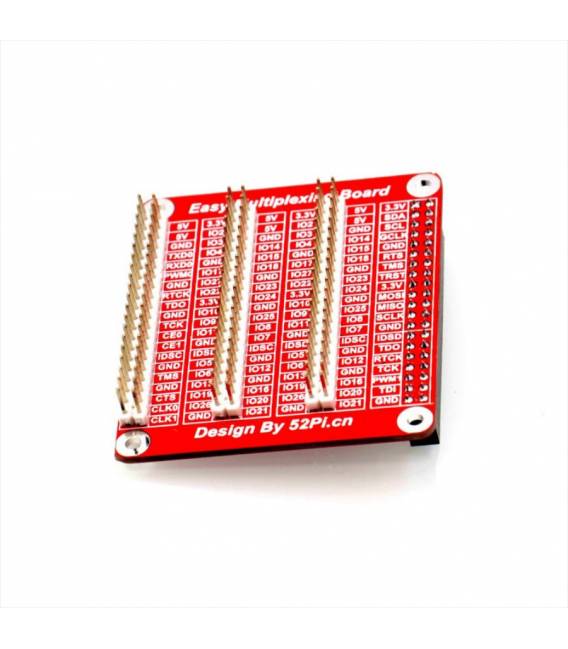
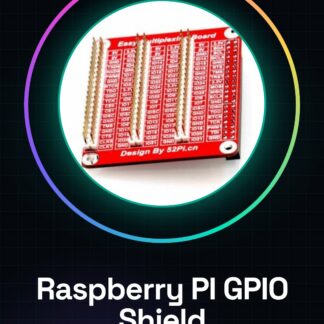
The Raspberry PI GPIO Prototyping Shield is an expansion board designed to facilitate the use of Raspberry Pi GPIO pins in various projects and prototypes. This device extends the functionality of the Raspberry Pi by providing a more convenient and accessible interface.
Features
- Raspberry PI expansion board with multiplexing function
- Great for projects and prototypes
What it is for
Ideal for beginners and makers who want to explore programming and electronics without complications. It can be used to create a simple home alarm system by connecting a PIR sensor to the Raspberry Pi via the prototyping shield, configuring your application to send notifications when motion is detected.
Tutorial: How to use Raspberry PI GPIO Prototyping Shield
The Raspberry PI GPIO Prototyping Shield is an expansion board that allows for easy use of the Raspberry Pi’s GPIO pins for projects and prototypes. Ideal for beginners and makers who want to explore programming and electronics without complications.
What you need
- Raspberry Pi
- USB or HDMI connection (for configuration)
- GPIO male-male cable
- Micro-USB power supply
Steps
- Connect the Raspberry PI to the computer via USB or HDMI.
- Access the Raspberry Pi shell and install the necessary drivers for communication with the GPIO pins: `sudo apt-get update && sudo apt-get install rpi.gpio`
- Physically connect the prototyping shield to the Raspberry Pi using a GPIO male-male cable.
- Check that all connections are stable and correct.
- Configure your application or script to access the GPIO pins through the installed libraries.
- Test the board functionality with simple input/output commands.
- Explore further projects by integrating sensors and other devices onto this shield.
- Document your progress and share your experience with the maker community.
Example code
# Esempio di script Python per accedere ai pin GPIO
import RPi.GPIO as GPIO
GPIO.setmode(GPIO.BCM)
GPIO.setup(18, GPIO.OUT)
GPIO.output(18, True)
Mini project
Create a simple home security system by connecting a PIR sensor to the Raspberry Pi via the prototype shield. Configure your application to send notifications when motion is detected.
Common mistakes
- Failing to install the necessary drivers correctly.
- Connecting the GPIO cable incorrectly, causing damage to the pins.
- Drawing too much electricity from the GPIO pins without a protective circuit.
- Forgetting to configure the BCM mode for the GPIO pins in the code.
Recommended accessories
- PIR detector
- 5V relay
- 16×2 LCD display
- Buzzer
Frequently asked questions
How can I protect my GPIO pins?
Use a relay or a protective expansion port to avoid electrical damage.
What is the difference between BCM and BOARD in GPIO pin mode?
BCM uses the internal numbering of the chip, while BOARD uses the physical numbers printed on the board.

Reviews
There are no reviews yet.