 EN
 IT Italiano
 ES Español
 FR Français
 DE Deutsch
Description
What it is
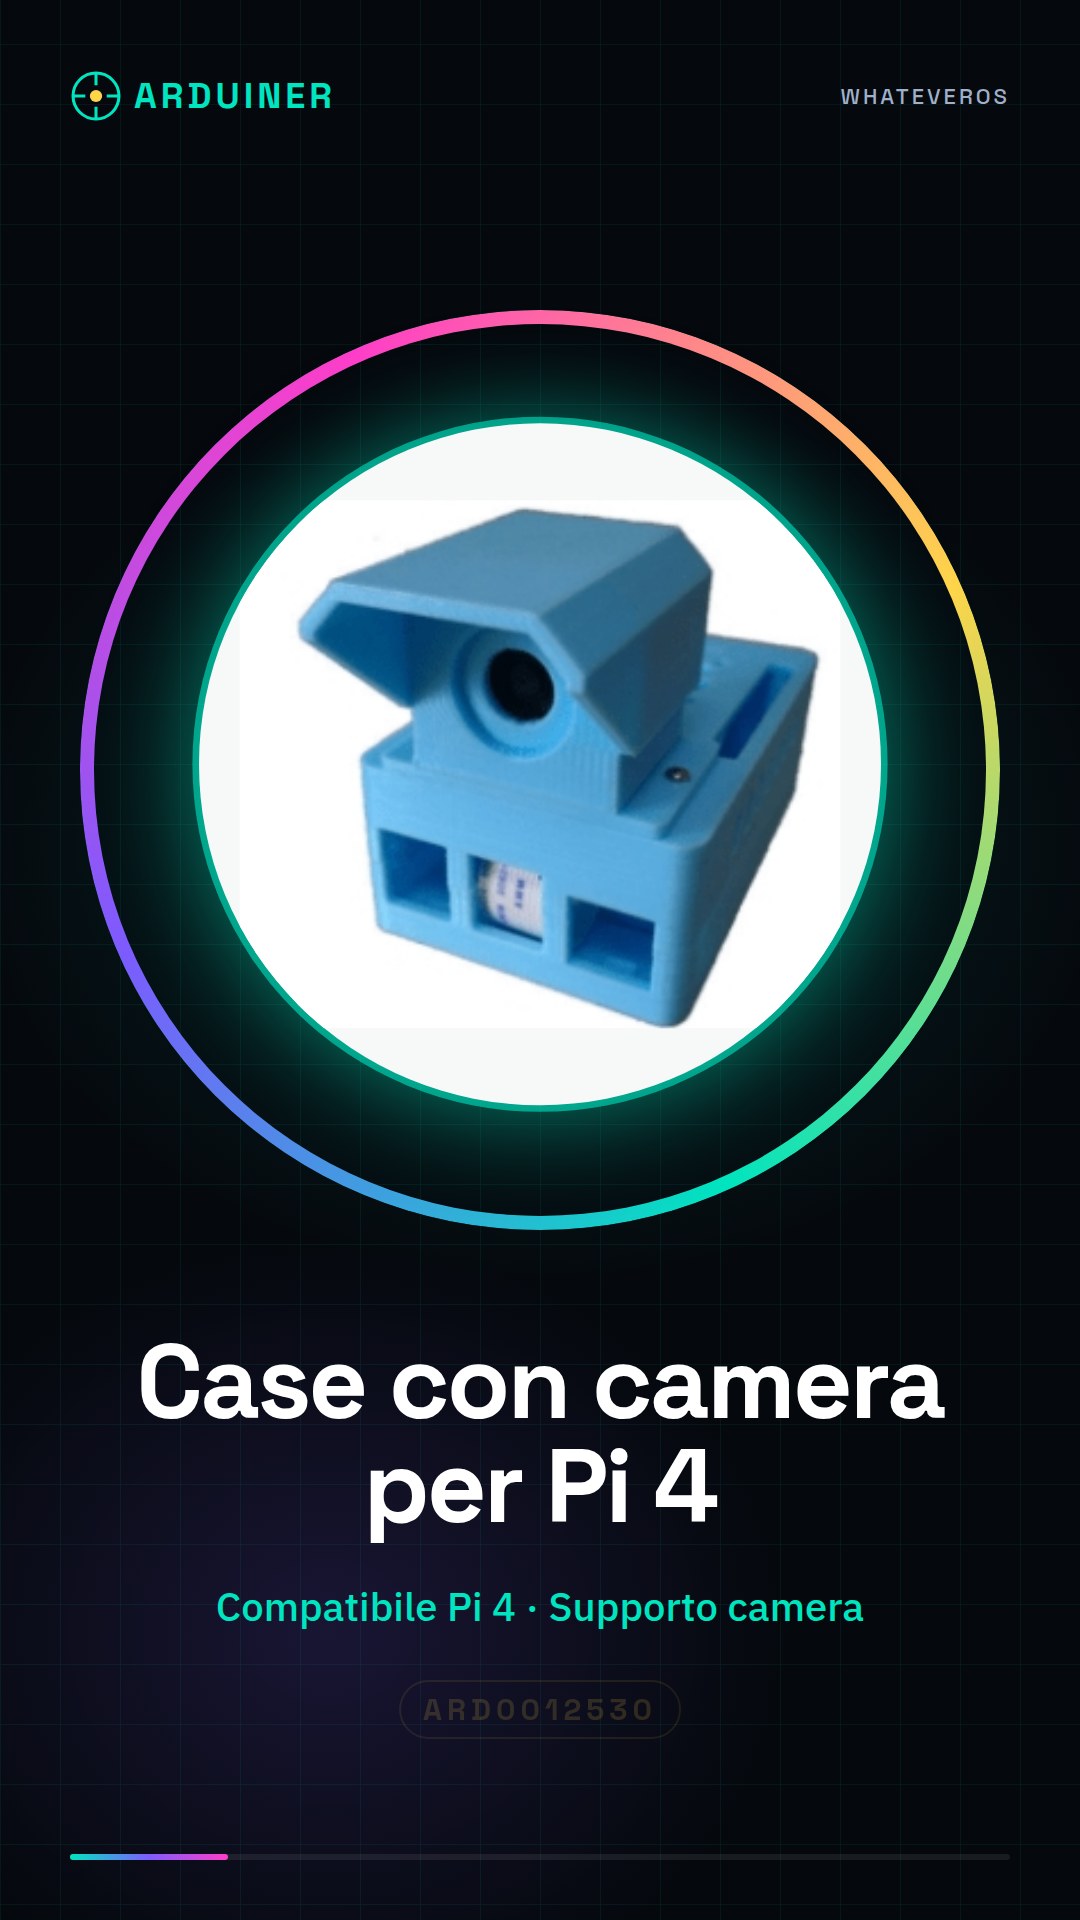
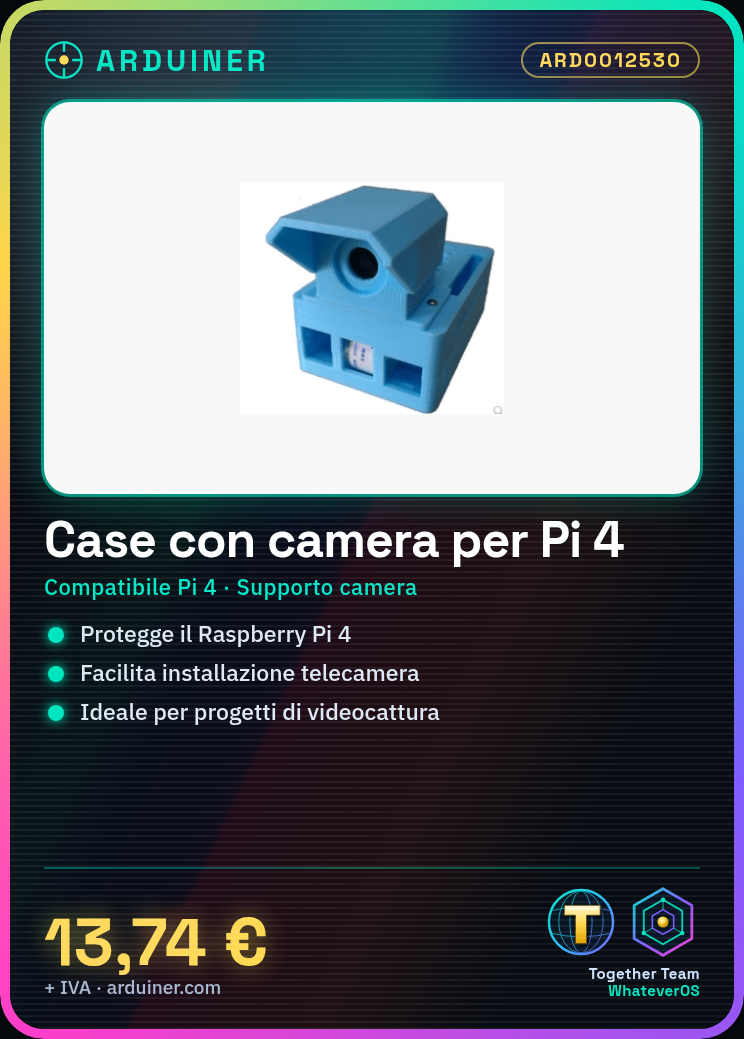
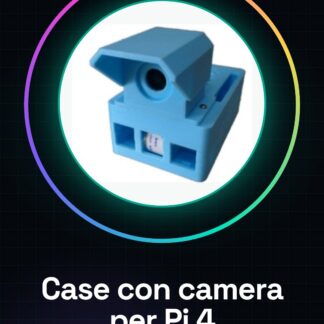
The Raspberry Pi 4 case with camera holder is an external protection for the Raspberry Pi 4 that includes an integrated support for the camera. This case protects your Raspberry Pi 4 and makes it easy to install a camera.
Features
- Compatible with Raspberry Pi 4
- Integrated camera support
- Excellent protection for the Raspberry Pi 4
- Makes it easy to install a camera
What it is for
This case is ideal for video capture projects, home monitoring, and more. You can use it to create a home monitoring system in minutes: connect the camera to the Raspberry Pi, install monitoring software, and test the system.
Tutorial: How to use the Case with Camera Support for Raspberry Pi 4
The Case with Camera Mount for Raspberry Pi 4 is ideal for protecting your Raspberry Pi 4 and allowing you to easily mount a camera. This component is perfect for video capture projects, home monitoring, and more.
What you need
- Raspberry Pi 4
- Compatible Camera
- Business Tool
- Connections for power and data
- Optional accessories (e.g., LEDs, sensors)
Steps
- Completely disconnect the Raspberry Pi 4 from the power source.
- Open the case by inserting the Raspberry Pi 4 into the internal structure.
- Check the position of the connectors and slots to ensure that the Raspberry Pi 4 is correctly positioned.
- Insert the camera into the dedicated position on the case, making sure the connector is properly inserted.
- Close the case, ensuring that all parts are securely connected.
- Connect the Raspberry Pi 4 to the power source.
- Check that the Raspberry Pi 4 and the camera are properly powered and that the camera is recognized by the system.
- Configure the Raspberry Pi software to use the camera (check the datasheet for specific instructions)
Mini project
Set up a home monitoring system in 30 minutes: connect the camera to the Raspberry Pi, install monitoring software, and test the system.
Common mistakes
- Not verifying the correct position of the Raspberry Pi 4 before closing the case.
- Not verifying the proper connection of the camera.
- Not configuring the Raspberry Pi software correctly to use the camera.
- Not verifying that all connectors are properly inserted before powering the system.
Recommended accessories
- RGB LED
- Motion sensors
- Speakers
- LCD Display
Frequently asked questions
How can I add an LED to my project?
Insert an LED into the Raspberry Pi 4 circuit and configure the software to turn the LED on and off.
Which sensors can I use with this case?
You can use motion, temperature, humidity sensors, and other compatible sensors with the Raspberry Pi 4 connectors.
How can I configure the camera?
Install the camera configuration software from the Raspberry Pi Imager or from the terminal.
Reviews
There are no reviews yet.