 EN
 IT Italiano
 ES Español
 FR Français
 DE Deutsch
Description
Technical Description
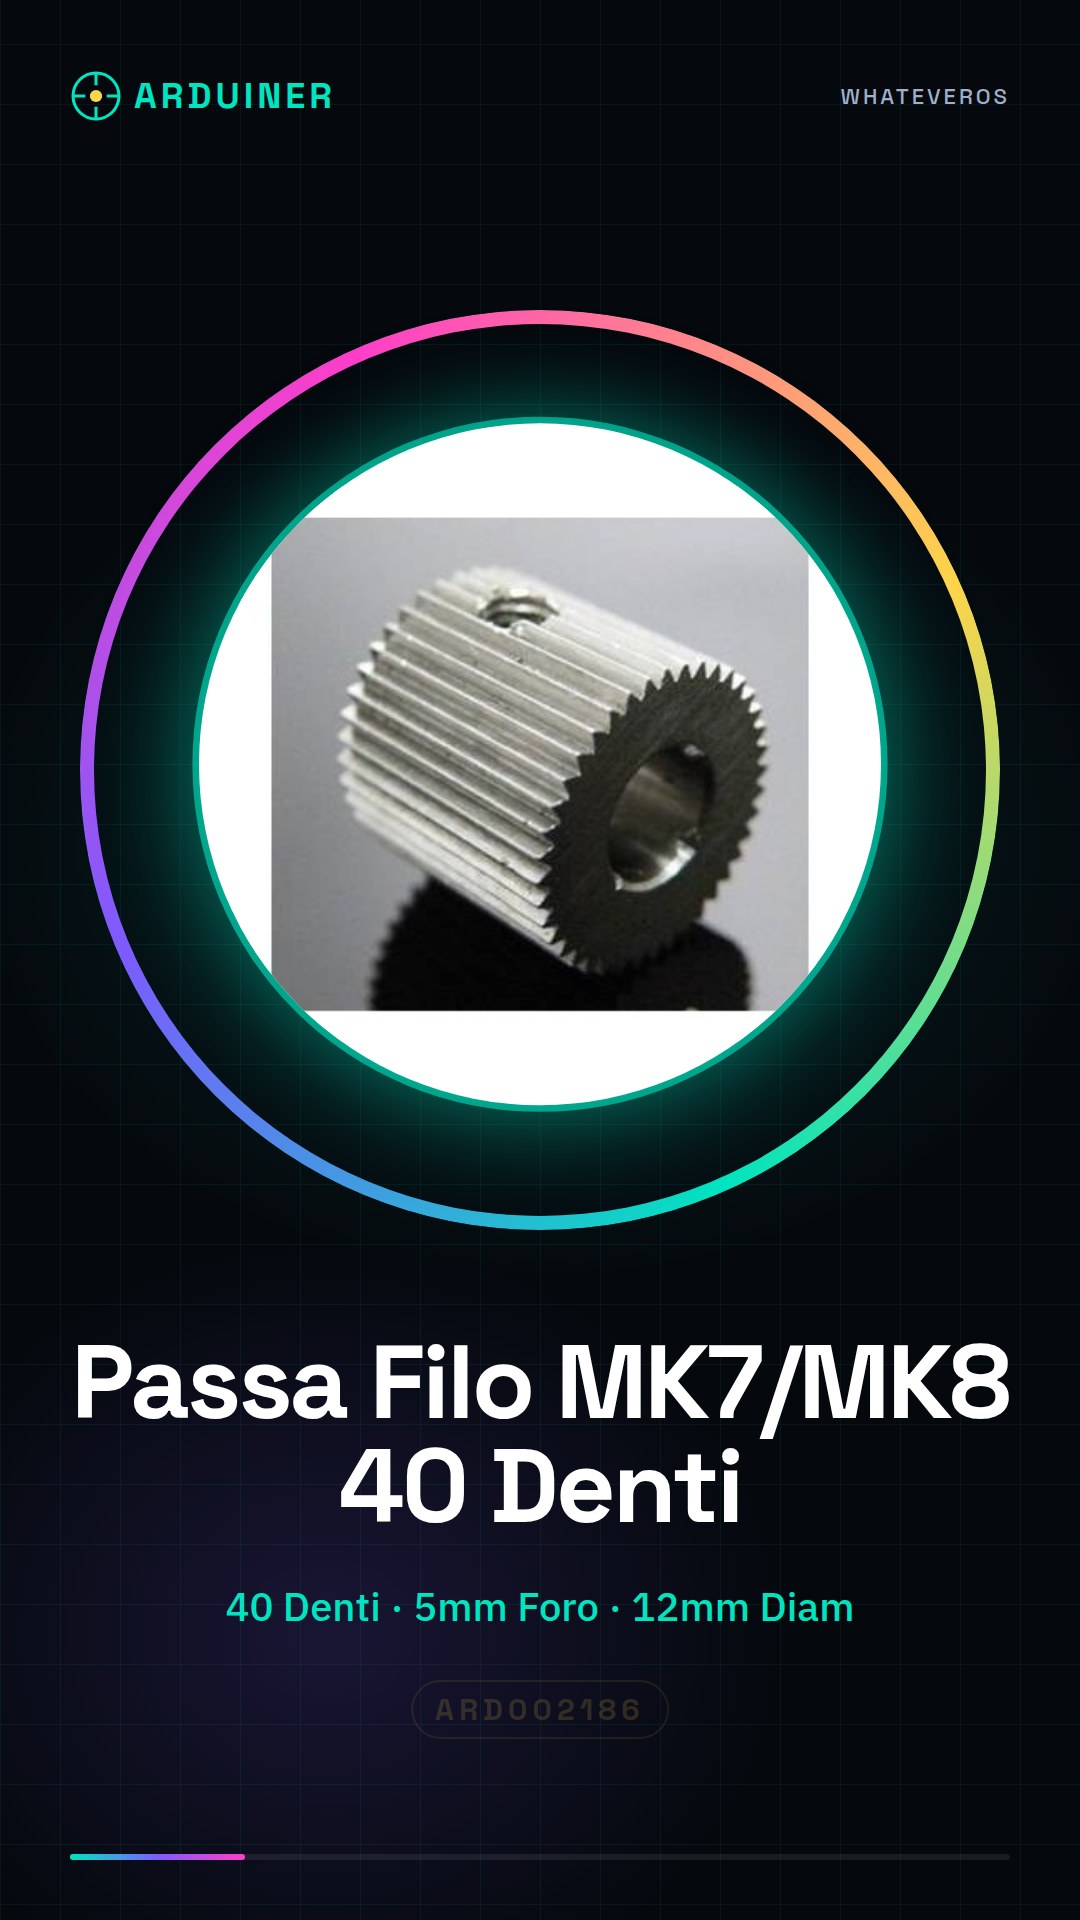
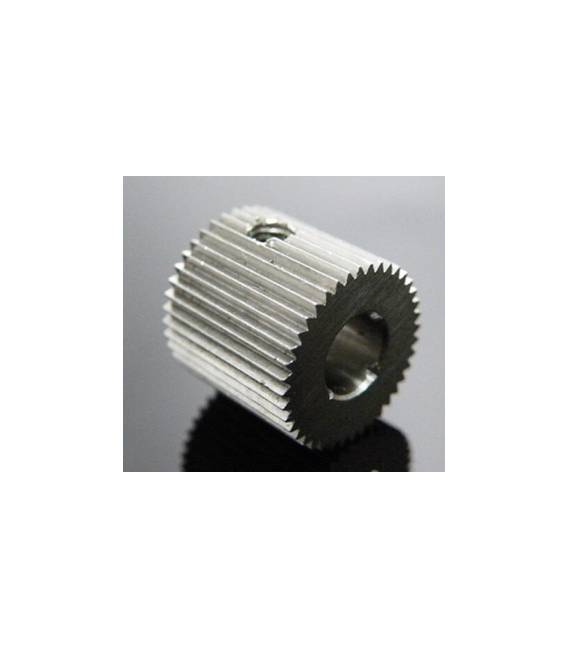
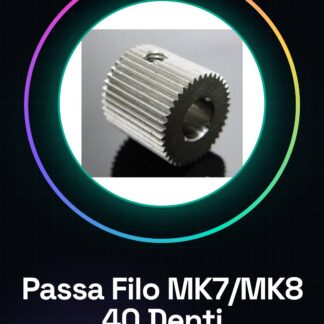
The filament drive gear for MK7/MK8 extruders is a crucial component for 3d printers that use these extruders. It guides and distributes the filament during the printing process, ensuring uniform distribution and reducing the likelihood of jams or filament distribution issues.
This gear is designed to be mounted on the extruder tool, where the filament passes through a central hole. Its specific shape and dimensions ensure precise fitting and effective filament guidance.
It is important to verify that the internal diameter of the gear matches exactly the hole of the extruder tool to ensure proper installation and jam-free filament distribution.
Key Specifications
| Parameter | Value |
| Model | Filament Drive Gear MK7/MK8 |
| External Diameter | 12mm |
| Internal Diameter | 5mm |
| Number of teeth | 40 |
| Materials | N/D (see manufacturer’s technical sheet) |
| Dimensions | N/D (see manufacturer’s technical sheet) |
| Quantity | 1 piece |
| Container | N/D (see manufacturer’s technical sheet) |
Installation and Usage
- Check that the internal diameter of the gear matches the hole of the extruder tool.
- Gently move the outside of the filament guide from the current extruder tool.
- Place the gear in the central hole of the extruder tool, making sure it is well aligned.
- Use a cooking tool to physically secure the gear in place.
- Check the rotation of the gear and filament guide to ensure smooth movement.
Compatibility and Requirements
- This gear is compatible with MK7 and MK8 extruders.
- Suitable for 3d printers that use these extruders.
- Requires a cooking tool for assembly.
Limitations and Important Notes
- Not compatible with extruders other than MK7 and MK8.
- Requires precise assembly to function correctly.
- Ensure that the internal diameter of the gear matches exactly the hole of the extruder tool.
- Check the rotation of the gear after assembly to ensure smooth filament movement.
Troubleshooting
The filament is not pushed without obstruction.
Probable cause: Inaccurate gear assembly.
Solution: Check alignment and physically secure the gear in place.
The internal diameter of the gear does not match the hole of the extruder tool.
Probable cause: Selection of an incompatible gear.
Solution: Choose a gear with the correct internal diameter.
Gear rotation problems.
Probable cause: Incorrect assembly.
Solution: Check the alignment and physically lock the gear in place.
Uneven filament distribution.
Probable cause: Improper mounting.
Solution: Check the alignment and physically lock the gear in place.
Use cases
Printing a complex model
Objective: Test the effectiveness of the filament drive gear.
What’s needed: Filament drive gear MK7/MK8.
Steps: 1) Check the internal diameter of the gear. 2) Mount the gear in the extruder tool. 3) Check the rotation of the gear. 4) Try printing a complex model.
Expected result: Even and obstruction-free filament distribution.
Repairing a damaged extruder
Objective: Replace a damaged gear.
What’s needed: Filament drive gear MK7/MK8.
Steps: 1) Check the internal diameter of the gear. 2) Mount the gear in the extruder tool. 3) Check the rotation of the gear. 4) Try to load filament into the 3d printer.
Expected result: Extruder functioning correctly.
Custom 3D printer project
Objective: Integrate an MK7/MK8 extruder into a custom 3D printer.
What’s needed: MK7/MK8 filament drive gear.
Steps: 1) Check the internal diameter of the gear. 2) Mount the gear in the extruder tool. 3) Check the rotation of the gear. 4) Try to print a simple model.
Expected result: Custom 3D printer functioning correctly.
3D printer maintenance
Objective: Replace a damaged gear.
What’s needed: MK7/MK8 filament drive gear.
Steps: 1) Check the internal diameter of the gear. 2) Mount the gear in the extruder tool. 3) Check the rotation of the gear. 4) Try to load filament into the 3d printer.
Expected result: 3d printer functioning correctly.
3D printer project for school laboratory
Objective: Integrate an MK7/MK8 extruder into a 3D printer for a school laboratory.
What is needed: MK7/MK8 filament drive gear.
Steps: 1) Check the internal diameter of the gear. 2) Mount the gear in the extruder tool. 3) Check the rotation of the gear. 4) Try to print a simple model.
Expected result: 3D printer for school laboratory functioning correctly.
3D printer project for hobby
Objective: Integrate an MK7/MK8 extruder into a 3D printer for hobby.
What is needed: MK7/MK8 filament drive gear.
Steps: 1) Check the internal diameter of the gear. 2) Mount the gear in the extruder tool. 3) Check the rotation of the gear. 4) Try printing a simple model.
Expected result: A functioning 3D printer for hobby use.
3D printer project for prototyping
Objective: Integrate an MK7/MK8 extruder into a 3D printer for prototyping.
What’s needed: MK7/MK8 filament drive gear.
Steps: 1) Check the internal diameter of the gear. 2) Mount the gear in the extruder tool. 3) Check the rotation of the gear. 4) Try printing a simple model.
Expected result: A functioning 3D printer for prototyping.
3D printer maintenance project
Objective: Replace a damaged gear.
What’s needed: MK7/MK8 filament drive gear.
Steps: 1) Check the internal diameter of the gear. 2) Mount the gear in the extruder tool. 3) Check the rotation of the gear. 4) Try to load the filament into the printer.
Expected result: 3D printer functioning correctly.
In the package
- 1 piece
Complete the project
- Outer diameter: 12mm Hole: 8mm 40 teeth MK7 / MK8 Filament feeding gear in stainless steel for Printer: Used to mount the gear in the extruder tool.
- Aluminum Extruder Block MK7/MK8 for 3D printers: Used to replace a damaged extruder.
- Filament Passing Gear for 3D printers Reprap: Used to integrate an MK7/MK8 extruder in a custom 3D printer.
Technical FAQs
How do I check the alignment of the gear?
Check that the internal diameter of the gear matches the tool hole of the extruder and that the gear is properly aligned.
What are the signs of an imprecise gear assembly?
If the filament is not pushed without obstruction or if there are issues with the gear rotation, the assembly is likely imprecise.
How can I avoid filament distribution problems?
Check the alignment and physically secure the gear in place to ensure smooth filament movement.
What tools are needed for gear assembly?
A cooking tool is needed to physically secure the gear in place.
Tutorial: How to use Filament Passing Gear MK7/MK8
This filament feed gear is essential for 3d printers with MK7 or MK8 extruders. It helps ensure an even distribution of filament during printing, improving the quality of printed parts.
What you need
- 3d Printer
- MK7/MK8 Extruder
- Cooking Tool
Steps
- Check that the internal diameter of the filament feed gear matches the hole of your extruder (5mm).
- Remove the outer part of the filament feed from the current extruder tool.
- Gently place the gear in the central hole of the extruder tool, making sure it is properly aligned.
- Use a cooking tool to physically secure the gear in place.
- Check the rotation of the filament feed and filament guide to ensure smooth movement.
- Try loading filament into the 3d printer and check that it feeds without any issues.
- If necessary, adjust the gear or the extruder tool position to achieve perfect filament movement.
Mini project
Try printing a simple box with thick walls and complex details to test the effectiveness of the hobbed gear.
Common mistakes
- The internal diameter of the gear does not match the hole of the extruder tool.
- The gear is not properly aligned or is stuck in position, causing rotation issues.
- Filament distribution problems due to imprecise mounting.
Recommended accessories
- Cooking Tool Kit
- Allen Key 1.5mm
- 3D Printer Filaments Various Colors
Frequently asked questions
How can I verify if the gear is mounted correctly?
Check that the filament passes through the gear without any jams and that the rotation is smooth.
What is the difference between MK7 and MK8?
MK7 is an older model, while MK8 features improvements such as an updated filament guide. Check the datasheet for precise specifications.
Reviews
There are no reviews yet.