 EN
 IT Italiano
 ES Español
 FR Français
 DE Deutsch
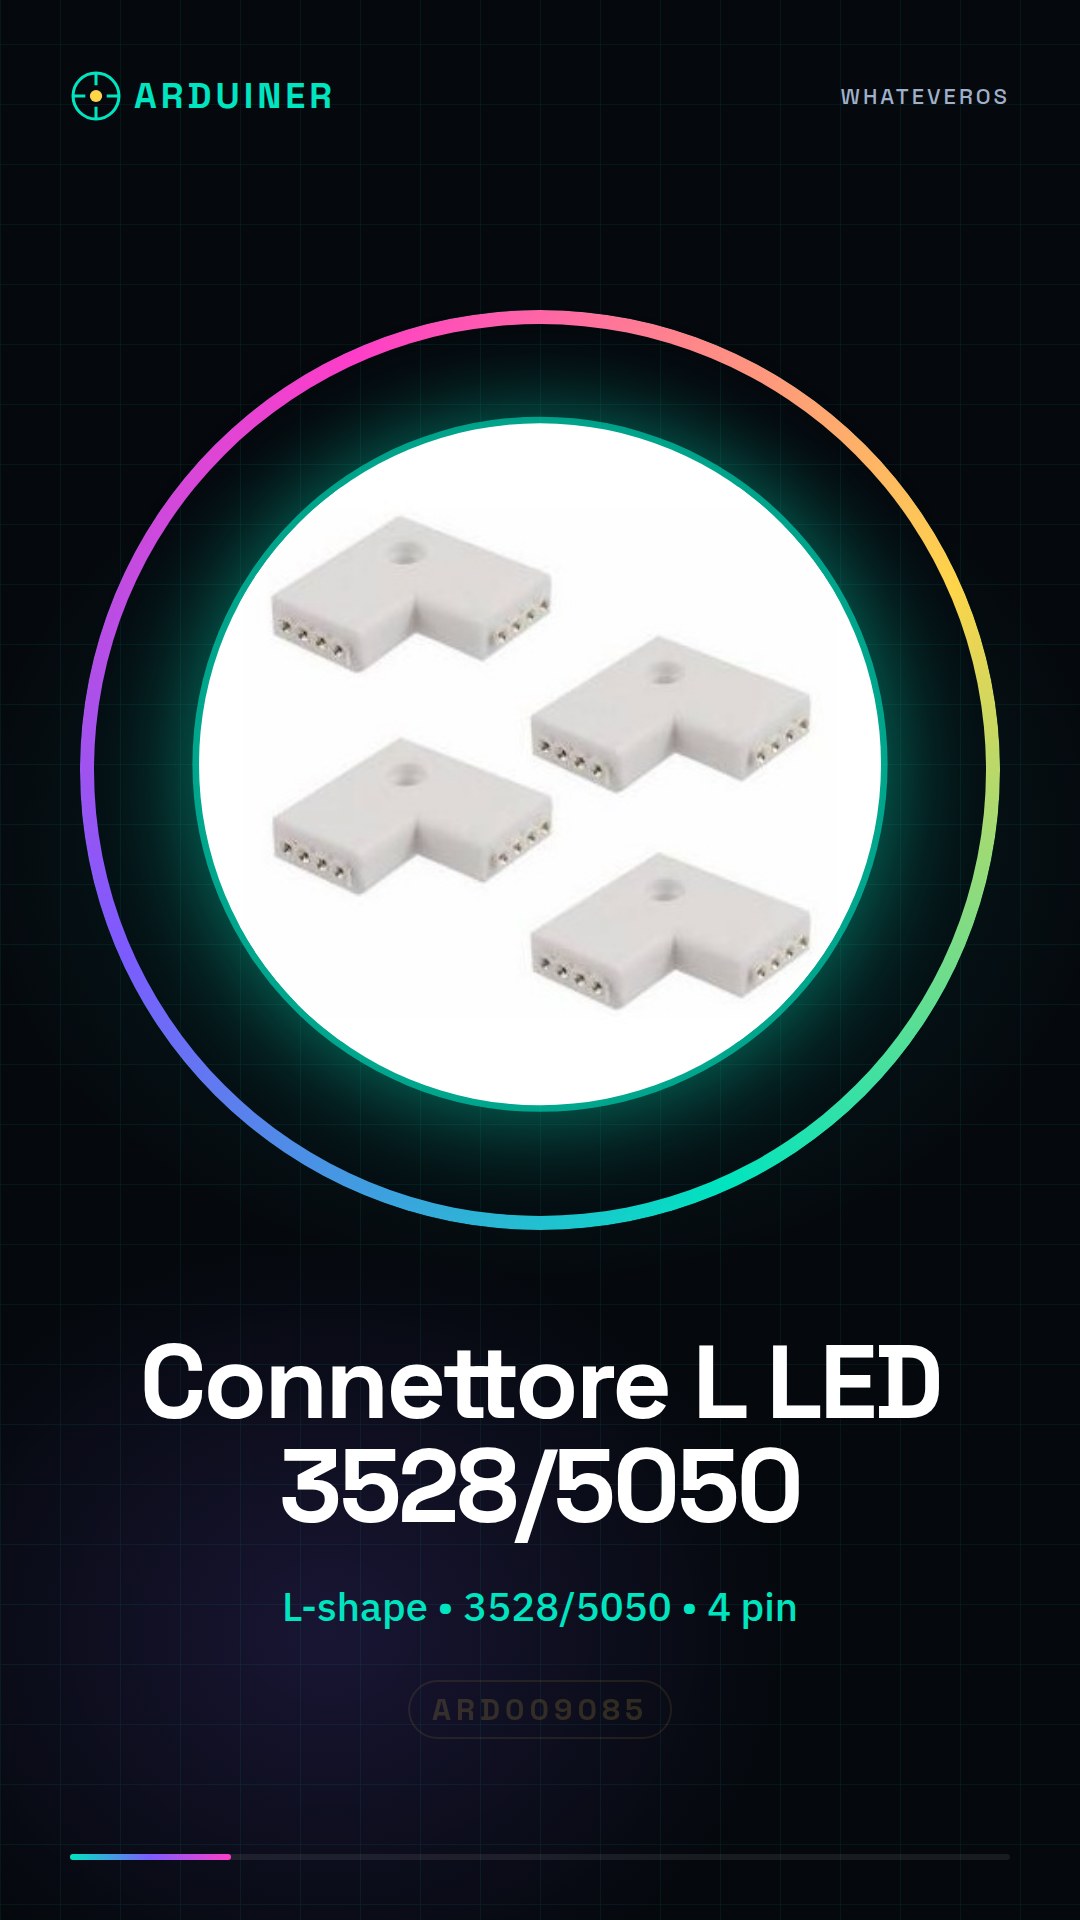
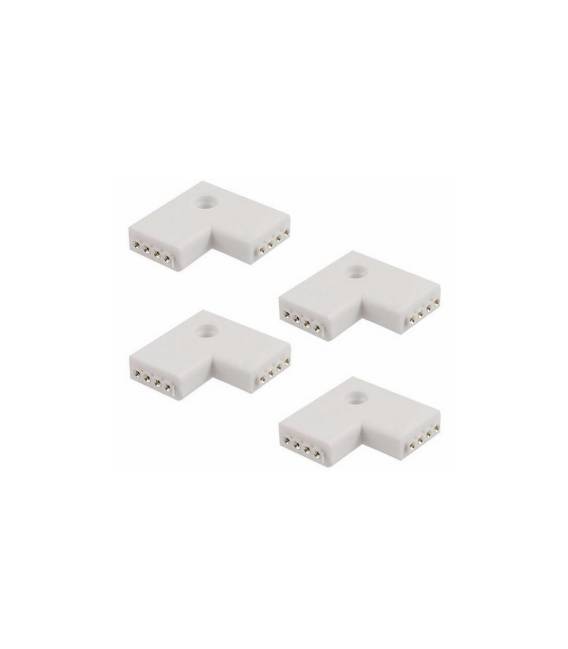
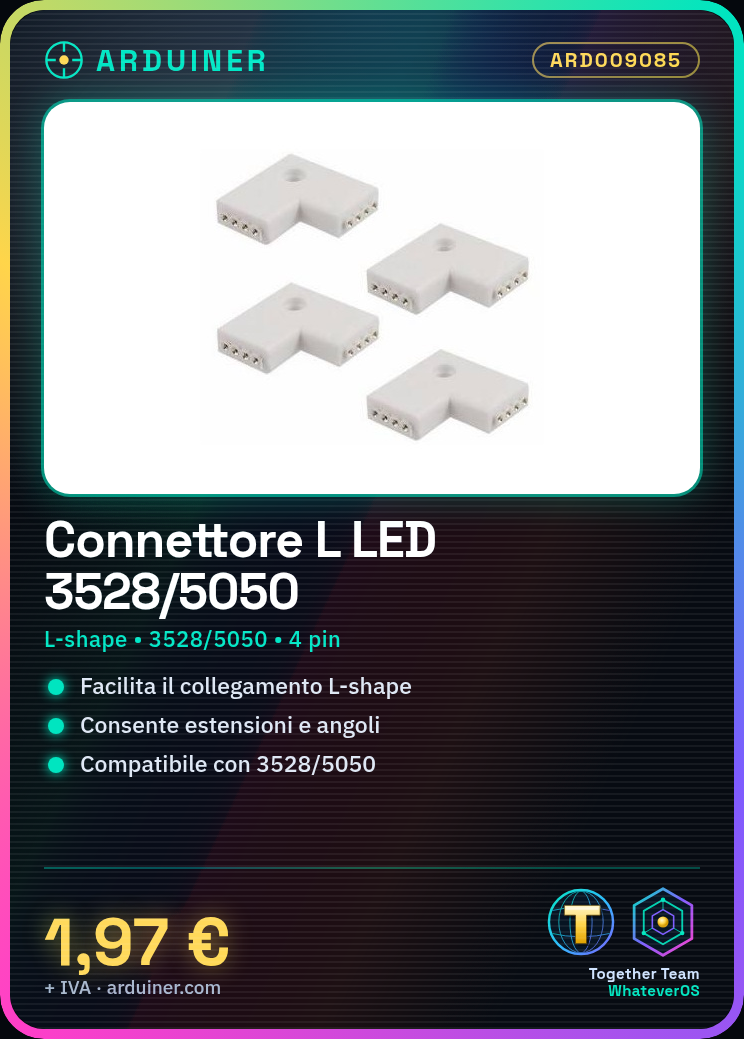
Description
Technical Description
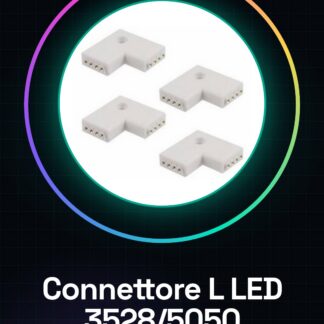
The L-shaped LED Strip Connector 3528 5050 Ect 4P LED is designed to easily connect LED strips in L-shape configurations, allowing for extension or creation of angles in lighting installations. This connector is suitable for both domestic and professional projects, ensuring a strong and reliable connection between LED strips.
The connector allows for connecting LED strips 3528 and 5050, providing a simple and robust solution for creating custom lighting installations. Its L-shape allows for the creation of angles and curves in installations, making it suitable for projects that require greater flexibility in the placement of lights.
To use this connector, it is necessary to slightly cut the internal wires of the connector and fuse the wires with those of the LED strip to create a solid connection. It is important to carefully follow the instructions to avoid damage to the connector or the LED strip.
Key Specifications
| Parameter | Value |
| Model | L-shaped LED Strip Connector 3528 5050 Ect 4P LED |
| Quantity | 1 piece |
| Voltages | N/D (see manufacturer’s datasheet) |
| Dimensions | N/D (see manufacturer’s datasheet) |
| Interface | 4 pin |
| Container | N/D (see manufacturer’s datasheet) |
Installation and Usage
- Check that the LED strips are compatible with the connector (3528 or 5050).
- Use a wire stripper to remove the insulation from the ends of the LED strip.
- Cut the internal wires of the connector so that they can be connected to the wires of the LED strip.
- Use an electric soldering iron to slightly melt the internal wires of the connector, creating a solid contact with those of the LED strip.
- Check that all connections are solid and secure, using wire cutters if necessary.
Compatibility and Requirements
- This connector is compatible with 3528 and 5050 LED strips.
- This connector can be used with control systems such as Arduino to adjust the brightness of the light.
- To use this connector, you need to have compatible LED strips and the necessary tools for connection.
Limitations and Important Notes
- This connector is not designed to be used with LED strips of other models without verifying compatibility.
- It is important to follow instructions carefully during the connection to avoid damage to the connector or the LED strip.
- The connector is not designed to withstand extreme temperature or humidity conditions.
- It is not recommended to use excessively high temperatures during the wire fusion process.
Troubleshooting
The internal wires of the connector have been cut too much.
Probable cause: Excessive cutting of the internal wires during the preparation process.
Solution: If the wires have been cut too much, it is necessary to replace the connector with a new piece.
The wire fusion during the connection was not sufficient.
Probable cause: The wire fusion was not performed correctly.
Solution: Repeat the fusion process, ensuring that the wires are melted sufficiently to create a solid contact.
The LED strip or connector was damaged during the fusion process.
Probable cause: The temperature used during the fusion of the wires was too high.
Solution: Use a lower temperature during the fusion and carefully follow the instructions.
The connection between the connector and the LED strip is unstable.
Probable cause: The fusion of the wires was not performed correctly.
Solution: Repeat the fusion process, ensuring that the wires are melted sufficiently to create a solid contact.
Use cases
Parking sensor for the garage
Objective: Install an LED lighting system to improve visibility in the garage.
What is needed: LED strips 3528/5050, Arduino Uno R3, current limiting resistors, power supply cable.
Steps: 1) Prepare the LED strips for connection to the L-shaped connector. 2) Connect the LED strips to the L-shaped connector. 3) Connect the LED strips to the Arduino to control the light intensity. 4) Install the lighting system in the garage.
Expected result: The installed LED lighting system in the garage improves visibility and makes access easier.
Library Lighting
Objective: Create an L-shaped lighting installation for the library.
What you need: LED strips 3528/5050, Arduino Uno R3, current limiting resistors, power supply cable.
Steps: 1) Prepare the LED strips for connection to the L-shaped connector. 2) Connect the LED strips to the L-shaped connector. 3) Connect the LED strips to the Arduino to control the light intensity. 4) Install the lighting in the library.
Expected Result: The L-shape lighting creates a welcoming and well-lit environment in the library.
Christmas Decorations
Objective: Create Christmas decorations using LED strips.
What’s needed: LED strips 3528/5050, Arduino Uno R3, current-limiting resistors, power cable.
Steps: 1) Prepare the LED strips for connection with the connector. 2) Connect the LED strips to the L-shaped connector. 3) Connect the LED strips to Arduino to control the light intensity. 4) Install the Christmas decorations.
Expected Result: The Christmas decorations illuminate the house in a welcoming and festive manner.
Laboratory Lighting
Objective: Install an LED lighting system for the laboratory.
What’s needed: LED strips 3528/5050, Arduino Uno R3, current-limiting resistors, power cable.
Steps: 1) Prepare the LED strips for connection to the connector. 2) Connect the LED strips to the L-shaped connector. 3) Connect the LED strips to Arduino to control the light intensity. 4) Install the lighting in the laboratory.
Expected result: The installed LED lighting system in the laboratory improves visibility and facilitates work.
Kitchen Lighting
Objective: Create an LED lighting system for the kitchen.
What you need: LED strips 3528/5050, Arduino Uno R3, current limiting resistors, power supply cable.
Steps: 1) Prepare the LED strips for connection to the connector. 2) Connect the LED strips to the L-shaped connector. 3) Connect the LED strips to Arduino to control the light intensity. 4) Install the lighting in the kitchen.
Expected result: The LED lighting creates a welcoming and well-lit environment in the kitchen.
Bathroom Lighting
Objective: Install a LED lighting system for the bathroom.
What you need: LED strips 3528/5050, Arduino Uno R3, current limiting resistors, power cable.
Steps: 1) Prepare the LED strips for connection with the connector. 2) Connect the LED strips to the L-shaped connector. 3) Connect the LED strips to Arduino to control the light intensity. 4) Install the lighting in the bathroom.
Expected result: The installed LED lighting system in the bathroom improves visibility and facilitates use.
Staircase Lighting
Objective: Install a LED lighting system for the staircase.
What you need: LED strips 3528/5050, Arduino Uno R3, current limiting resistors, power cable.
Steps: 1) Prepare the LED strips for connection to the L-shaped connector. 2) Connect the LED strips to the L-shaped connector. 3) Connect the LED strips to the Arduino to control the light intensity. 4) Install the lighting on the staircase.
Expected result: The installed LED lighting system on the staircase improves safety and ease of use.
Garden lighting
Objective: Install an LED lighting system for the garden.
What you need: LED strips 3528/5050, Arduino Uno R3, current-limiting resistors, power supply cable.
Steps: 1) Prepare the LED strips for connection to the L-shaped connector. 2) Connect the LED strips to the L-shaped connector. 3) Connect the LED strips to the Arduino to control the light intensity. 4) Install the lighting in the garden.
Expected Result: The LED lighting system installed in the garden improves visibility and facilitates use.
In the package
- 1 piece
Complete the project
- 4P Female Cable for 3528 5050 Ect LED Strips with 4 Pin Connector: To connect the LED strips to the connector.
Technical FAQs
Which LED strips are compatible with this connector?
This connector is compatible with 3528 and 5050 LED strips.
How do you connect the LED strips to the connector?
To connect the LED strips to the connector, it is necessary to slightly cut the internal wires of the connector and fuse the wires with those of the LED strip to create a solid connection.
What are the common issues during the connection of the LED strips to the connector?
Common issues include excessive cutting of the internal wires of the connector, insufficient melting of the wires during connection, and using excessively high temperatures during melting.
What tools are needed to connect LED strips to the connector?
To connect LED strips to the connector, you need a wire stripper, a wire cutter, an electric hot glue gun, and an Arduino Uno R3 for light intensity control.
Tutorial: How to use L-shape LED Strip Connector
This connector is ideal for easily connecting LED strips in an L-shape configuration. It is useful for both home and professional projects, allowing you to extend or create corners in your lighting installations.
What you need
- LED Strips 3528/5050
- Wire Stripper
- Wire Cutters
- Electric Hot Glue Gun for Plastic
Steps
- Check that the LED strips are compatible with the connector (3528 or 5050).
- Use a wire stripper to remove the insulation from the ends of the LED strip.
- Cut the internal wires of the connector so that they can be connected to the wires of the LED strip. Check the datasheet for the exact dimensions of the wires that need to be cut.
- Use an electric soldering iron to slightly melt the internal wires of the connector, creating a solid connection with those of the LED strip. Make sure not to damage the strip during this process.
- Repeat steps 2-4 from the other end of the LED strip to complete the connection.
- Check that all connections are solid and secure, using wire cutters if necessary.
Mini project
Create an L-shape lighting installation for your library or study. Use multiple L-shaped connector LED strips and connect them to Arduino to control the light intensity.
Common mistakes
- Cutting the internal wires of the connector too much, causing irreparable damage.
- Not fusing the wires sufficiently during soldering, creating a weak and unstable connection.
- Using the soldering iron at too high a temperature, damaging the LED strip or the connector.
Recommended accessories
- LED strips 3528/5050
- Arduino Uno R3
- Current limiting resistors
- Arduino power supply cable
Frequently asked questions
Is the connector compatible only with 3528 and 5050 LED strips?
Yes, check the compatibility on the product datasheet.
Can I use this connector to connect multiple LED strips together?
Yes, the connector allows you to extend the strips or create angles.
What tools are necessary to install the connector correctly?
Soldering iron, wire cutters, and wire strippers.
Reviews
There are no reviews yet.