 EN
 IT Italiano
 ES Español
 FR Français
 DE Deutsch
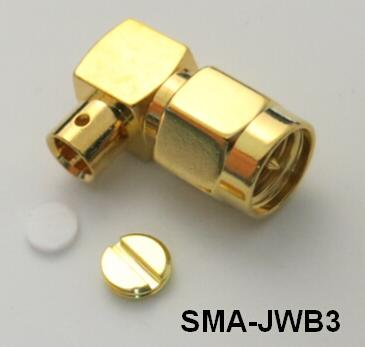
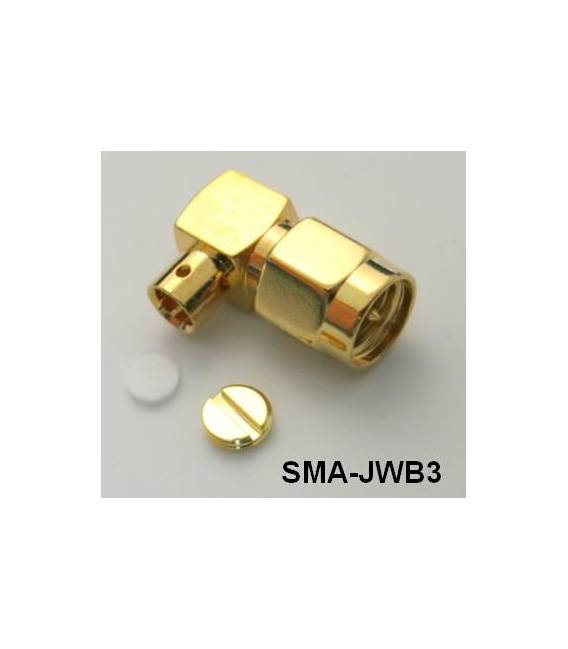
Description
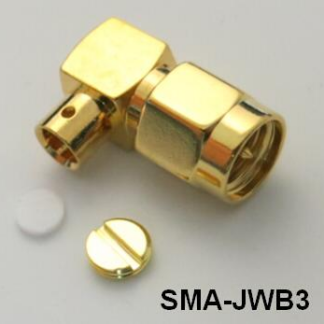
JWB3 High School
Tutorial: How to Use JWB3 High School
The JWB3 High School is an antenna connector ideal for radio frequency projects, serving to improve signal reception and transmission.
What you need
- JWB3 High School
- Arduino or compatible microcontroller
- Antenna
- Test cable (optional)
Steps
- 1. Check the datasheet specifications for dimensions and positioning.
- 2. Prepare the antenna and the JWB3 High School.
- 3. Solder the antenna to the JWB3 High School.
- 4. Connect the JWB3 High School to the microcontroller using a cable.
- 5. Verify the correct position and connection.
- 6. Perform a basic test to verify the connection.
- 7. Configure the code to use the antenna.
- 8. Test the system in a real frequency environment.
Mini project
Build a radio frequency receiver using the Arduino and the JWB3 High School antenna. In 30 minutes you can have a working system.
Common mistakes
- Do not follow the datasheet specifications.
- Connect the antenna incorrectly.
- Omit the initial test.
- Do not configure the Arduino code correctly.
Recommended accessories
- Compatible antenna
- Test lead
- Arduino Uno
- 10kΩ resistor (for protection)
Frequently asked questions
How to correctly position the antenna?
Follow the datasheet specifications for optimal placement.
Does JWB3 High School work with any microcontroller?
Check the datasheet for compatibility with the microcontroller being used.
Can I use another antenna with JWB3 High School?
Yes, but check compatibility and follow the datasheet specifications.
What tests to perform to verify the connection?
Perform a resistance test between the antenna and the JWB3 High School.

Reviews
There are no reviews yet.