 EN
 IT Italiano
 ES Español
 FR Français
 DE Deutsch
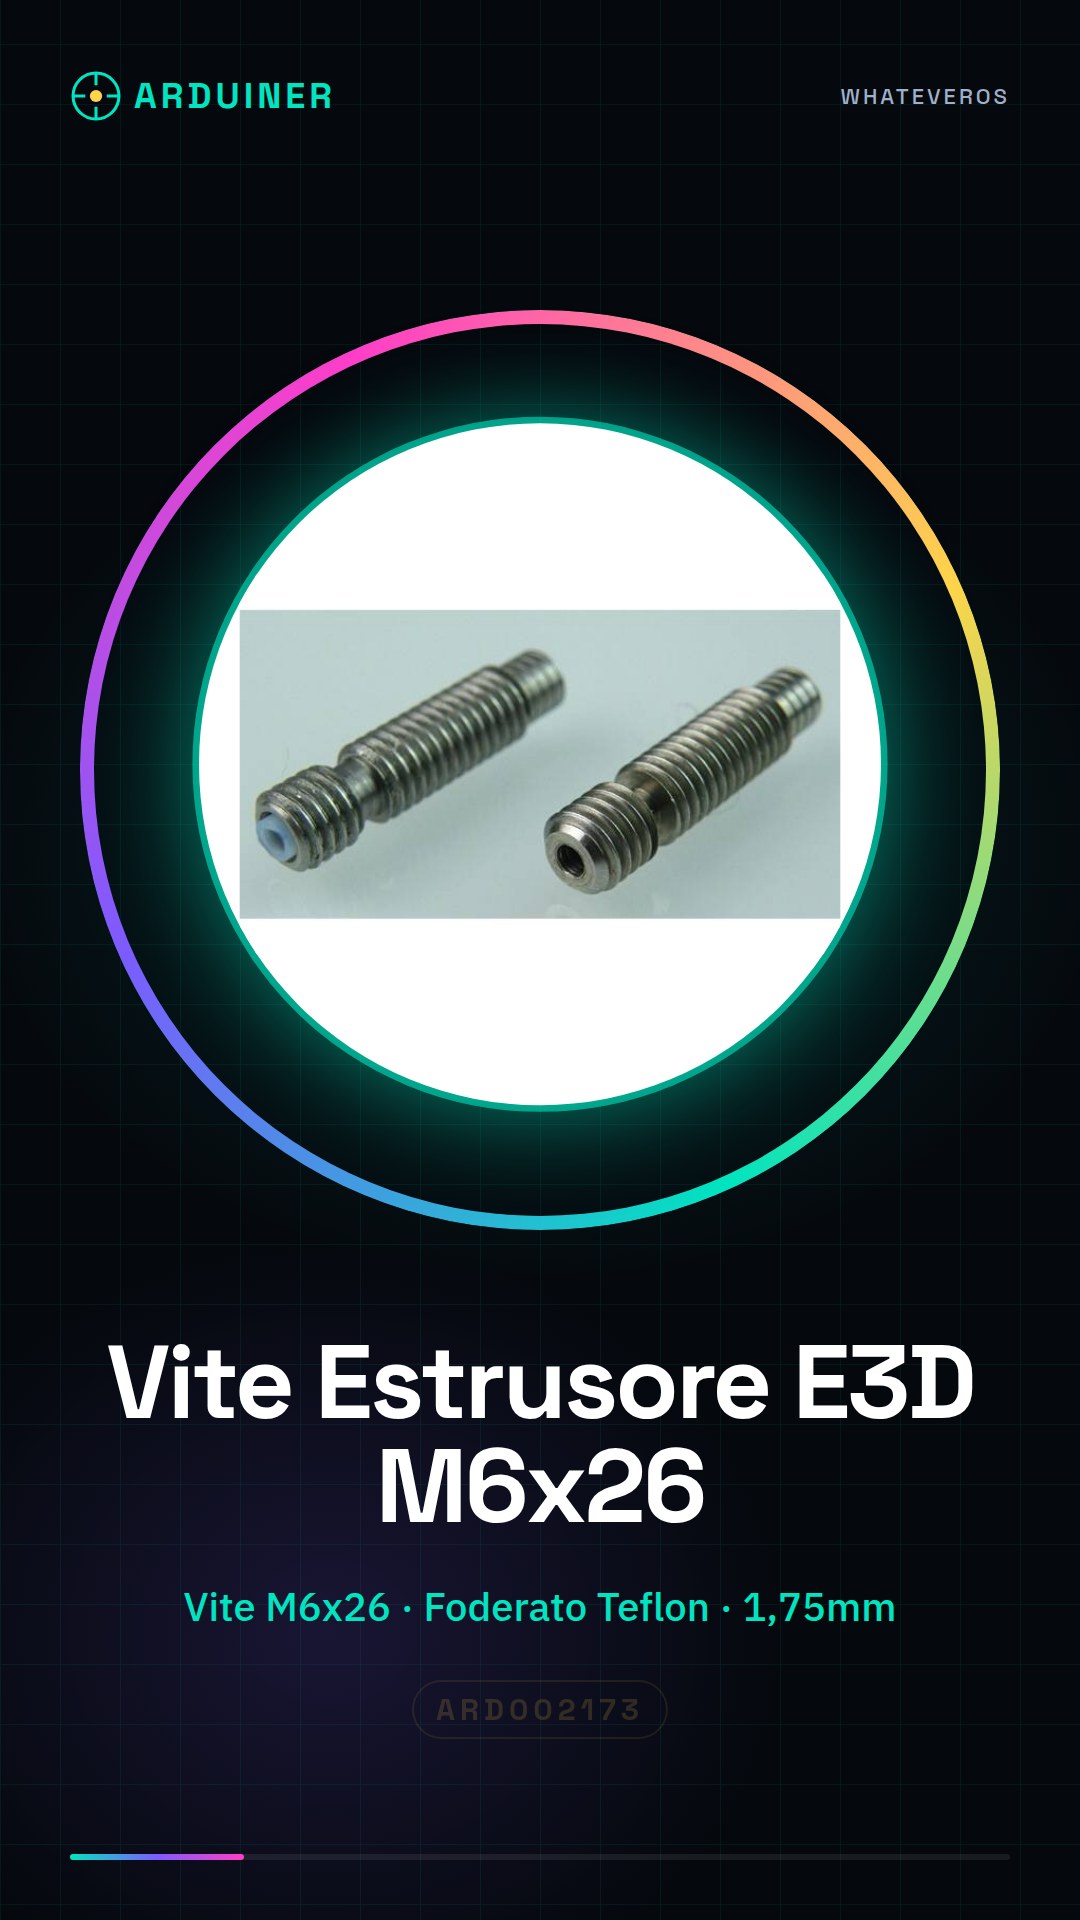
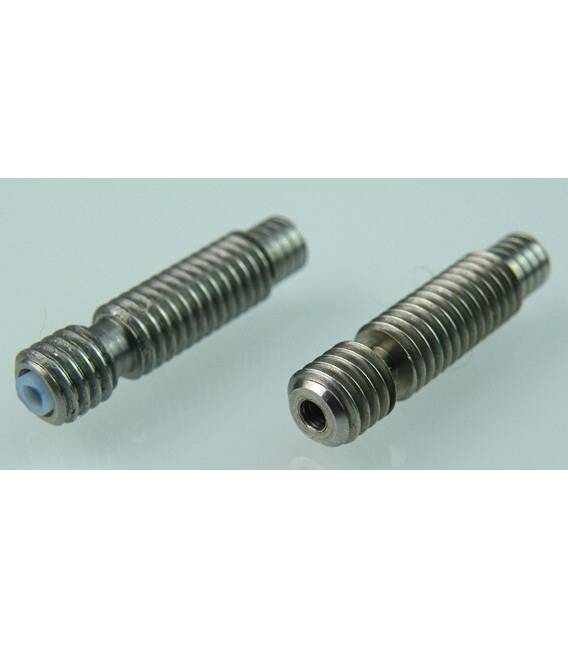
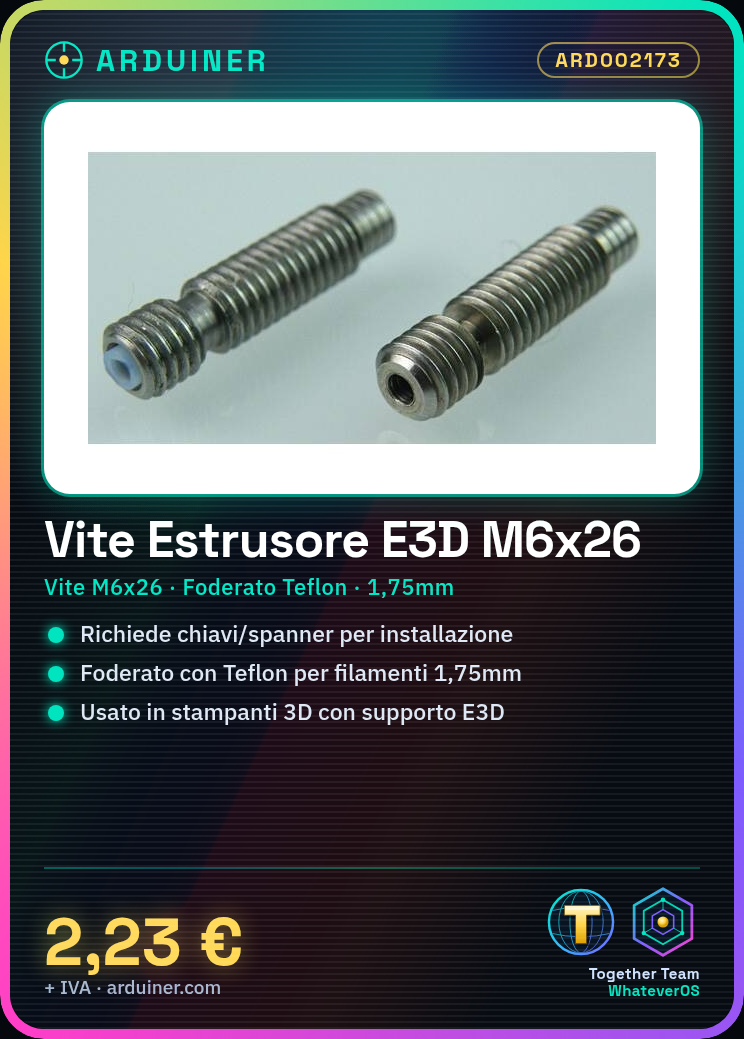
Description
Technical Specifications
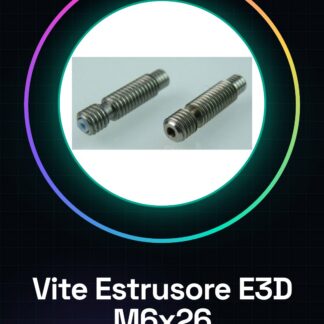
The E3D M6X26 Teflon-lined extruder screw is a crucial component for 3d printers, designed to advance the filament during the printing process. This type of extruder screw uses a rotational mechanism to push the filament through the Teflon tube, ensuring a constant flow and reducing friction. The Teflon lining contributes to improving filament fluidity and reducing material loss.
The extruder screw is compatible with 1.75mm filament and can be installed on 3d printers that support the E3D system. Its specific length and diameter (M6X26) make it suitable for a wide range of applications, from rapid prototyping to the production of fine parts.
During installation, it is important to check that the screw is securely tightened and that no parts of the mechanism vibrate during the printing operation. Additionally, it is essential to configure the temperature and speed parameters correctly in the slicing software to optimize print quality.
Key Specifications
| Parameter | Value |
| Model | E3D M6X26 |
| Diameter | M6 |
| Length | 26 mm |
| Lining | Teflon |
| Filament Compatibility | 1.75mm |
| 3d Printer Compatibility | E3D |
| Quantity | 1 piece |
Installation and Usage
- Check the compatibility of your 3d printer with the E3D M6X26 extruder screw.
- Disassemble the existing extruder from your 3d printer, if present.
- Insert the new component in the extruder position.
- Check that the E3D M6X26 extruder screw is securely fastened and not vibrating during the print.
- Configure the temperature and speed parameters in your 3D printer slicing software.
Compatibility and Requirements
- The E3D M6X26 extruder screw is designed for 3D printers that support the E3D system.
- It is compatible with 1.75mm filaments.
- Small mechanical tools are required for installation.
Limitations and Important Notes
- The E3D M6X26 extruder screw is not compatible with 3D printers that do not support the E3D system.
- The Teflon lining may require careful installation to prevent material loss.
- It is necessary to correctly configure the temperature and speed parameters in the slicing software to optimize print quality.
Troubleshooting
The filament is not being pushed correctly.
Probable cause: The extruder screw may not be securely tightened or the temperature and speed parameters may not be optimally configured.
Solution: Check that the extruder screw is securely tightened and that the temperature and speed parameters in the slicing software are correctly configured.
The filament jams during printing.
Probable cause: The filament may be too rigid or the extruder screw may not be securely tightened.
Solution: Check the rigidity of the filament and that the extruder screw is securely tightened.
The print quality is lower than expected.
Probable cause: The temperature and speed parameters may not be optimized.
Solution: Recalibrate the temperature and speed parameters in the slicing software.
The extruder screw vibrates during printing.
Probable cause: The extruder screw may not be securely tightened.
Solution: Ensure the E3D M6X26 extruder screw is securely tightened and reassemble and reinstall it if necessary.
Use cases
Rapid prototyping in the lab
Objective: Create plastic parts to quickly test ideas and projects.
What you need: 3D printer with E3D support, 1.75mm filament, E3D M6X26 extruder screw.
Steps: 1) Install the E3D M6X26 extruder screw in the 3D printer. 2) Load the 1.75mm filament. 3) Configure temperature and speed parameters in the slicing software. 4) Print the prototype. 5) Check the print quality.
Expected result: A prototype ready for testing.
3D printer repair
Objective: Replace a damaged E3D M6X26 extruder screw.
What you need: 3D printer with E3D support, 1.75mm filament, E3D M6X26 extruder screw.
Steps: 1) Disassemble the damaged extruder. 2) Install the new E3D M6X26 extruder screw. 3) Configure temperature and speed parameters in slicing software. 4) Test the 3d printer. 5) Check the print quality.
Expected outcome: The repaired 3d printer ready for printing.
Printing fine parts
Objective: Create plastic parts with high precision.
What’s needed: 3d printer with E3D support, 1.75mm filament, E3D M6X26 extruder screw.
Steps: 1) Install the E3D M6X26 extruder screw in the 3d printer. 2) Load the 1.75mm filament. 3) Configure temperature and speed parameters in slicing software. 4) Print the fine part. 5) Check the print quality.
Expected outcome: A fine part with high precision.
Setting up a 3d printer for educational use
Objective: Set up a 3D printer for use in a school laboratory.
What is needed: 3D printer with E3D support, 1.75mm filament, E3D M6X26 extruder screw.
Steps: 1) Install the E3D M6X26 extruder screw in the 3D printer. 2) Configure temperature and speed parameters in the slicing software. 3) Test the 3D printer. 4) Check the print quality.
Expected result: A 3D printer ready for school use.
Automation of printing processes
Objective: Automate the printing process to increase productivity.
What is needed: 3D printer with E3D support, 1.75mm filament, E3D M6X26 extruder screw.
Steps: 1) Install the E3D M6X26 extruder screw in the 3D printer. 2) Configure temperature and speed parameters in the slicing software. 3) Automate the printing process. 4) Check the print quality.
Expected Outcome: An automated printing process with high productivity.
Component Compatibility Test
Objective: To verify the compatibility of the E3D extruder screw with various 3D printers.
What’s needed: 3D printer with E3D support, 1.75mm filament, E3D M6X26 extruder screw.
Steps: 1) Install the E3D M6X26 extruder screw on the 3D printer. 2) Configure temperature and speed parameters in the slicing software. 3) Test the 3D printer. 4) Check the print quality.
Expected Outcome: A comprehensive verification of the extruder screw compatibility.
3D Printer Maintenance
Objective: To replace a damaged extruder screw.
What’s needed: 3D printer with E3D support, 1.75mm filament, E3D M6X26 extruder screw.
Steps: 1) Disassemble the damaged extruder. 2) Install the new E3D M6X26 extruder screw. 3) Configure temperature and speed parameters in the slicing software. 4) Test the 3d printer. 5) Check the print quality.
Expected outcome: The repaired 3d printer ready for printing.
Custom parts printing
Objective: Create custom plastic parts for unique projects.
What’s needed: 3d printer with E3D support, 1.75mm filament, E3D M6X26 extruder screw.
Steps: 1) Install the E3D M6X26 extruder screw in the 3d printer. 2) Load the 1.75mm filament. 7) Configure temperature and speed parameters in the slicing software. 8) Print the custom part. 9) Check the print quality.
Expected outcome: A custom part with good print quality.
In the package
- 1 piece
Complete the project
- Bronze Nozzle 0.4mm E3DV6 for 1.75mm Filament 3D Printer: To ensure a consistent filament flow.
- Bronze Nozzle 0.2mm E3DV6 for 1.75mm Filament 3D Printer: To install a compatible extruder screw nozzle.
Technical FAQs
Is the E3D M6X26 extruder screw compatible with all 3D printers?
The E3D M6X26 extruder screw is designed for 3D printers that support the E3D system.
What tools are needed to install the E3D M6X26 extruder screw?
To install the E3D M6X26 extruder screw, small mechanical tools such as wrenches and spanners are required.
How can I check if the E3D M6X26 extruder screw is securely installed?
Check that the extruder screw does not vibrate during printing and that there are no parts moving inappropriately.
What parameters should I configure in the slicing software to optimize print quality?
Configure the temperature and speed parameters correctly in the slicing software to optimize print quality.
Tutorial: How to Use the E3D M6X26 Teflon Lined Extruder Nut
The extruder gear is a critical component for 3d printers, essential for advancing the filament during printing. This tutorial will guide you through the necessary steps to install it correctly.
What you need
- 3d Printer with E3D Support
- Small Mechanic Tools (screwdrivers, wrenches)
- 1.75mm Filament
Steps
- Check that your 3d printer is compatible with the E3D M6X26 extruder gear.
- Disassemble the existing extruder from your 3d printer, if present.
- Insert the new component into the extruder position. Ensure it is securely fastened and does not vibrate during printing.
- Check the datasheet for the new extruder screw to set the correct temperature and speed parameters in your 3d printer slicing software.
- Load the 1.75mm filament into the new extruder screw, following the user manual instructions.
- Start a small print to test the new extruder screw and ensure it is functioning correctly.
Mini project
Set up a simple model to print with your 3d printer, using the new E3D M6X26 extruder screw to ensure good print quality.
Common mistakes
- Do not check if the filament is properly loaded into the extruder screw before printing.
- Unoptimized temperature and speed settings in the slicing software, which can affect the quality of the print.
- Component safety during installation: ensure it is securely fastened to prevent vibrations or damage.
Recommended accessories
- 1.75mm filament
- Software slicing compatible with your 3d printer
Frequently asked questions
What is the diameter of the extruder screw?
Check the datasheet.
How can I optimize the settings to achieve the best print quality?
Try different temperature and speed values in the slicing software, testing each configuration with small models before proceeding with larger projects.
Reviews
There are no reviews yet.