 EN
 IT Italiano
 ES Español
 FR Français
 DE Deutsch
Description
We have datasheets available for all components. If the datasheet is not present in the product download sheet, please send us a message through the contact us module and we will publish it on the website as soon as possible.
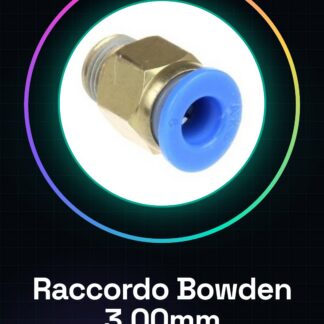
Tutorial: How to Use Bowden Type J-head Connector
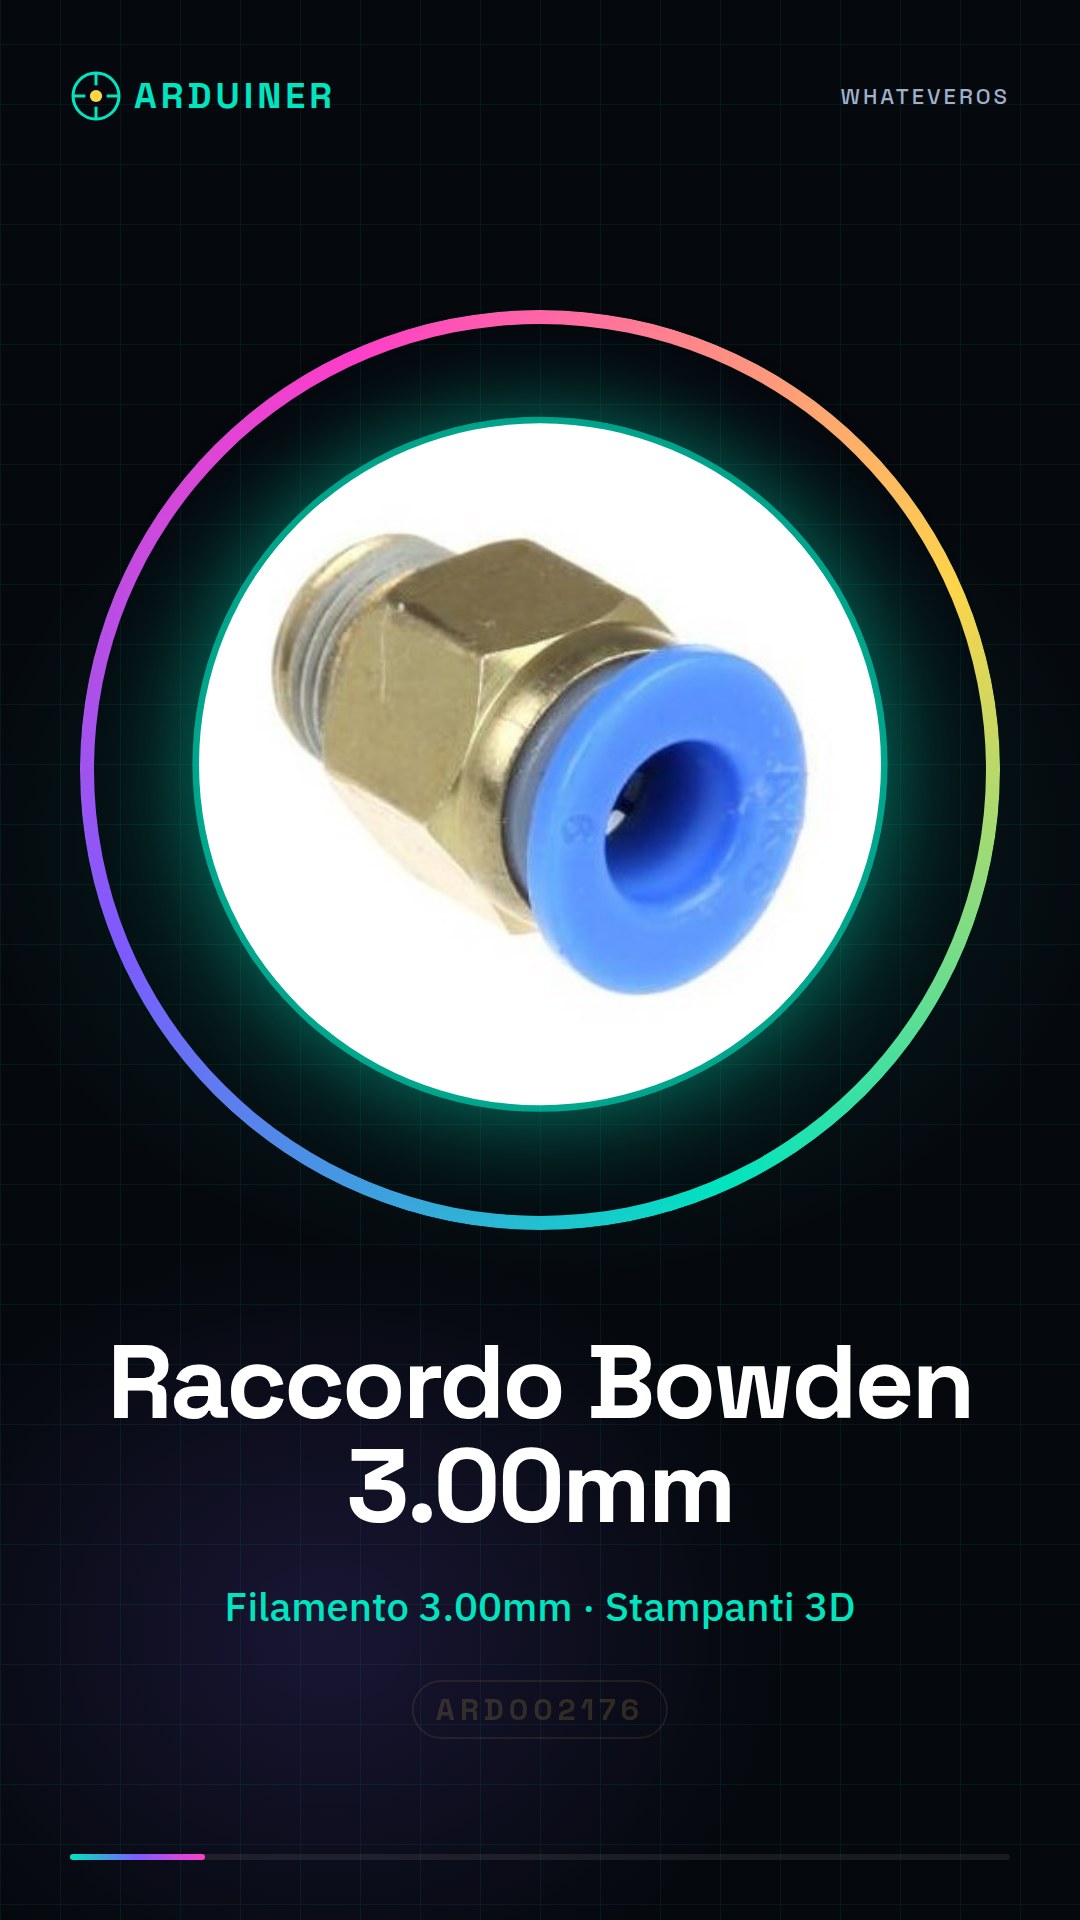
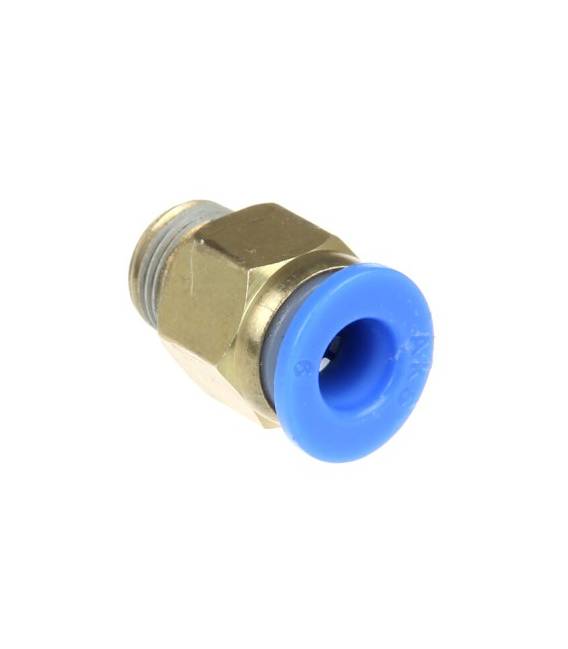
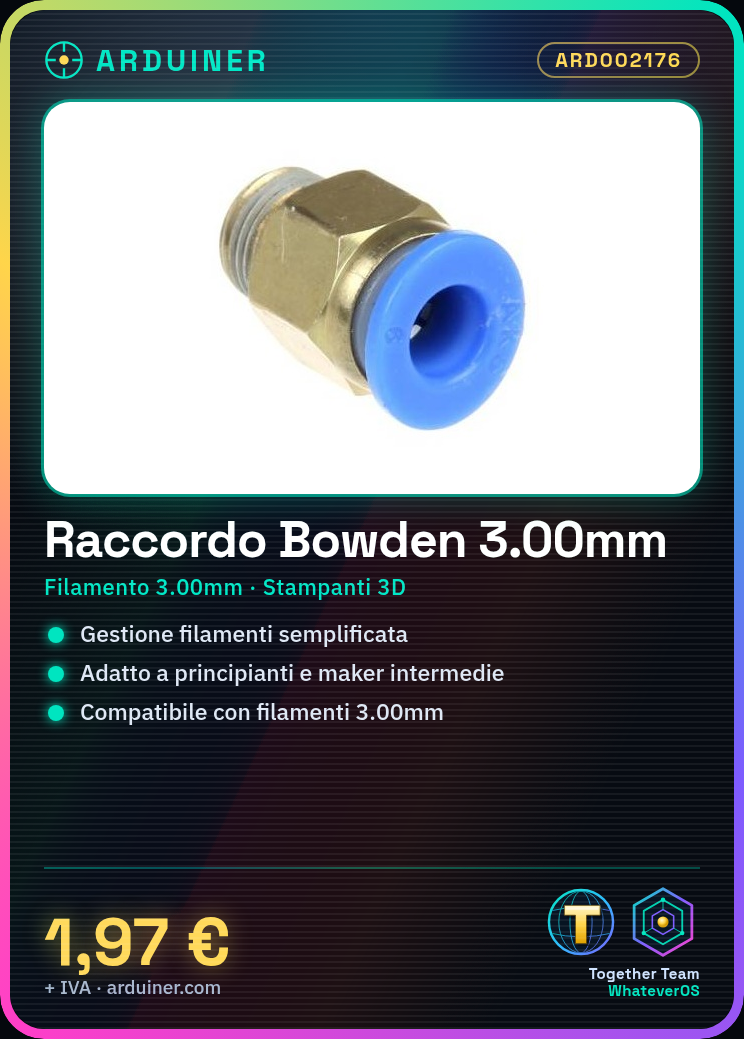
This connector is essential for Bowden 3D printers, making filament management easier. Useful for beginners and intermediate makers.
What you need
- 3.00mm Filament
- J-head Bowden
- 3D Printer
- Safety Cap (optional)
Steps
- 1. Check the datasheet for filament dimensions.
- 2. Install the safety cap in the J-head (if present).
- 3. Insert the filament into the J-head.
- 4. Connect the J-head to the connector.
- 5. Connect the connector to the filament holder.
- 6. Check the connection and filament movement.
- 7. Test the printer to ensure the filament runs smoothly.
- 8. Check the filament tension to avoid jams.
Mini project
Mount the J-head Bowden connector on a 3d printer and print a simple cube in 3.00mm filament.
Common mistakes
- Do not check filament compatibility.
- Ignore filament tension during installation.
- Do not test the printer after installation.
- Do not use safety plug if necessary.
Recommended accessories
- 3.00mm filament
- J-head Bowden
- Safety plug (if present)
- Cutting tools
Frequently asked questions
The filament does not flow properly, what to do?
Check filament tension and connections.
Can I use this connector with filaments other than 3.00mm?
Check compatibility with the filament being used.
Is it necessary to use the safety plug?
Use it if recommended by the J-head manufacturer.
Reviews
There are no reviews yet.