 EN
 IT Italiano
 ES Español
 FR Français
 DE Deutsch
Description
What it is
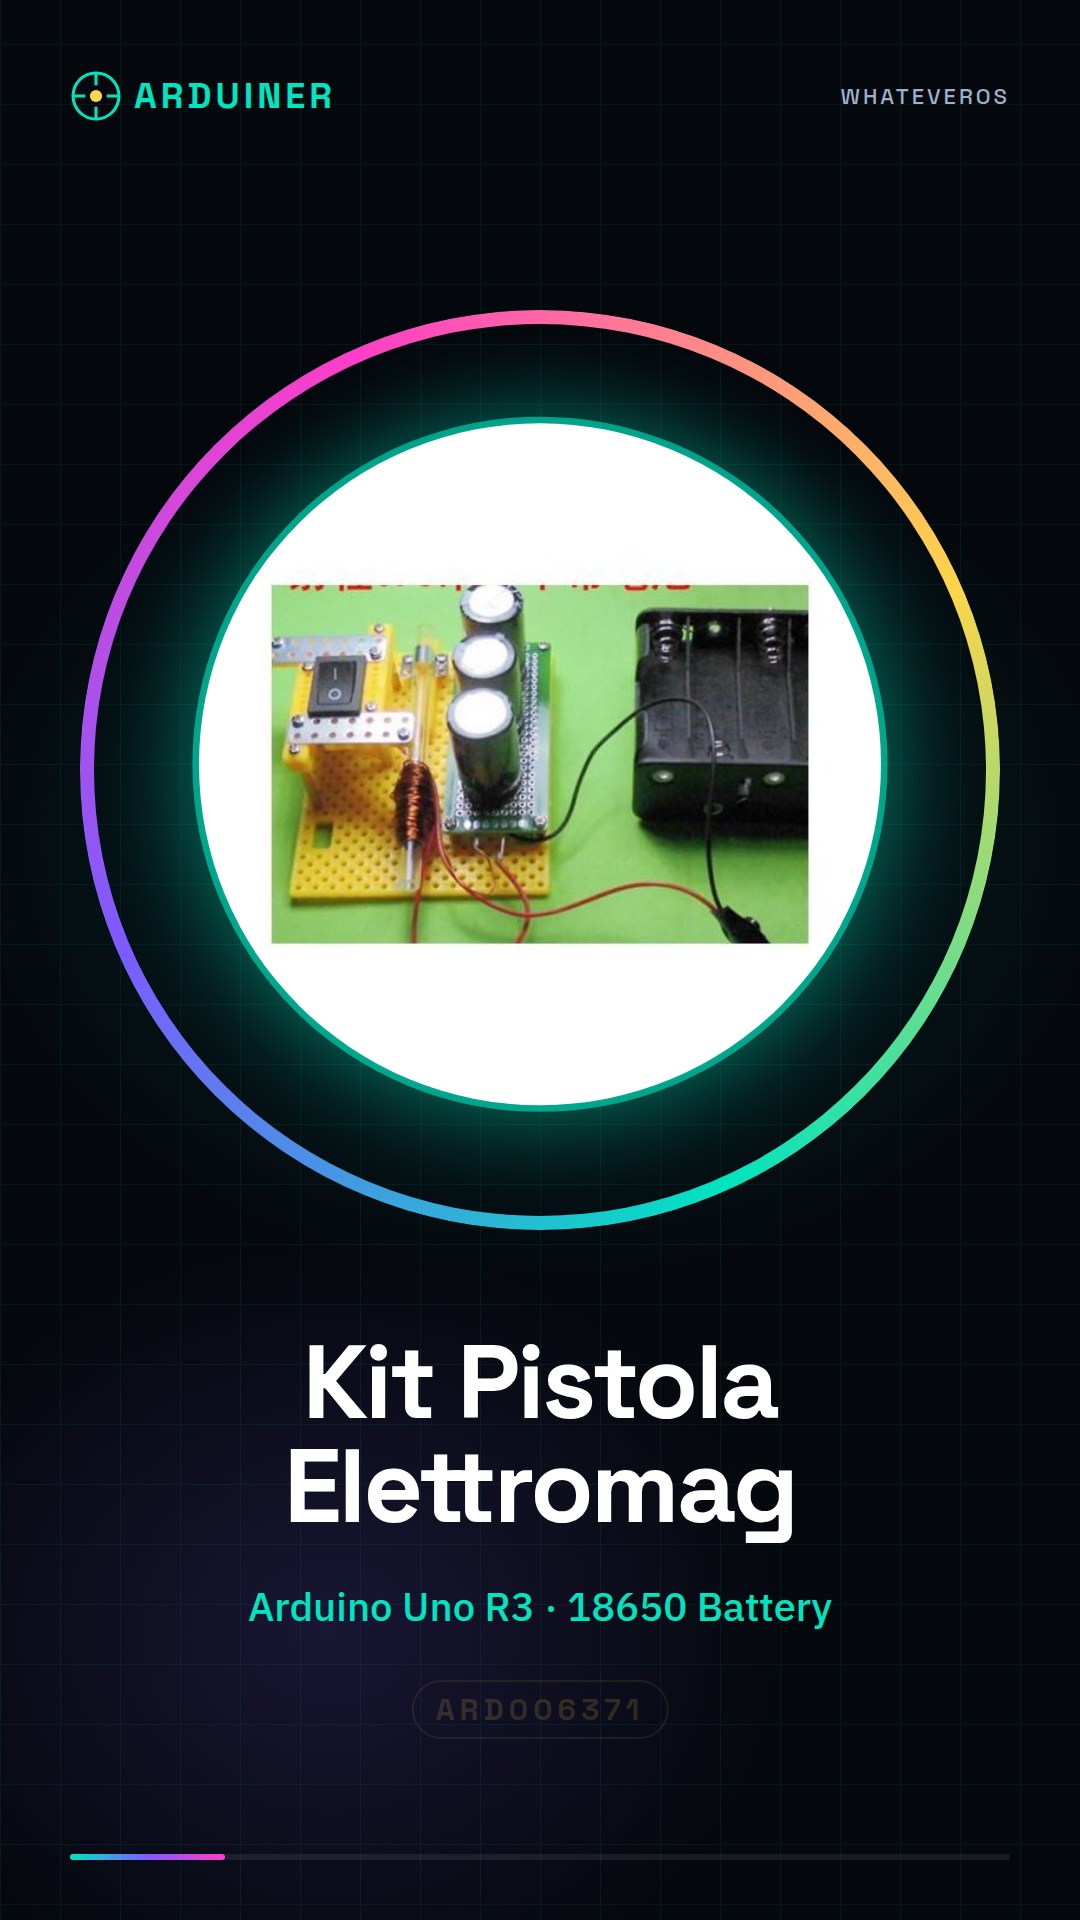
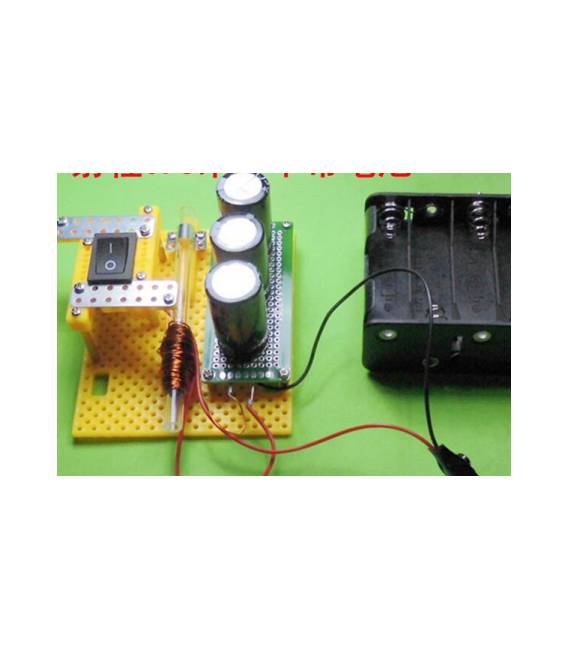
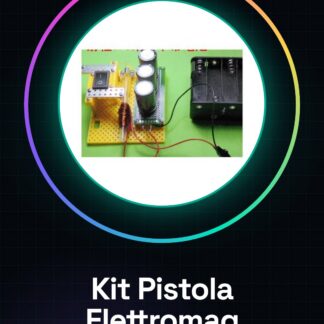
The DIY Electromagnetic Gun Kit is a set of components that allows you to build an electromagnetic gun. This device uses the principle of electricity to generate magnetic force, making it ideal for educational projects or hobbies.
Features
- Ideally suited for makers and experimenters in electronics;
- Allows the construction of a device that generates magnetic force;
What it is for
The kit can be used to create projectiles magnetically attracted to a remote target, suitable for games or school experiments. Check the datasheet for additional technical specifications.
Tutorial: How to use DIY Electromagnetic Gun Kit
The electromagnetic gun is a device that uses the principle of electricity to generate magnetic force. It is ideal for physics projects, hobby science or creative applications.
What you need
- DIY Electromagnetic Gun Kit
- Arduino Uno R3
- JST Connections
- 18650 Battery
- Insulated Pliers
- Multimeter
Steps
- Disassemble the electronic gun delicately to access the internal connectors.
- Check your Arduino specifications (refer to the datasheet) and connect the appropriate pins to the electronic gun using JST.
- Connect the 18650 battery to the kit following the provided instruction manual.
- Write a simple sketch to control the activation of the gun (see code).
- Upload the sketch to your Arduino and test the function by pressing the appropriate buttons.
- If everything works well, you could add a switch or a sensor to activate it automatically.
- Check for unwanted electrical heat (refer to the datasheet).
- Optimize your project with your preferred accessory from the list below.
Example code
void setup() {
  pinMode(9, OUTPUT);
}

void loop() {
  digitalWrite(9, HIGH); // Attiva la pistola elettronica
  delay(1000);
  digitalWrite(9, LOW); // Disattiva la pistola elettronica
}
Mini project
Create a magnetic projectile that attaches to a remote target. Use the kit as part of a game or school experiment.
Common mistakes
- Incorrect connector connection
- Inadequate battery
- Arduino not configured correctly
- Programming issues
Recommended accessories
- Magnetic Dart Kit
- PIR Motion Sensor
- LCD Interface for Arduino
- Relay Module 5V
Frequently asked questions
Can the gun be used without Arduino?
Generally yes, but it requires a manual circuit or an alternative solution.
Which batteries are compatible?
18650 battery or equivalent (check the datasheet).
How do you clean the components?
Use a slightly damp cloth and dry it completely before use.
Reviews
There are no reviews yet.