 EN
 IT Italiano
 ES Español
 FR Français
 DE Deutsch
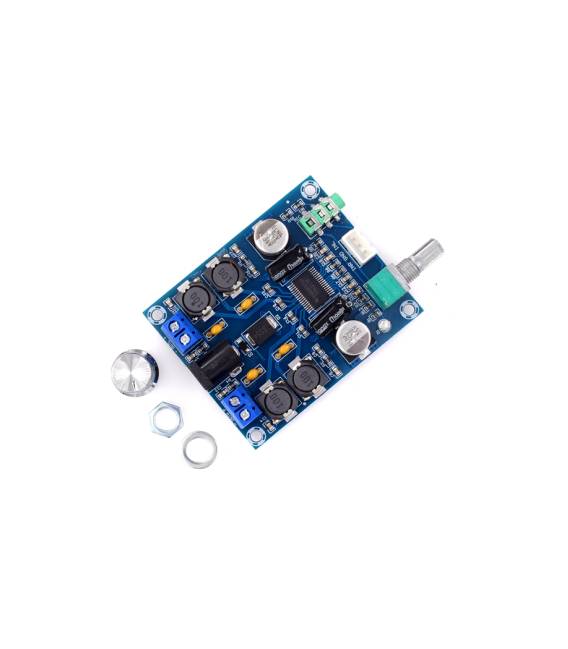
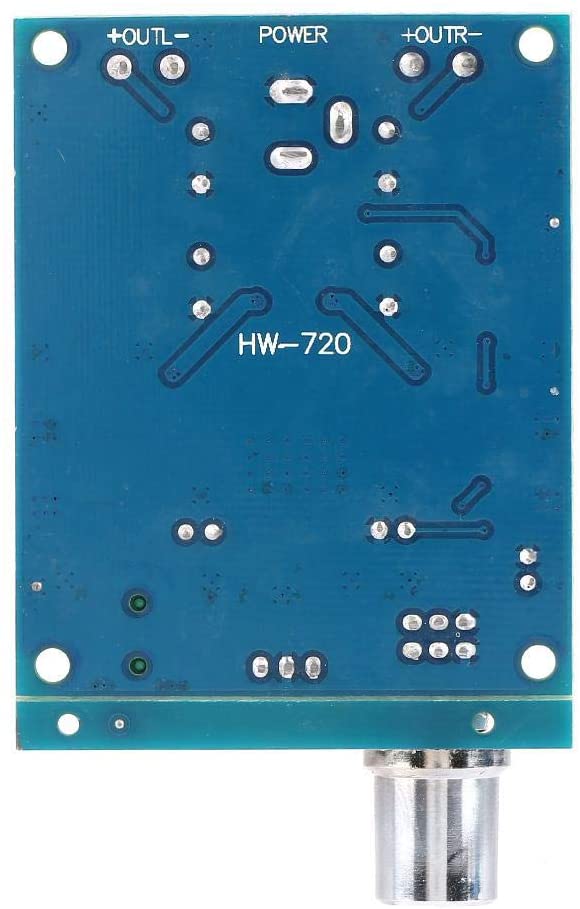
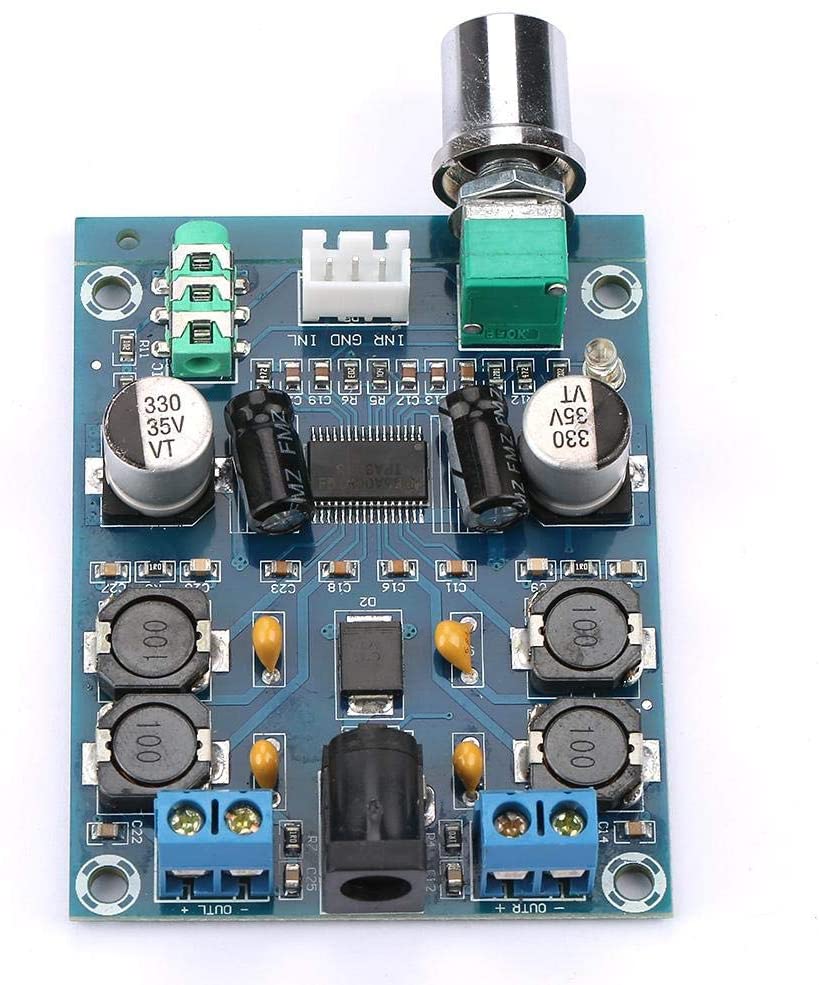
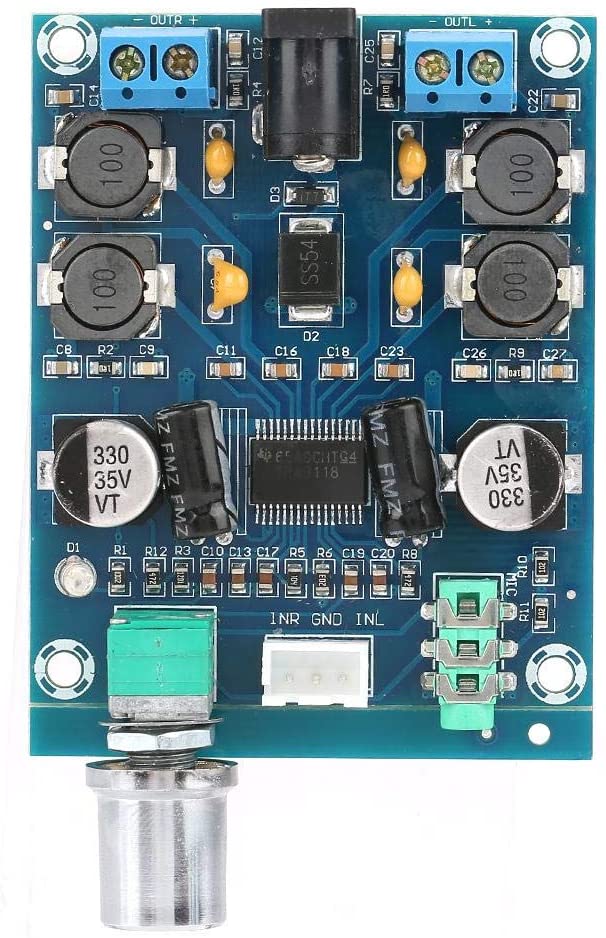
Description
What it is
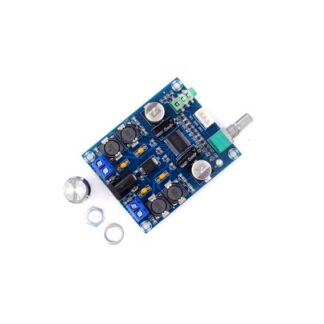
The TPA3118D2 digital power amplifier board is an electronic component designed to boost the volume of an audio system while maintaining high sound quality. This board is ideal for DIY projects that require a reliable and versatile power amplifier.
Features
- 45W x 2 Power Output
- Compatible with Arduino and other microcontrollers
- 3.5mm Jack for audio input
- Enables the creation of portable and hi-fi audio systems
- Check the datasheet for detailed technical specifications
What it is for
The TPA3118D2 board is used for projects such as portable speakers, hi-fi systems, and speakers. You can connect it to an Arduino or an ESP to control and manage audio in real-time. It can also be used for audio recording with a microphone.
Tutorial: How to use TPA3118D2 Amplifier Board
The TPA3118D2 amplifier board is ideal for boosting the volume of your audio system without losing quality. This component is perfect for DIY projects such as portable speakers, hi-fi systems, and speaker setups.
What you need
- Arduino Uno or compatible
- Audio connection (3.5mm jack)
- Power supply 9-18V
- Pull-up resistors
- Capacitors for filtering
- Connectors to connect the speakers
Steps
- Connect the TPA3118D2 board to the power supply 9-18V
- Connect the control pins to the microcontroller (Arduino)
- Connect the audio input to the microcontroller or an external audio source
- Check the datasheet for the values of the capacitors to filter the power supply
- Connect the capacitors to the power and ground pins
- Check the datasheet for the values of the pull-up resistors for the control pins
- Connect the speakers to the output pins of the amplifier
- Write the Arduino sketch to control the volume and other features
Example code
void setup() {
  pinMode(A0, OUTPUT);
  pinMode(A1, OUTPUT);
}

void loop() {
  analogWrite(A0, 128); // Regolare il volume
  analogWrite(A1, 255); // Attivare l'amplificatore
}
Mini project
Build a portable audio system with the TPA3118D2 board, an Arduino, a 3.5mm jack, and small speakers. Try connecting a microphone and recording real-time audio.
Common mistakes
- Do not connect the power supply directly to the microcontroller, use a transformer or voltage regulator.
- Do not forget capacitors to filter the power supply.
- Do not connect the speakers directly to the Arduino, use the amplifier.
- Check the datasheet for the correct values of the pull-up resistors.
Recommended accessories
- 3.5mm jack
- Pull-up resistors
- Capacitors
- Speakers
Frequently asked questions
What is the maximum power of the amplifier?
45W per channel, check the datasheet for the actual power.
Can I connect the amplifier directly to a battery?
Use a voltage regulator to ensure proper power supply.
How to adjust the volume?
Use the control pins to adjust the volume and other features.
Reviews
There are no reviews yet.