 EN
 IT Italiano
 ES Español
 FR Français
 DE Deutsch
Description
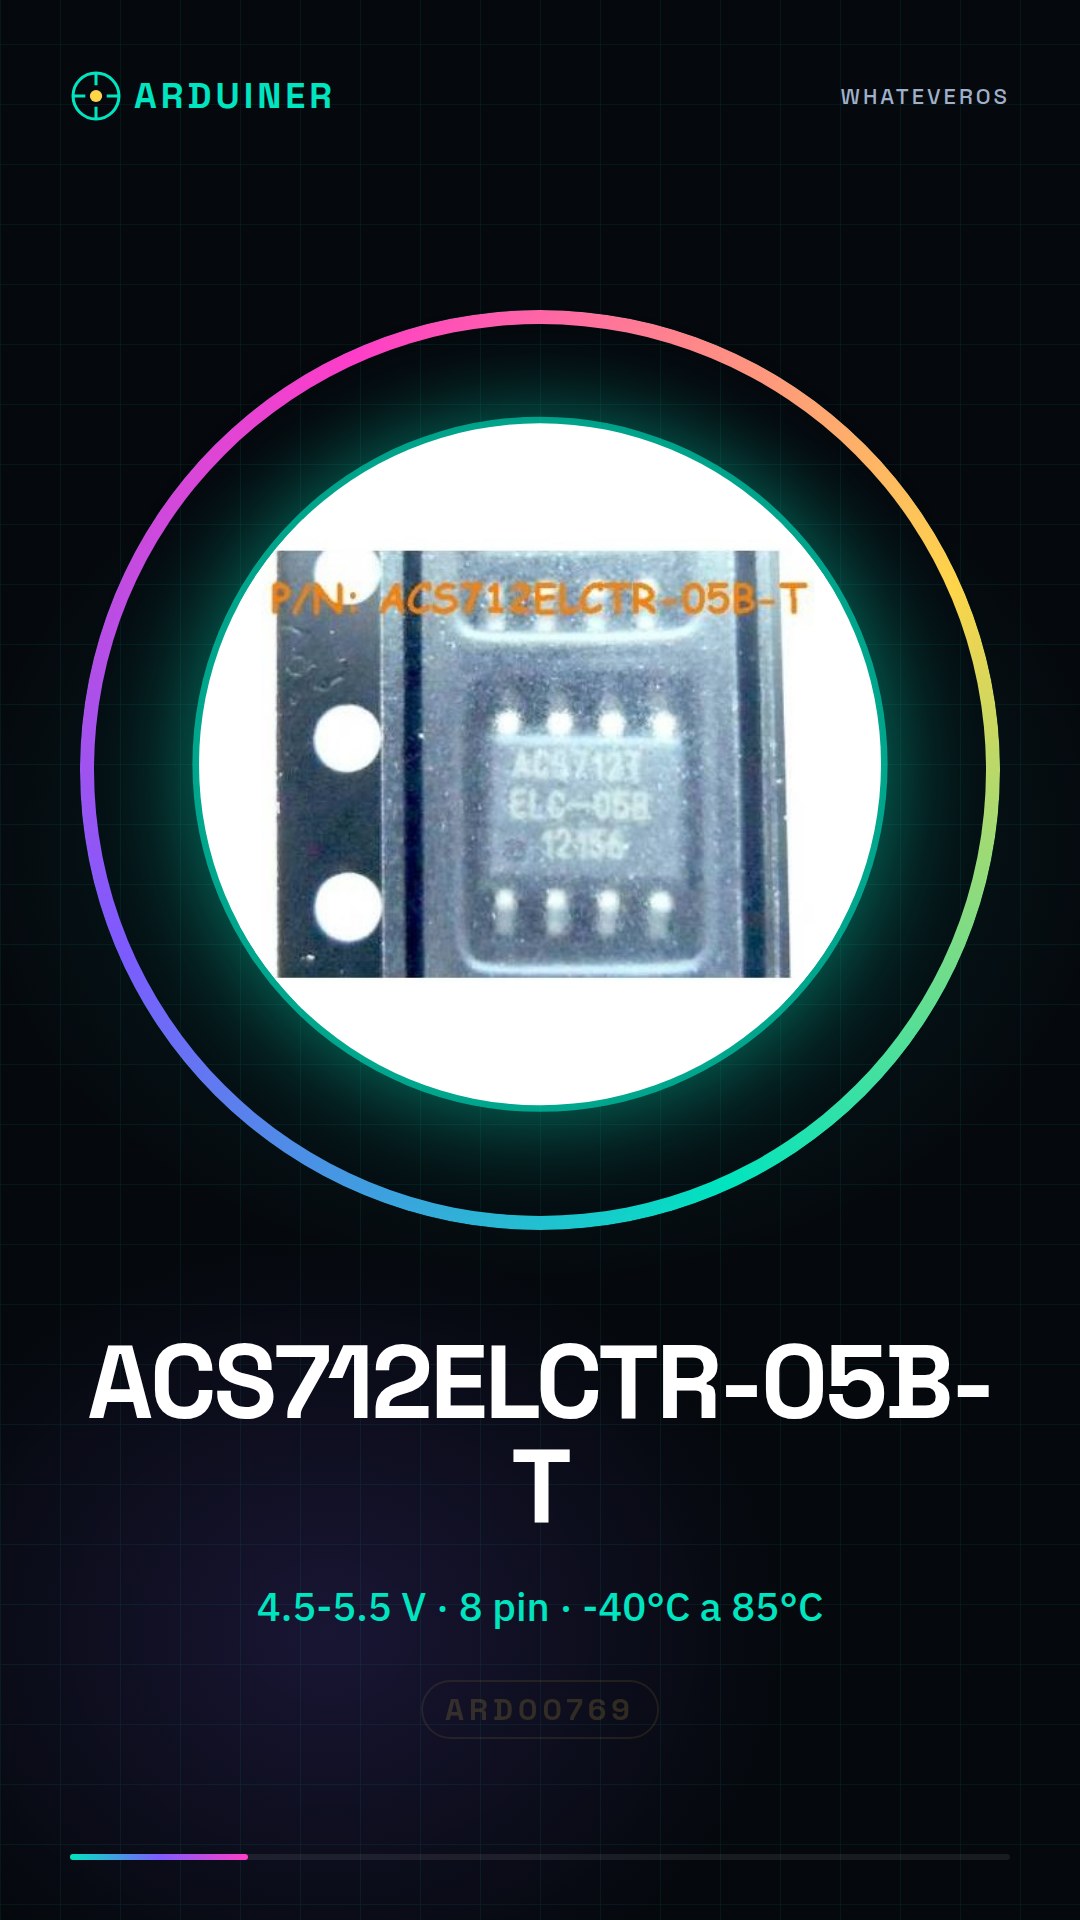
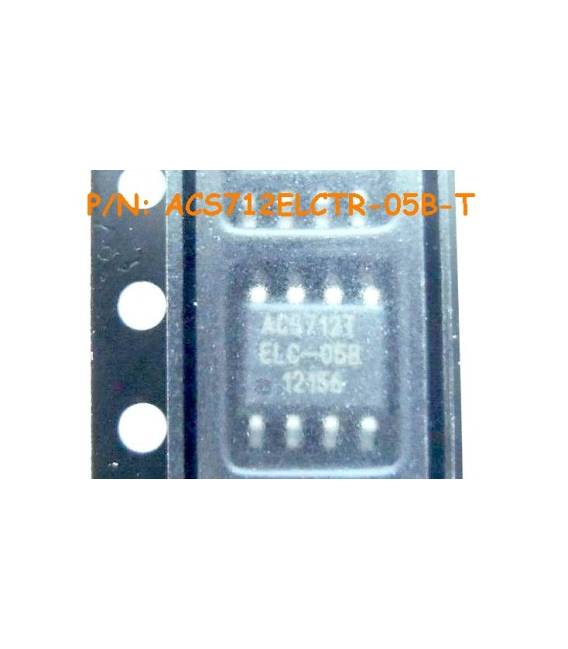
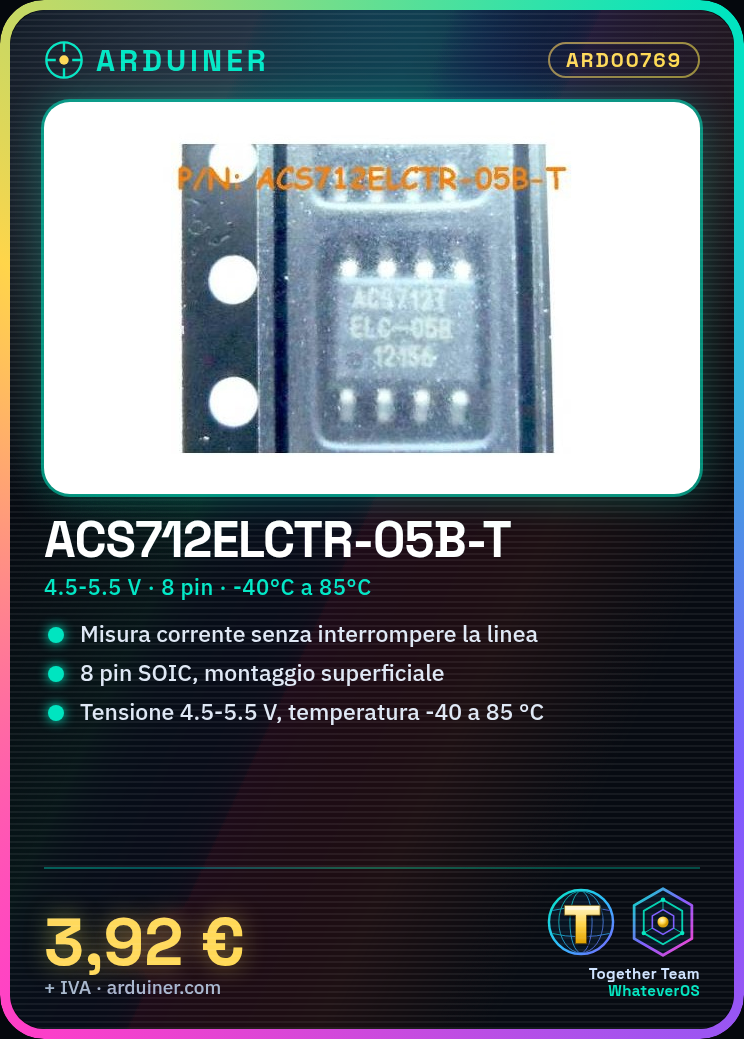
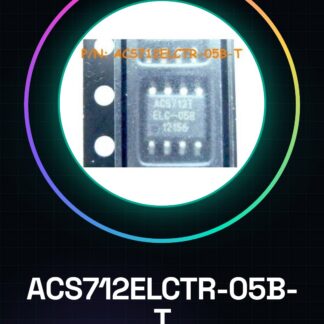
ACS712ELCTR-05B-T Integrated Circuits
Component Specifications:
| Operating Supply Voltage (min) | 4.5V |
| Operating Supply Voltage (typ) | 5V |
| Operating Supply Voltage (max) | 5.5V |
| Package Type | SOIC N |
| Packaging | Tape and Reel |
| Pin Count | 8 |
| Mounting | Surface Mount |
| Operating Temperature Range | From -40 °C to 85 °C |
| Operating Temperature Classification | Industrial |
We have the technical sheet of all components available, if it is not present in the product download sheet, send a message from the contact us module and we will publish it as soon as possible on our website.
Tutorial: How to use ACS712ELCTR-05B-T
The ACS712ELCTR-05B-T is an integrated current sensor that allows measuring current in an electrical line without interrupting it. Ideal for Arduino projects where monitoring or controlling the flow of energy is required.
What you need
- Arduino Uno (or compatible)
- Jumper Connections
- LCD 16×2 (optional, to display data)
Steps
- Connect the Vcc and GND mass of the ACS712 to your Arduino.
- Connect the sensor’s analog output to an analog pin of Arduino.
- Upload the sketch below to your Arduino.
- Obtain the analog value from the sensor using the ‘analogRead’ function.
- Convert the analog value to real current by checking the specifications on the ACS712 datasheet.
- Display the data on an LCD 16×2 (optional).
- Calculate and display power using I²R if necessary.
- Test the sensor with different currents to verify its performance.
Example code
const int currentPin = A0; // pin di input
float voltage, current;
void setup() {
  Serial.begin(9600);
}
void loop() {
  voltage = analogRead(currentPin) * (5.0 / 1023); // converte in tensione
  current = voltage / 0.195; // verifica il coefficiente sul datasheet
  Serial.print("Corrente: ");
  Serial.println(current);
}
Mini project
Create a current monitoring for a small motor or LED controlled by Arduino.
Common mistakes
- Do not connect the sensor to the correct voltage.
- Ignore the sensor calibration.
- Use a pull-up resistor when it is not necessary.
- Omit converting the analog values to real current.
Recommended accessories
- LCD 16×2
- Pull-up resistor (optional)
- Small motor or LED for testing
- Arduino Uno
Frequently asked questions
How do you calibrate the sensor?
Calibration is general and does not require specific interventions, but make sure the supply voltage is correct.
How precisely does the ACS712 measure?
Precision may vary; consult the datasheet for details on errors and limitations.
Reviews
There are no reviews yet.