 EN
 IT Italiano
 ES Español
 FR Français
 DE Deutsch
Description
Technical Description
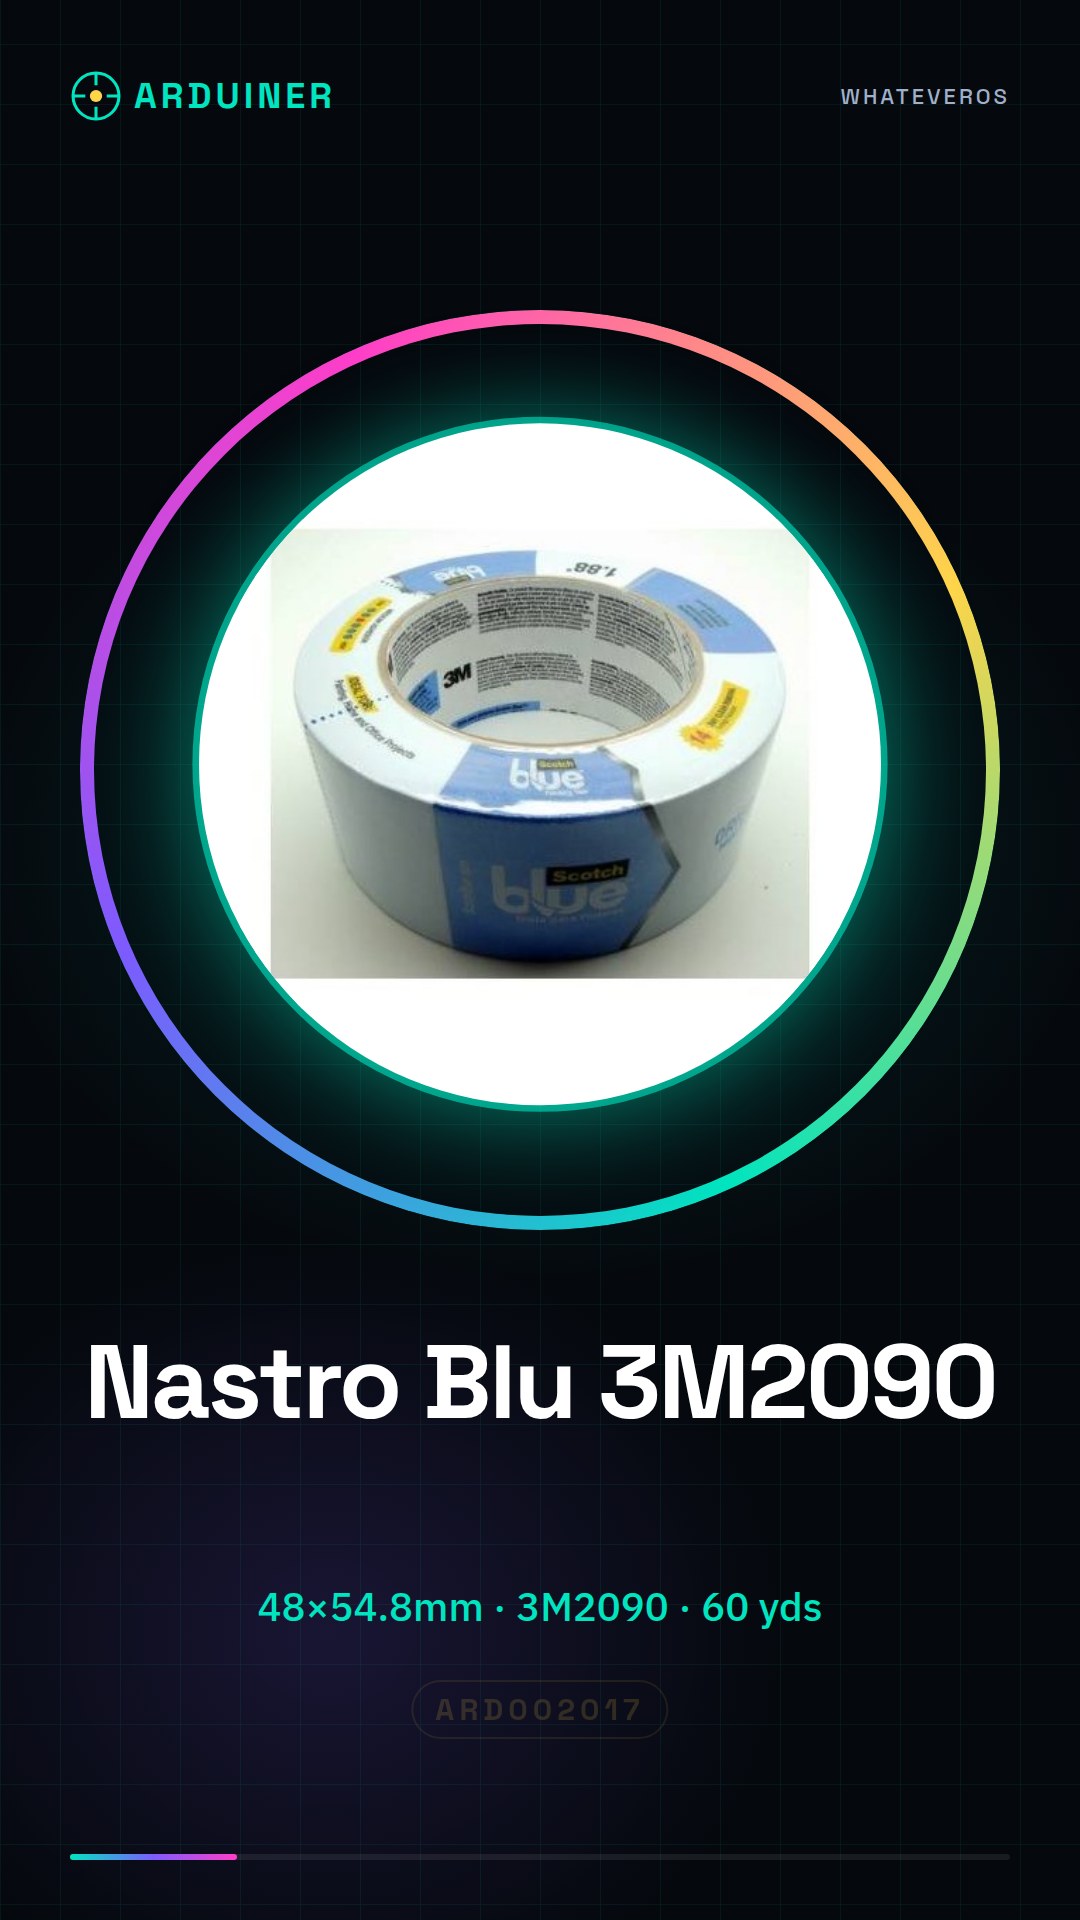
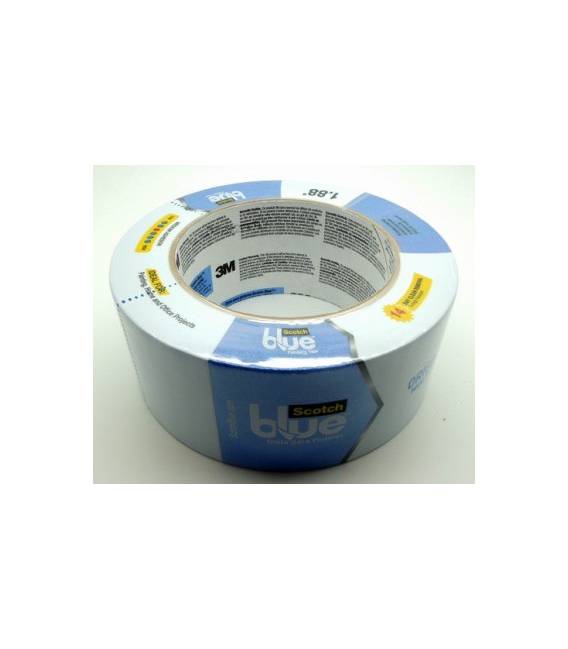
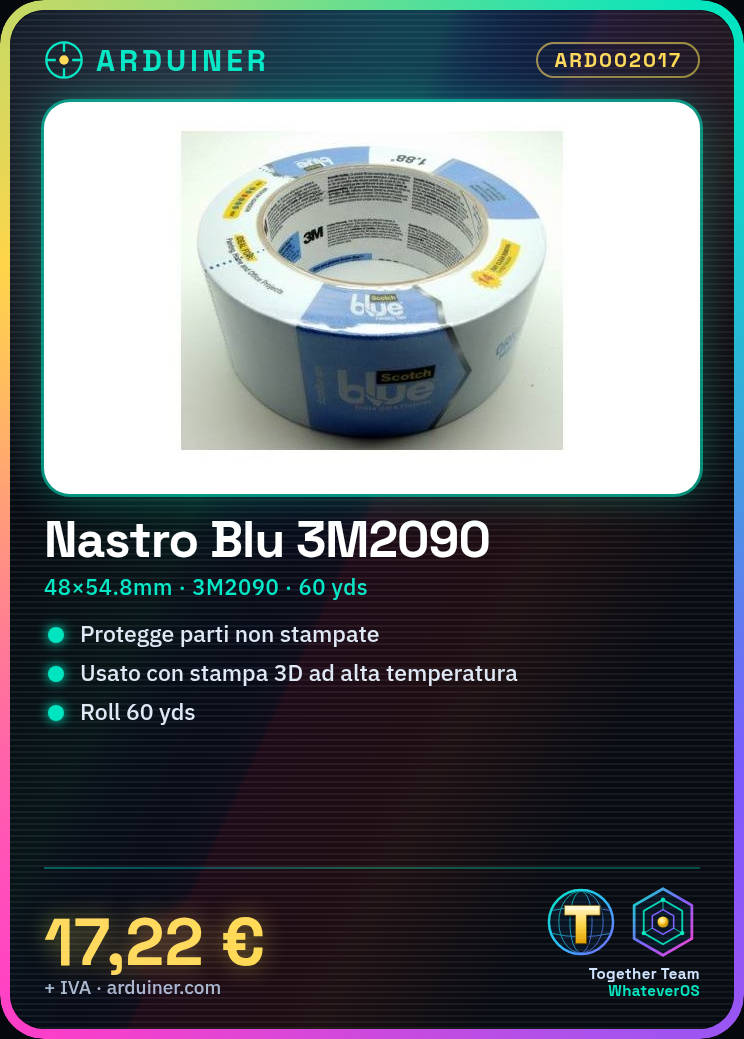
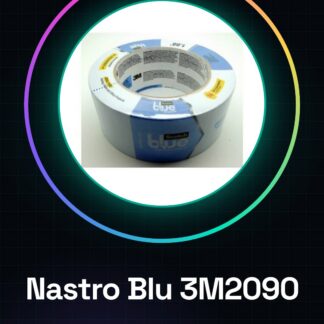
The blue 3M2090 masking tape, dimensions 48×54,8mm, is a crucial component for high-temperature 3D printing. It is used to protect surfaces that should not be printed on during the manufacturing process, preventing any potential damage or burns caused by heat.
The tape is carefully applied to the parts of the 3D mask that should remain intact during printing. It is important to check that the tape is securely attached and free of air bubbles to ensure optimal adhesion.
The standard length of the tape is 60 yd (54,8m), sufficient for numerous 3D printing projects.
Key Specifications
| Parameter | Value |
| Model | 3M2090 |
| Dimensions | 48×54,8mm |
| Length | 60 yd (54,8m) |
| Color | Blue |
| Usage | High Temperature 3D Printer Mask |
| Container | Roll |
Installation and Usage
- Check the datasheet of your 3D printer model to verify that the tape is compatible with the mask being used.
- Cut the tape into appropriate pieces to cover the areas not to be printed on your 3D mask.
- Gently apply the tape to the parts of the mask that need to remain intact during the printing process.
- Ensure that the tape is well adhered and free of air bubbles.
- Load the model to be printed into the 3D printer control software and start the print following the software instructions.
Compatibility and Requirements
- The 3M2090 masking tape is compatible with a wide range of high-temperature 3D printers.
- It is used to protect the parts not to be printed during the manufacturing process.
- A sufficiently strong adhesive between the tape and the mask is necessary to ensure adequate protection.
Limitations and Important Notes
- The tape is not designed to be used with low-temperature 3D printers.
- Due to its structure, the tape may not adhere properly if applied to smooth or non-sticky surfaces.
- It is important to regularly check during printing that the tape remains well applied and does not come off.
- It is not recommended to use the tape on very rough or irregular surfaces.
Troubleshooting
The tape comes off during printing.
Probable cause: Insufficient application or non-sticky surface.
Solution: Check that the tape is applied gently and without air bubbles. If necessary, apply additional adhesive.
The area covered by the tape shows signs of burning or damage.
Probable cause: Insufficiently applied tape or not compatible with the temperature.
Solution: Ensure that the tape is compatible with the printer’s temperature and apply it gently without air bubbles.
The tape is too narrow for the 3D mask dimensions.
Probable cause: Inaccurate cutting or mask dimensions not considered.
Solution: Cut the tape into pieces suitable for the mask dimensions and apply it gently.
Insufficient adhesive between the tape and the mask is not being used.
Probable cause: Tape applied to non-adhesive surfaces.
Solution: Apply additional adhesive between the tape and the mask to ensure optimal adhesion.
Use cases
3D pendant printing
Objective: Protect parts not to be printed during the manufacturing of a 3D pendant.
What is needed: 3M2090 blue masking tape
Steps: 1) Check the tape compatibility with the 3d printer. 2) Cut the tape into pieces suitable to cover the parts not to be printed of the pendant. 3) Gently apply the tape on the parts of the pendant that should remain intact. 4) Load the pendant model into the 3d printer control software. 5) Start the print following the software instructions.
Expected result: The pendant is printed correctly without damage to the parts not to be printed.
3D Container Print
Objective: Protect the parts not to be printed during the manufacturing of a 3D container.
What is needed: 3M2090 Blue Masking Tape
Steps: 1) Check the tape compatibility with the 3d printer. 2) Cut the tape into pieces adequate to cover the parts not to be printed of the container. 3) Apply the tape gently on the parts of the container that must remain intact. 4) Load the container model into the 3d printer control software. 5) Start the print following the software instructions.
Expected result: The container is printed correctly without damage to the parts not to be printed.
Printing a complex 3D object
Objective: Protect the parts not to be printed during the manufacturing of a complex 3D object.
What is needed: 3M2090 blue masking tape
Steps: 1) Check the compatibility of the tape with the 3D printer. 2) Cut the tape into pieces adequate to cover the parts not to be printed of the object. 3) Gently apply the tape on the parts of the object that must remain intact. 4) Load the object model into the 3D printer control software. 5) Start the print following the software instructions.
Expected result: The complex 3D object is printed correctly without damage to the parts not to be printed.
3D prototype printing
Objective: Protect the parts not to be printed during the manufacturing of a 3D prototype.
What is needed: 3M2090 blue masking tape
Steps: 1) Check the compatibility of the tape with the 3D printer. 2) Cut the tape into pieces suitable to cover the parts not to be printed of the prototype. 3) Gently apply the tape on the parts of the prototype that must remain intact. 4) Load the prototype model into the 3D printer control software. 5) Start the print following the software instructions.
Expected result: The 3D prototype is printed correctly without damage to the parts not to be printed.
3D printing a school model
Objective: Protect the parts not to be printed during the manufacturing of a school 3D model.
What is needed: 3M2090 blue masking tape
Steps: 1) Check the tape compatibility with the 3d printer. 2) Cut the tape into pieces adequate to cover the parts not to be printed of the model. 3) Gently apply the tape on the parts of the model that must remain intact. 4) Load the model into the 3d printer control software. 5) Start the print following the software instructions.
Expected result: The 3D model for school is printed correctly without damage to the parts not to be printed.
3D printing of an object for the home
Objective: Protect the parts not to be printed during the manufacturing of a 3D object for the home.
What is needed: 3M2090 blue masking tape
Steps: 1) Check the compatibility of the tape with the 3D printer. 2) Cut the tape into pieces adequate to cover the parts not to be printed of the object. 3) Gently apply the tape on the parts of the object that must remain intact. 4) Load the object model into the 3D printer control software. 5) Start the print following the software instructions.
Expected result: The 3D object for the home is printed correctly without damage to the parts not to be printed.
3D printing of an object for the laboratory
Objective: Protect the parts not to be printed during the manufacturing of a 3D object for the laboratory.
What is needed: 3M2090 blue masking tape
Steps: 1) Check the compatibility of the tape with the 3D printer. 2) Cut the tape into pieces adequate to cover the parts not to be printed of the object. 3) Gently apply the tape on the parts of the object that must remain intact. 4) Load the object model into the 3D printer control software. 5) Start the print following the software instructions.
Expected result: The 3D object for the laboratory is printed correctly without damage to the parts not to be printed.
3D printing of an object for maintenance
Objective: Protect the parts not to be printed during the manufacturing of a 3D object for maintenance.
What is needed: 3M2090 blue masking tape
Steps: 1) Check the tape compatibility with the 3D printer. 2) Cut the tape into pieces suitable to cover the parts not to be printed. 3) Gently apply the tape on the parts of the object that should remain intact. 4) Load the object model into the 3D printer control software. 5) Start the print following the software instructions.
Expected result: The 3D maintenance object is printed correctly without damage to the parts not to be printed.
In the package
- 1 piece of blue 3M2090 masking tape
Complete the project
- 3D printer temperature measurement resistor / HT-NTC100K thermistor sensor / high-temperature accessory for hot end 350 degrees: The PLA 1.75mm 1kg – Blue – good quality for 3D printers is a basic material for 3D printing.
Technical FAQs
Does the 3M2090 masking tape come off during printing?
Check that the tape is applied gently and without air bubbles. If necessary, apply an additional adhesive.
Is there any burn marks or damage on the part covered by the tape?
Check that the tape is compatible with the printer’s temperature and apply it gently without air bubbles.
Is the tape too narrow for the size of the 3D mask?
Cut the tape into pieces appropriate for the size of the mask and apply it gently.
Is there not enough adhesive between the tape and the mask?
Apply an additional adhesive between the tape and the mask to ensure optimal adhesion.
Tutorial: How to use Blue Masking Tape 3M2090
The 3M2090 blue masking tape 48×54.8mm is essential for high-temperature 3D printing. It protects the parts that are not to be printed during the manufacturing process.
What you need
- 3D Printer
- 3D Mask
- Sharp Knife
Steps
- Check your printer model’s datasheet to see if the tape is compatible with the mask you are using.
- Cut the tape into appropriate pieces to cover the areas that are not to be printed on your 3D mask.
- Gently apply the tape to the parts of the mask that need to remain intact during printing.
- Ensure that the tape is well adhered and free of air bubbles.
- Load the model to be printed into the 3D printer’s control software.
- Start the print following the software instructions.
- Regularly check during the print that the tape remains well applied and does not come off.
- Gently remove the tape once the print is complete.
Mini project
Print a simple 3D object like a pendant or a small container using this tape to protect the parts not to be printed.
Common mistakes
- The tape comes off during printing due to insufficient application.
- The part covered by the tape shows signs of burning or damage.
- The tape is too narrow for the 3D mask dimensions.
- A sufficiently strong adhesive is not used between the tape and the mask.
Recommended accessories
- 3D Mask
- 3D Printer compatible with high temperature
- Precision cutter
Frequently asked questions
The tape comes off during printing. How can I solve?
Check that the tape is well applied without air bubbles and use a stronger adhesive if necessary.
Can I use this tape with any type of 3D mask?
Check the datasheet of your printer model to verify compatibility.
Reviews
There are no reviews yet.