 EN
 IT Italiano
 ES Español
 FR Français
 DE Deutsch
Description
What it is
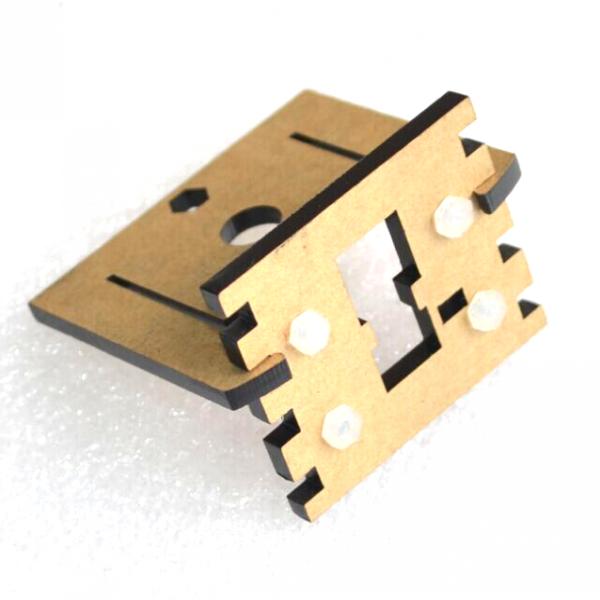
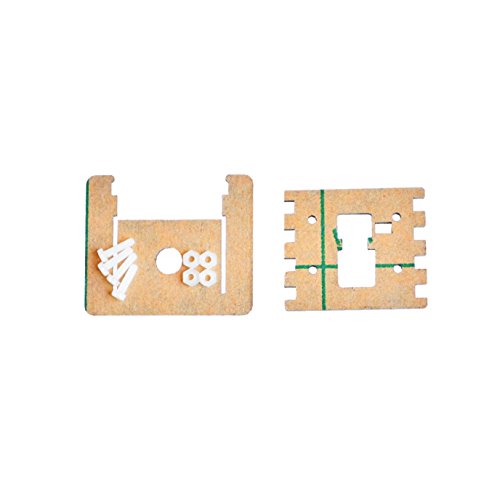
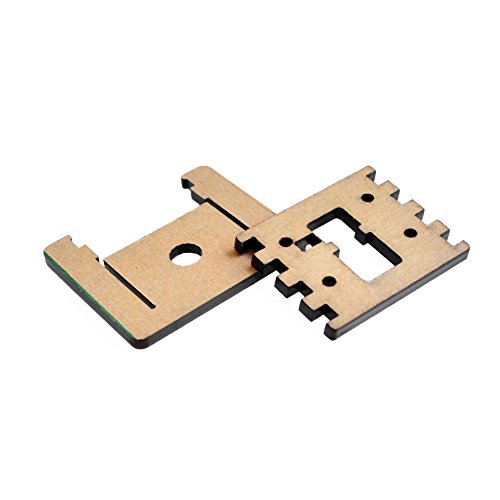
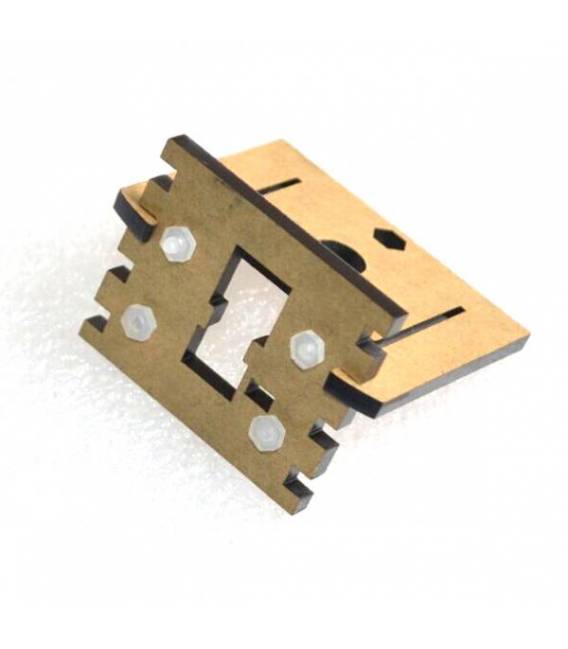
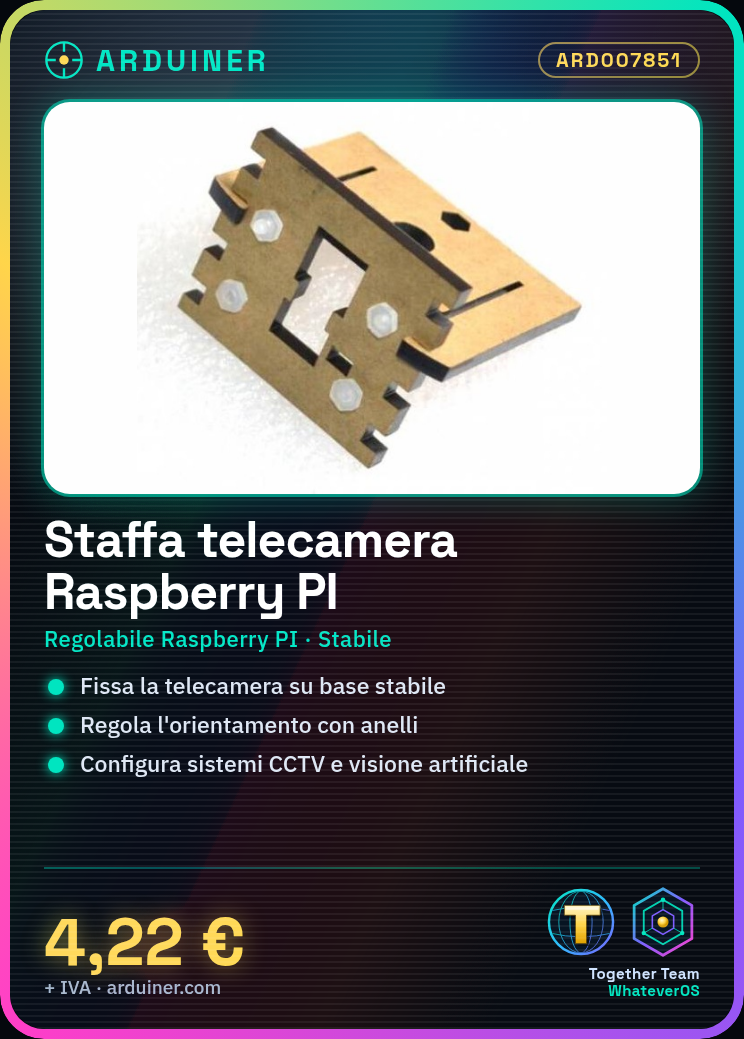
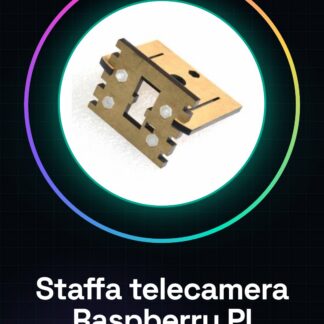
The adjustable camera mount for Raspberry PI is an essential support that allows you to secure a camera to a stable base, making it easier to set up CCTV systems or artificial vision projects. This accessory offers precision in camera orientation and facilitates installation in various environments.
Features
- Ideally suited for Raspberry PI;
- Adjustable support for precise camera positioning;
What it is for
It helps to stabilize and precisely orient the camera, ideal for home monitoring projects or CCTV system configuration. It also allows for easy implementation of artificial vision solutions.
Tutorial: How to use Adjustable Camera Mount for Raspberry PI
The adjustable camera mount for Raspberry PI is a practical and versatile support that allows you to mount a camera to a stable base, making it easier to set up CCTV systems or artificial vision projects. Ideal for beginners and experienced makers.
What you need
- Raspberry Pi
- Camera compatible with Raspberry Pi
- HDMI Connection (if necessary)
- USB Power Supply
Steps
- Install the adjustable camera mount on a stable surface, such as a table or metal support.
- Connect the Raspberry Pi to the mount using the mounting holes.
- Connect the camera to the Raspberry Pi following the product instructions of the camera.
- Adjust the orientation of the camera using the adjustable rings to achieve the desired position.
- Check that all connectors are securely fastened and that there are no loose or damaged parts.
- Configure the Raspberry Pi to use the camera following the camera installation manual instructions.
- If necessary, connect an HDMI monitor to the Raspberry Pi to configure the initial installation.
- Test the camera by powering on the Raspberry Pi and checking that the image is clear and centered.
Mini project
Create a simple home monitoring station. Configure the Raspberry Pi to stream video in real-time to a local web server, allowing any device connected to the home network to view the camera output.
Common mistakes
- Do not properly connect the camera to the Raspberry Pi.
- Insert the Raspberry Pi into the slot without first adjusting the electrical power.
- Omit configuring the Raspberry Pi software to use the camera.
- Use a camera that is not compatible with the Raspberry Pi.
Recommended accessories
- Raspberry Pi Camera Module
- Raspberry Pi Protection Kit
- Metal Bracket for Raspberry Pi
- HDMI Cable
Frequently asked questions
How can I adjust the orientation of the camera?
Use the adjustable rings on the mount to move the camera up, down, left, and right, and to change the angle.
What types of cameras are compatible with this mount?
Check the product datasheet of the camera to ensure it is compatible with the Raspberry Pi.

Reviews
There are no reviews yet.