 EN
 IT Italiano
 ES Español
 FR Français
 DE Deutsch
Description
What it is
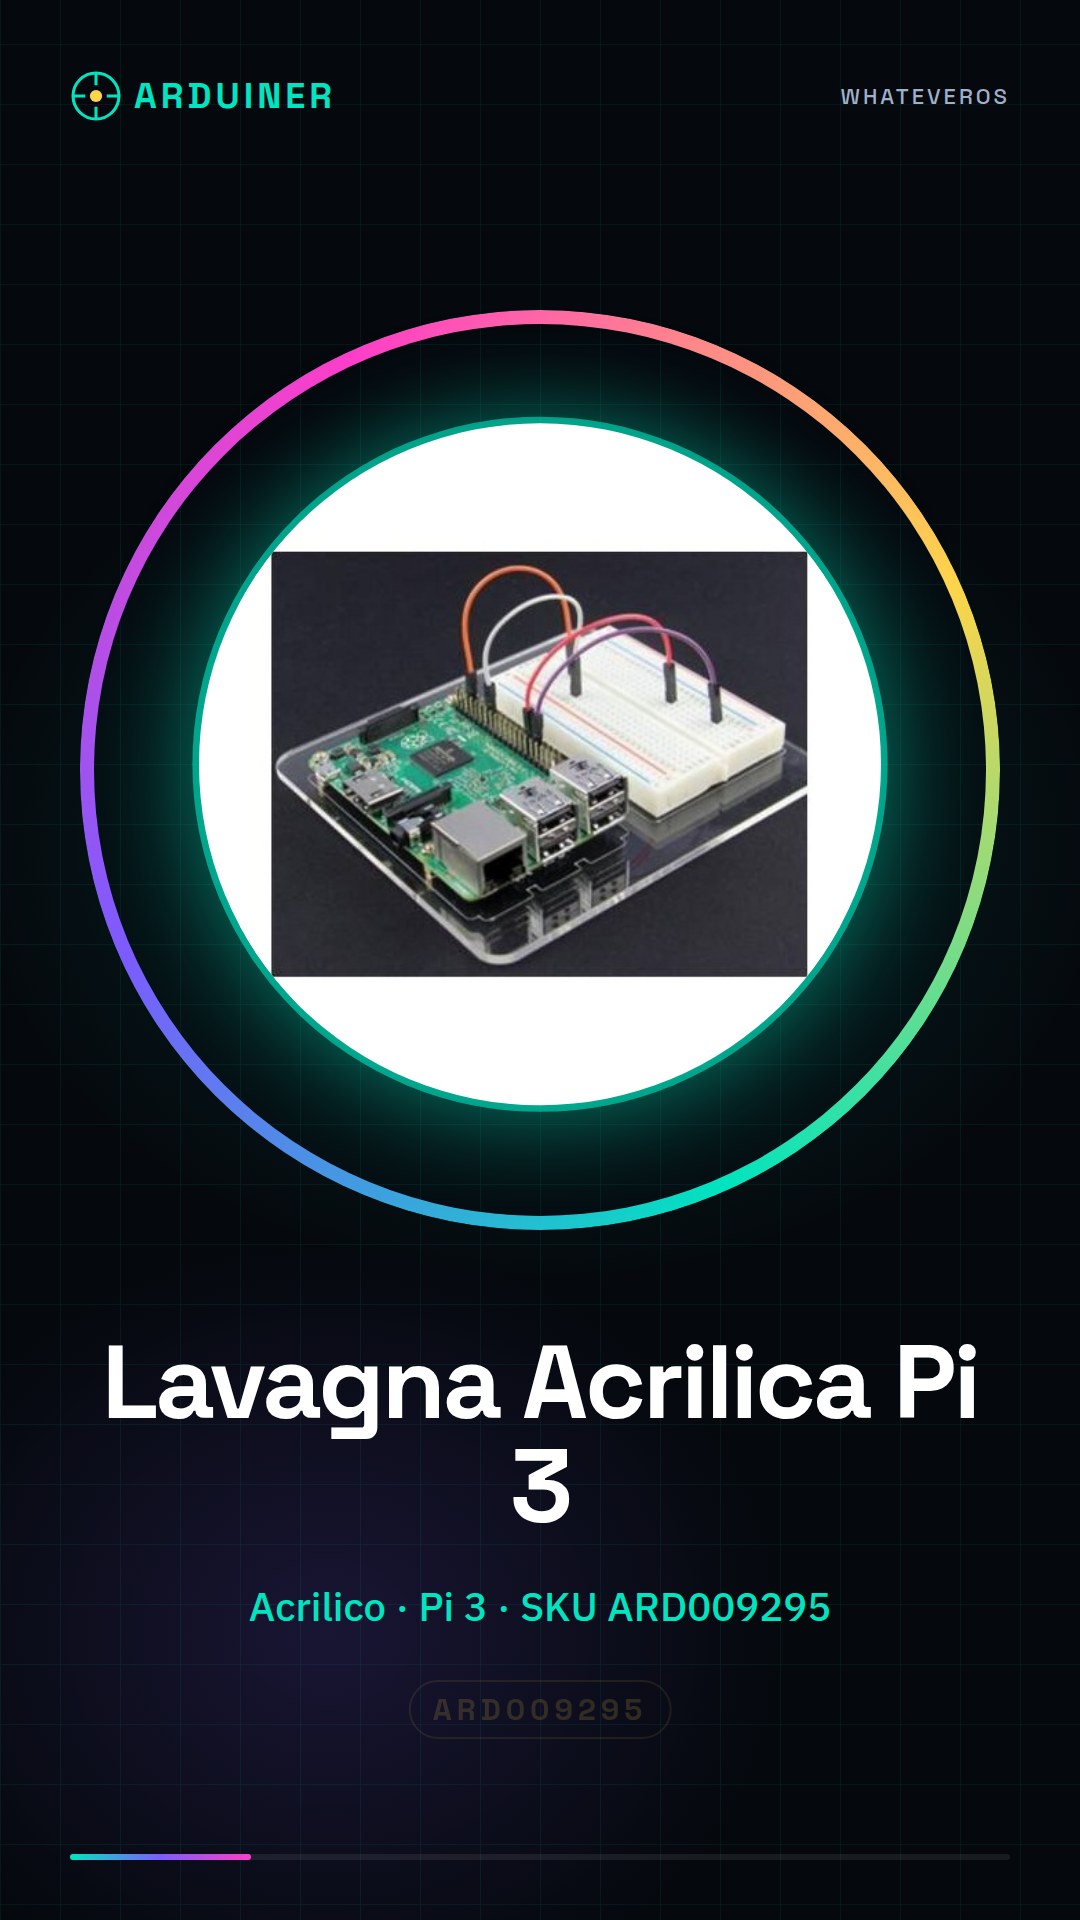
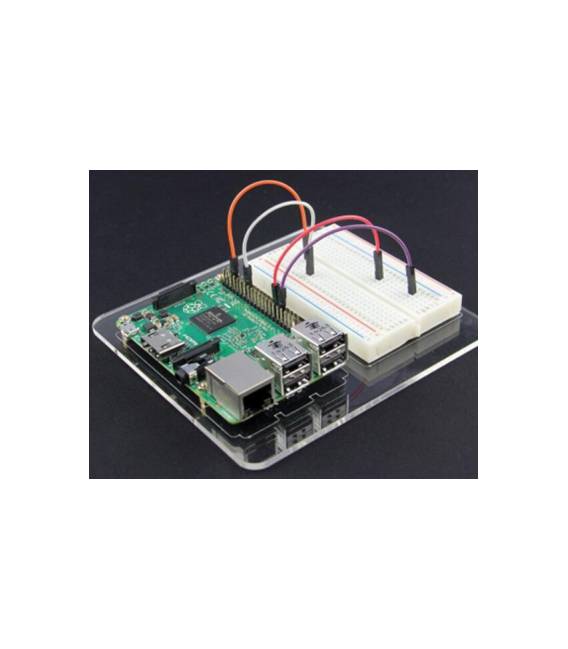
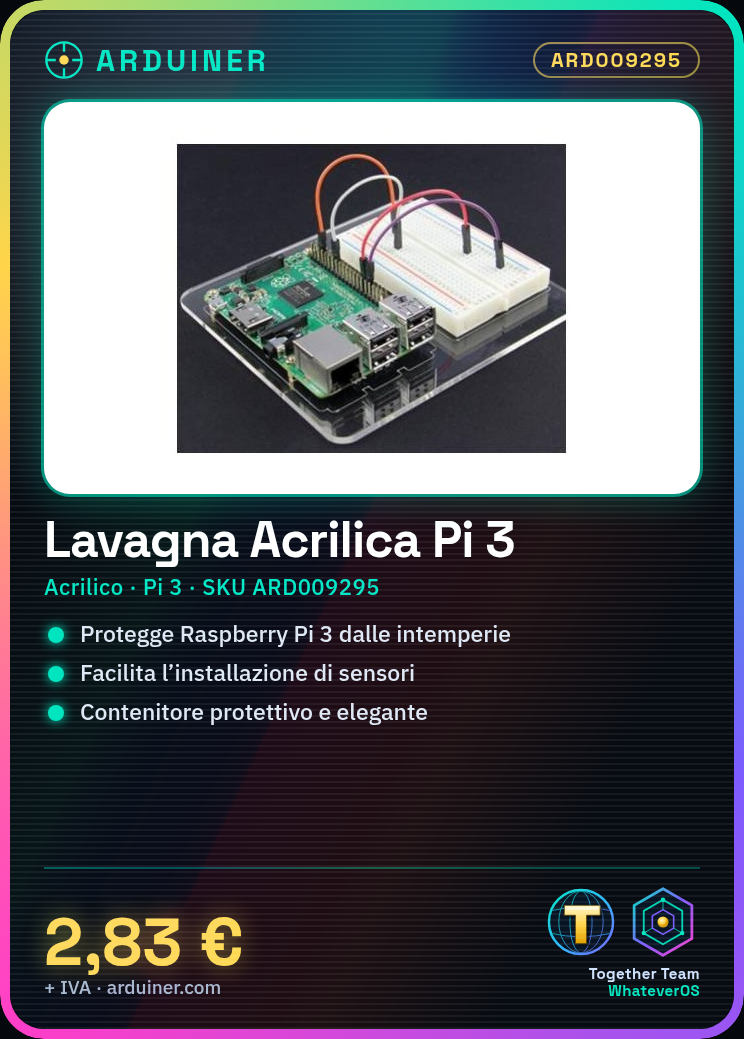
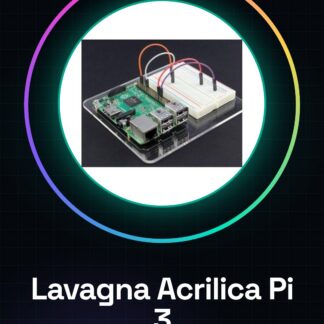
Acrylic Whiteboard for Raspberry PI 3, ideal for protecting your device during prototyping.
Features
- Material: acrylic
- Compatible with Raspberry PI 3
- SKU: ARD009295
- Price: 2.83 €
What it is for
The acrylic whiteboard for Raspberry Pi 3 offers protection against the elements and facilitates the installation of additional components such as sensors or external connectors. It is suitable for both home and professional projects, making it easier to manage the Raspberry Pi in unprotected environments.
Tutorial: How to use Acrylic Whiteboard Raspberry PI 3
The acrylic whiteboard for Raspberry Pi 3 is ideal for makers who want a protective and elegant housing for their circuit. This acrylic base offers protection against the elements and facilitates the installation of additional components such as sensors or external connectors. This component is suitable for both home and professional projects, making it easier to manage the Raspberry Pi in unprotected environments.
What you need
- Raspberry Pi 3
- Power supply and data connection (check the datasheet)
- Screws or clips for mounting
- Sharp cutting tool
Steps
- Verify that the acrylic whiteboard is compatible with your Raspberry Pi 3.
- Gently position the Raspberry Pi on the whiteboard, ensuring precise alignment.
- Use screws or clips to secure the Raspberry Pi to the whiteboard. Check the datasheet for the correct position of the holes.
- Connect the power and data cables to the Raspberry Pi through the opening in the acrylic board, following the instructions in the datasheet.
- Check that all connectors are securely fastened and do not have overloads or short circuits.
- If necessary, add additional components such as external sensors using the available slots on the acrylic board.
- Test the Raspberry Pi to ensure everything is working correctly.
- Start experimenting with 3D printing projects or home control projects protected by the acrylic board.
Mini project
Creating a home control system: Connect temperature and humidity sensors to the Raspberry Pi inside the acrylic board, develop a Python script to monitor real-time data and send it to a cloud platform.
Common mistakes
- Do not verify the compatibility between the Raspberry Pi 3 and the acrylic board.
- Failing to secure the Raspberry Pi properly to the board, causing damage during use.
- Inserting connectors incorrectly or without following the datasheet instructions.
- Not fully testing the system before final use.
Recommended accessories
- Temperature and humidity sensors
- Wi-Fi connection for Raspberry Pi
- USB power supply for Raspberry Pi
- Prototype kit
Frequently asked questions
Q: How can I add additional components to the Raspberry Pi?
You can use the available slots on the acrylic board to connect sensors or other external devices.
Q: What is the difference between this board and a metal case?
The acrylic board offers weather protection and a more elegant appearance compared to a metal case, but it may not be as durable.
Reviews
There are no reviews yet.