 EN
 IT Italiano
 ES Español
 FR Français
 DE Deutsch
Description
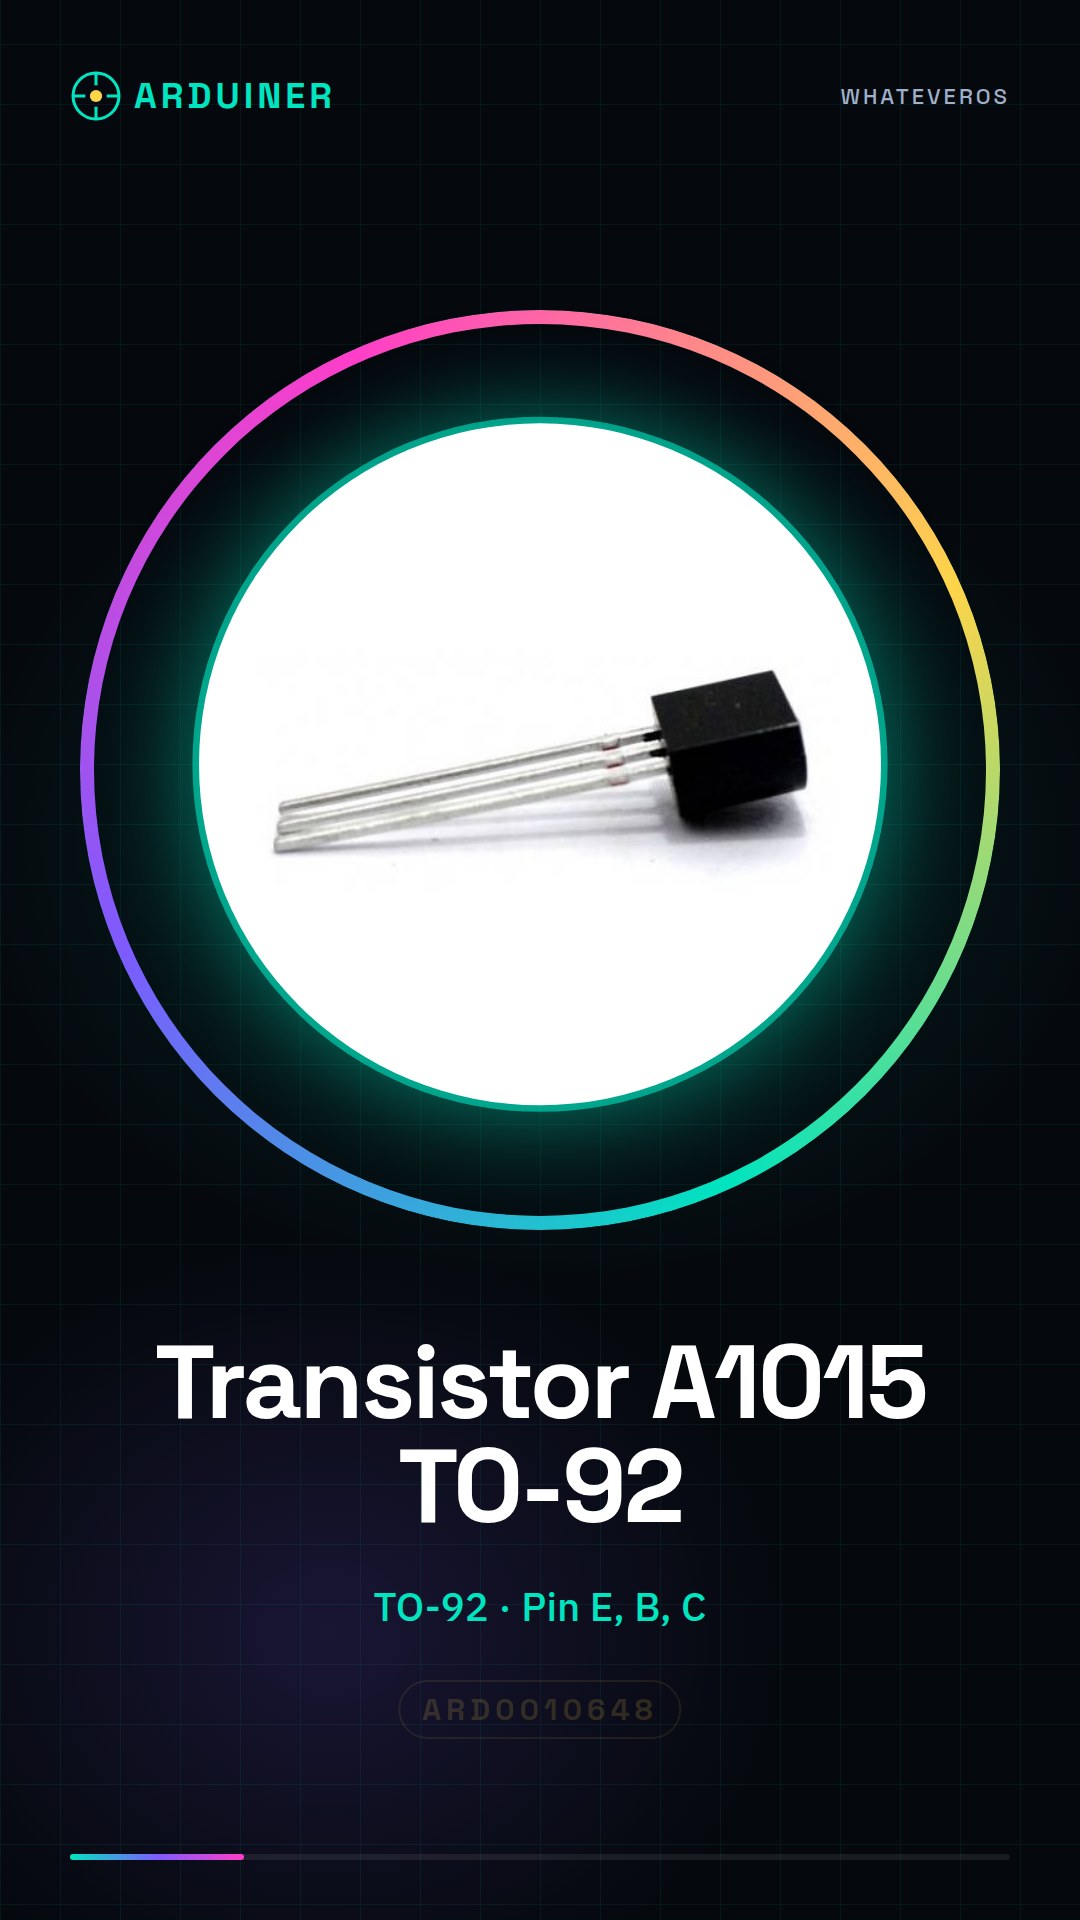
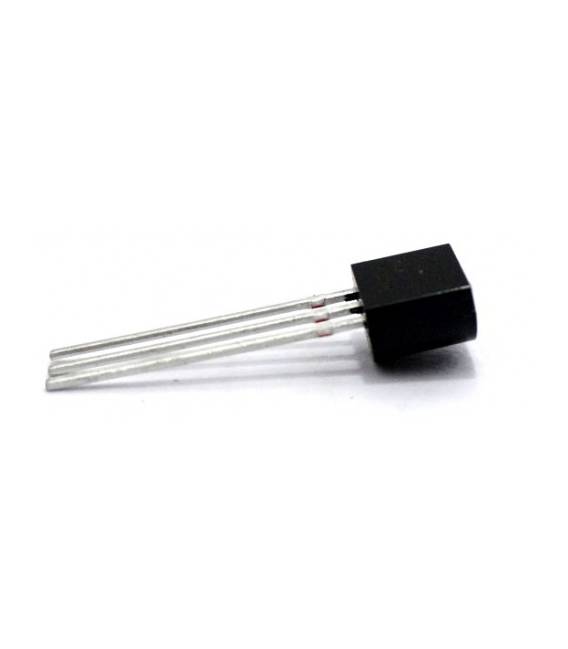
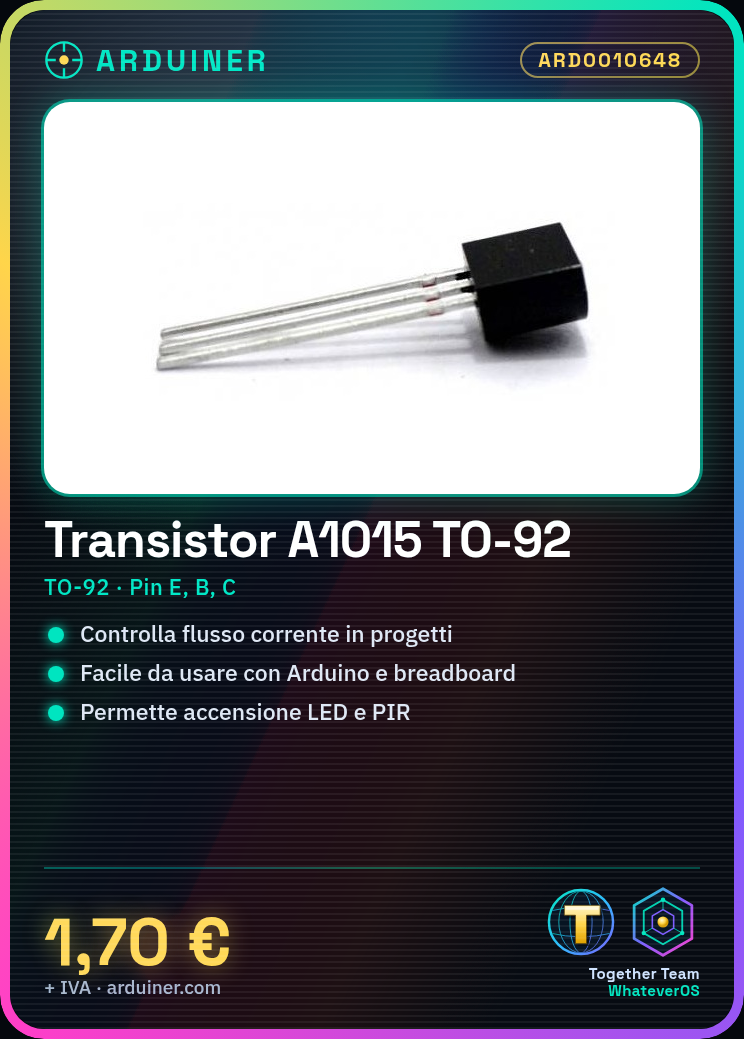
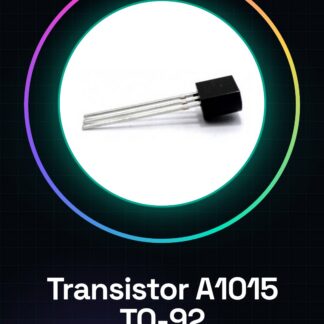
A1015 Transistor TO-92 IC Integrated Circuits
Tutorial: How to Use A1015 Transistor TO-92
The A1015 Transistor in TO-92 format is a fundamental component for electronic projects that require current flow management. This tutorial will guide you through the use of this component, ideal for both beginners and intermediate makers.
What you need
- Arduino Uno
- Breadboard
- Jumper Connection
- LED
Steps
- Identify the pins of the A1015 Transistor: Emitter (E), Base (B) and Collector (C). Check the datasheet for correct identification.
- Connect the Arduino to the breadboard using jumper connections.
- Connect the base pin of the transistor to an output pin of the Arduino. Check the datasheet for the maximum allowed voltage.
- Connect the emitter pin of the transistor to ground and the collector to the negative pole of the LED, while the other end of the LED is connected to a positive power source (5V or 3.3V).
- Download the Arduino sketch to control the transistor.
- Check that the base of the transistor receives a digital signal from the microcontroller.
- Test the circuit by turning the LED on and off using a button on the breadboard or a code instruction.
- Repeat the steps to control multiple LEDs with a single transistor.
Example code
void setup() {
  pinMode(13, OUTPUT);
}

void loop() {
  digitalWrite(13, HIGH);   // accendi l'LED collegata al transistor
  delay(1000);               // attendi un secondo
  digitalWrite(13, LOW);    // spegni l'LED
  delay(1000);               // attendi un secondo
}
Mini project
Create a motion-sensitive interrupt lamp that turns on automatically when movement is detected. Use the A1015 transistor to control the current of the PIR (Passive Infrared) switch.
Common mistakes
- Incorrect pin connection of the transistor
- Supply voltage higher than the component tolerance.
- Failure to verify the maximum allowed voltage for the base pin.
- Ignore the resistor between the base and the Arduino to limit the current.
Recommended accessories
- Variable resistors
- PIR switch
- 9V battery with clip
- Overvoltage protection module
Frequently asked questions
How much current can the A1015 transistor handle?
Check the datasheet for the correct maximum current range.
Can I use the transistor without a microcontroller?
Yes, but it will be necessary to use an electronic power supply or a manual circuit to control the component activation.

Reviews
There are no reviews yet.