 EN
 IT Italiano
 ES Español
 FR Français
 DE Deutsch

Description
Technical Description
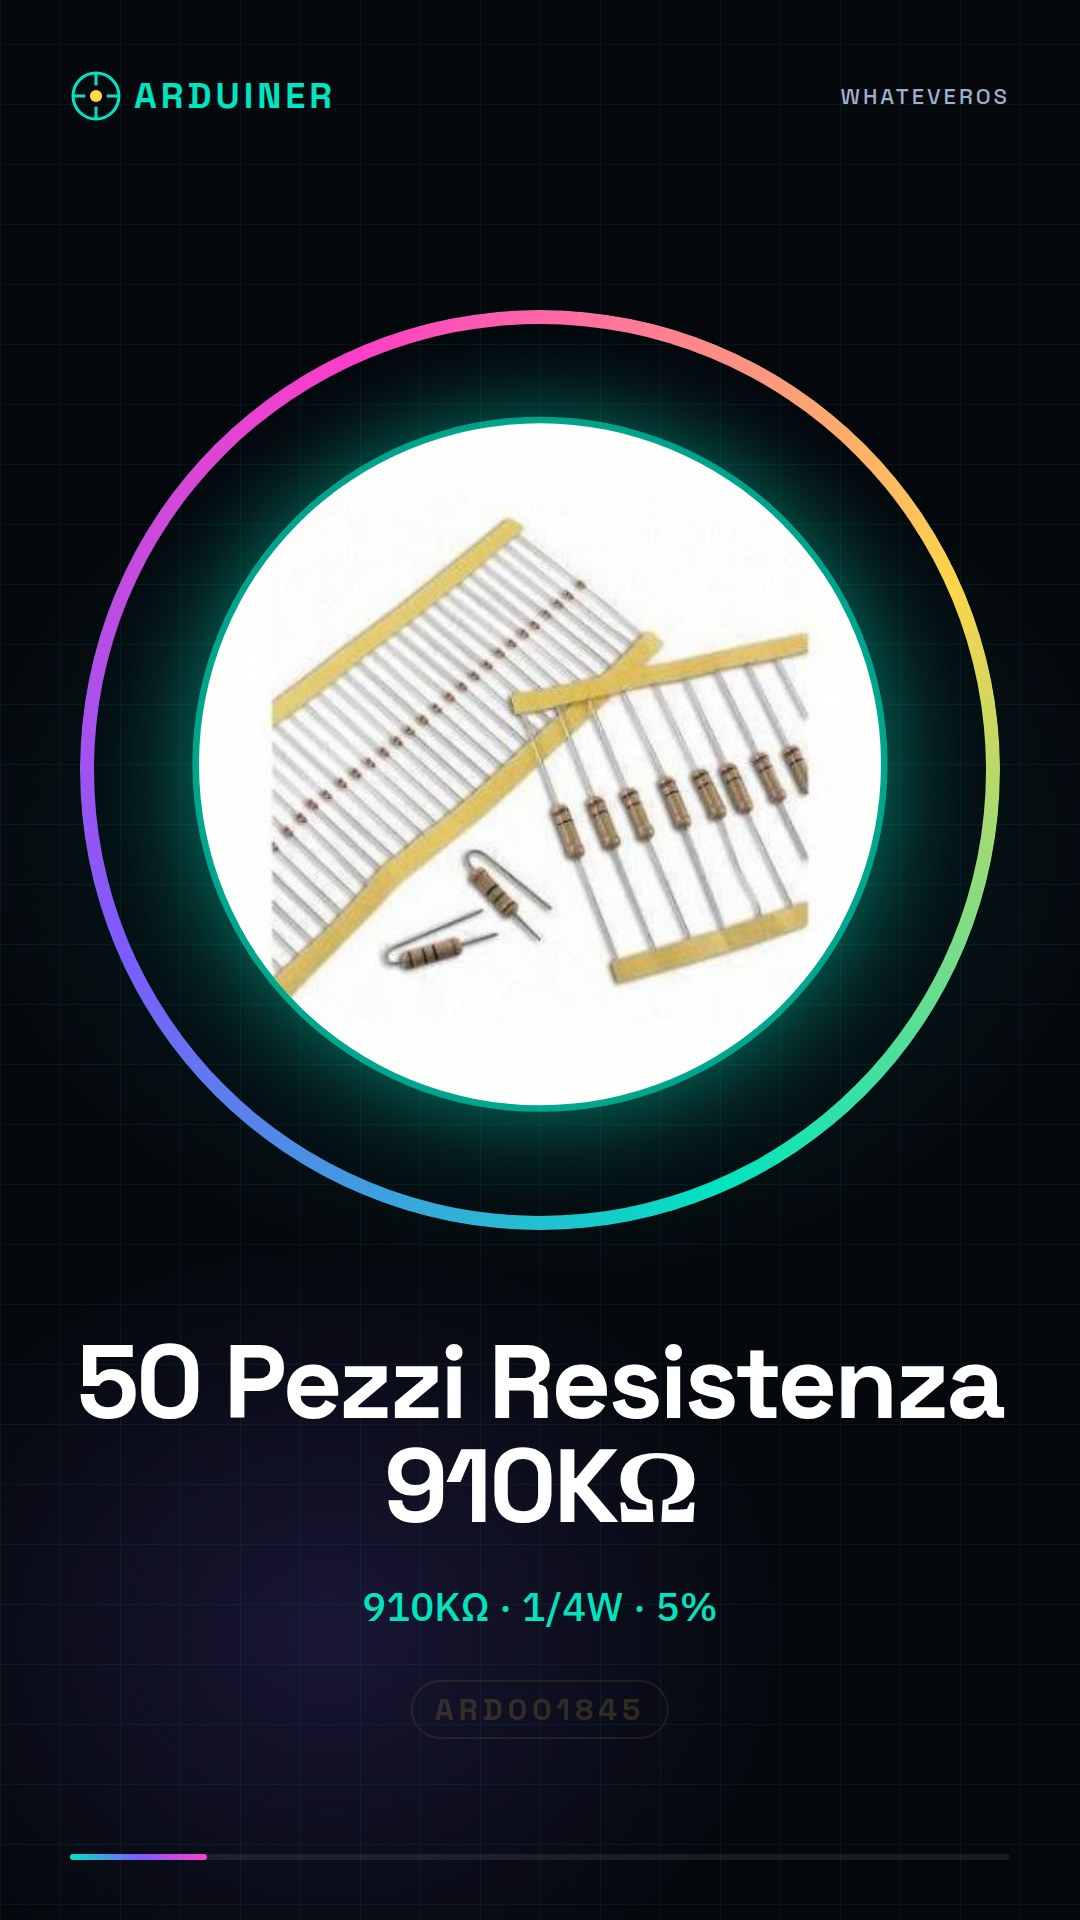
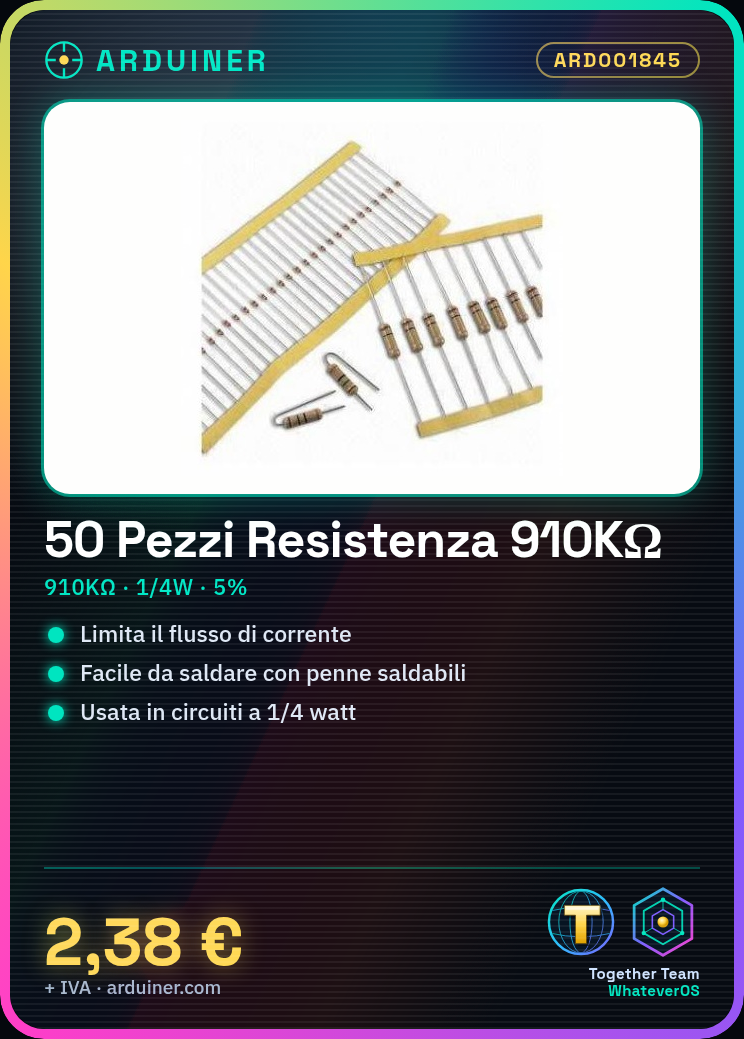
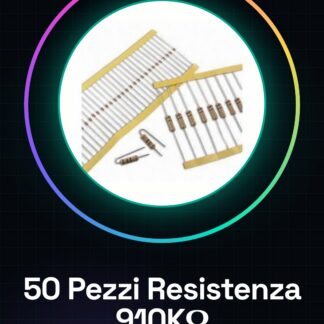
The 910 kiloohm (kΩ) resistor is a fundamental component for electronic projects, used to limit the flow of current in circuits. This type of resistor is suitable for applications requiring a specific resistive value for voltage division calculations or to limit current through components such as LEDs or sensors. The 910 kΩ resistor is available in quantities of 50 pieces, with a 5% tolerance and a maximum power rating of 1/4 watt.
The resistor is used to create protection circuits, regulate the brightness of LEDs, or implement current control features in various electronic projects. Its high resistance makes it suitable for applications requiring a low current flow.
To ensure proper operation, it is important to verify the resistance with a multimeter and ensure that the current in the circuit does not exceed the power rating of the resistor.
Key Specifications
| Parameter | Value |
| Model | Resistor 910K ohm 910000 ohm 1/4w 1/4 w 5% |
| Quantity | 50 pieces |
| Tolerance | 5% |
| Maximum Power | 1/4 watt |
| Dimensions | N/D (see manufacturer’s datasheet) |
| Container | N/D (see manufacturer’s datasheet) |
Installation and Usage
- Check the impedance of the resistor with a multimeter.
- Choose the point in the circuit where you want to insert the resistor based on the electronic project.
- Use solderable pens to physically connect the resistor to the circuit.
- Check that the current in the circuit is within the established limits (1/4 watt).
- Test the circuit operation with an Arduino or similar device.
Compatibility and Requirements
- The resistor is compatible with Arduino and other electronic prototyping systems.
- A multimeter is required to check the resistance impedance.
- For soldering, it is recommended to use solderable pens.
Limitations and Important Notes
- The resistor cannot handle currents above 1/4 watt.
- It is important to check the resistance impedance before using it.
- Circuit overload due to too low resistance value.
- Incorrect solderable connection.
Troubleshooting
Incorrect resistance impedance
Probable cause: The resistor may be damaged or non-compliant.
Solution: Check the impedance with a multimeter and replace the resistor if necessary.
Incorrect soldering connection
Probable cause: Insufficient soldering pens or incorrect soldering techniques.
Solution: Ensure you are using appropriate soldering pens and apply soldering correctly.
Circuit overload due to too low impedance
Probable cause: The resistor is not suitable for the circuit.
Solution: Choose a resistor with a higher value or one that is suitable for the circuit.
Circuit overload due to too high resistance value
Probable cause: The resistor limits the current too much.
Solution: Choose a resistor with a lower value or one that is suitable for the circuit.
Use cases
Garage parking sensor
Objective: Adjust the brightness of an LED to indicate the presence of vehicles in the garage.
What you need: 910K ohm resistor, Arduino Uno R3, distance sensors.
Steps: 1) Check the resistance of the resistor. 2) Connect the distance sensor to the circuit. 3) Adjust the LED brightness with the resistor. 4) Test the circuit operation.
Expected result: The LED changes brightness based on the presence of vehicles in the garage.
LED Brightness Adjustment
Objective: Adjust the brightness of an LED using a potentiometer.
What you need: 910K ohm resistor, Arduino Uno R3, potentiometer, LED.
Steps: 1) Check the resistance of the resistor. 2) Connect the potentiometer to the circuit. 3) Adjust the LED brightness with the resistor and potentiometer. 4) Test the circuit operation.
Expected result: The LED brightness can be manually adjusted.
Protection Circuit
Objective: Implement a protection circuit for a power supply.
What you need: 910K ohm resistor, Arduino Uno R3, relay.
Steps: 1) Check the resistance of the resistor. 2) Connect the relay to the circuit. 3) Adjust the protection circuit with the resistor. 4) Test the circuit operation.
Expected result: The protection circuit activates in case of overload.
Audio volume adjustment
Objective: Adjust the audio volume with a potentiometer.
What’s needed: 910K ohm resistor, Arduino Uno R3, potentiometer, speaker.
Steps: 1) Check the resistance of the resistor. 2) Connect the potentiometer to the circuit. 3) Adjust the audio volume with the resistor and potentiometer. 4) Test the circuit operation.
Expected result: The audio volume can be manually adjusted.
Temperature control circuit
Objective: Regulate a fan based on temperature.
What’s needed: 910K ohm resistor, Arduino Uno R3, temperature sensor, fan.
Steps: 1) Check the resistance of the resistor. 2) Connect the temperature sensor to the circuit. 3) Adjust the fan with the resistor and the temperature sensor. 4) Test the circuit operation.
Expected result: The fan activates in case of high temperature.
Light Control Circuit
Objective: Adjust the intensity of a light based on ambient light.
What you need: 910K ohm resistor, Arduino Uno R3, light sensor, LED.
Steps: 1) Check the resistance of the resistor. 2) Connect the light sensor to the circuit. 3) Adjust the light intensity with the resistor and the light sensor. 4) Test the circuit operation.
Expected result: The light intensity changes based on ambient light.
Humidity Control Circuit
Objective: Adjust an irrigation system based on humidity.
Required: 910K ohm resistor, Arduino Uno R3, humidity sensor, valve.
Steps: 1) Check the impedance of the resistor. 2) Connect the humidity sensor to the circuit. 3) Adjust the irrigation system with the resistor and humidity sensor. 4) Test the circuit operation.
Expected result: The irrigation system activates in case of low humidity.
Computer temperature control circuit
Objective: Regulate a computer fan based on temperature.
Required: 910K ohm resistor, Arduino Uno R3, temperature sensor, fan.
Steps: 1) Check the impedance of the resistor. 2) Connect the temperature sensor to the circuit. 3) Adjust the fan with the resistor and temperature sensor. 4) Test the circuit operation.
Expected result: The computer fan activates in case of high temperature.
In the package
- 50 pieces
Complete the project
- 50 Pieces Resistor 1000 ohm 1k ohm 1/4w 1/4 w 5%: It is used for electronic projects that require resistors of different values.
- 50 Pieces Resistor, 10000 ohm, 10k, ohm 1/4w 1/4 w 5%, Arduino compatible resistors: It is used for electronic projects that require resistors of different values.
- 50 Pieces Resistor 100 ohm 1/4w 5%: It is used for electronic projects that require resistors of different values.
- 50 Pieces Resistor 220 ohm 1/4w 1/4 w 5%: It is used for electronic projects that require resistors of different values.
- 50 Pieces Resistor 4.7K ohm 4700 ohm 1/4w 1/4 w 5%
Technical FAQ
How do I check the impedance of the resistor?
Use a multimeter to measure the resistance and compare it with the specified value (910K ohm).
What are the power limits for this resistor?
The resistor can handle up to 1/4 watt before overheating.
What are the common issues with the resistor?
Incorrect impedance of the resistor, unsolderable connection, circuit overload due to too low impedance.
How can I solve an unsolderable connection?
Make sure to use appropriate soldering pens and apply soldering correctly.
Tutorial: How to use 910K ohm Resistor
The 910 kiloohm (kΩ) resistor is a fundamental component for electronic projects, useful for both beginners and more experienced makers. It is mainly used to limit the flow of current in circuits.
What you need
- Arduino
- Multimeter
- Soldering pens
Steps
- Check the resistor with a multimeter to confirm the impedance of 910K ohm.
- Choose the point in the circuit where you want to insert the resistor based on the electronic project.
- Use soldering pens to physically connect the resistor to the circuit.
- Check that the current in the circuit is within the established limits (1/4 watt).
- Test the circuit operation with an Arduino or similar.
- If necessary, adjust the position of the resistor to optimize the project performance.
Mini project
Create a simple light control interface using the Arduino and the 910K ohm resistor as part of a circuit that regulates the brightness of an LED.
Common mistakes
- Incorrect impedance of the resistor
- Incorrect solderable connection
- Circuit overload due to too low impedance
Recommended accessories
- Arduino Uno R3
- LEDs various colors
- Solderable pen kit
Frequently asked questions
How do I verify the impedance of the resistor?
Use a multimeter to measure the resistance and compare it with the specified value (910K ohm).
What are the power limits for this resistor?
The resistor can handle up to 1/4 watt before overheating.
Reviews
There are no reviews yet.