 EN
 IT Italiano
 ES Español
 FR Français
 DE Deutsch
Description
What it is
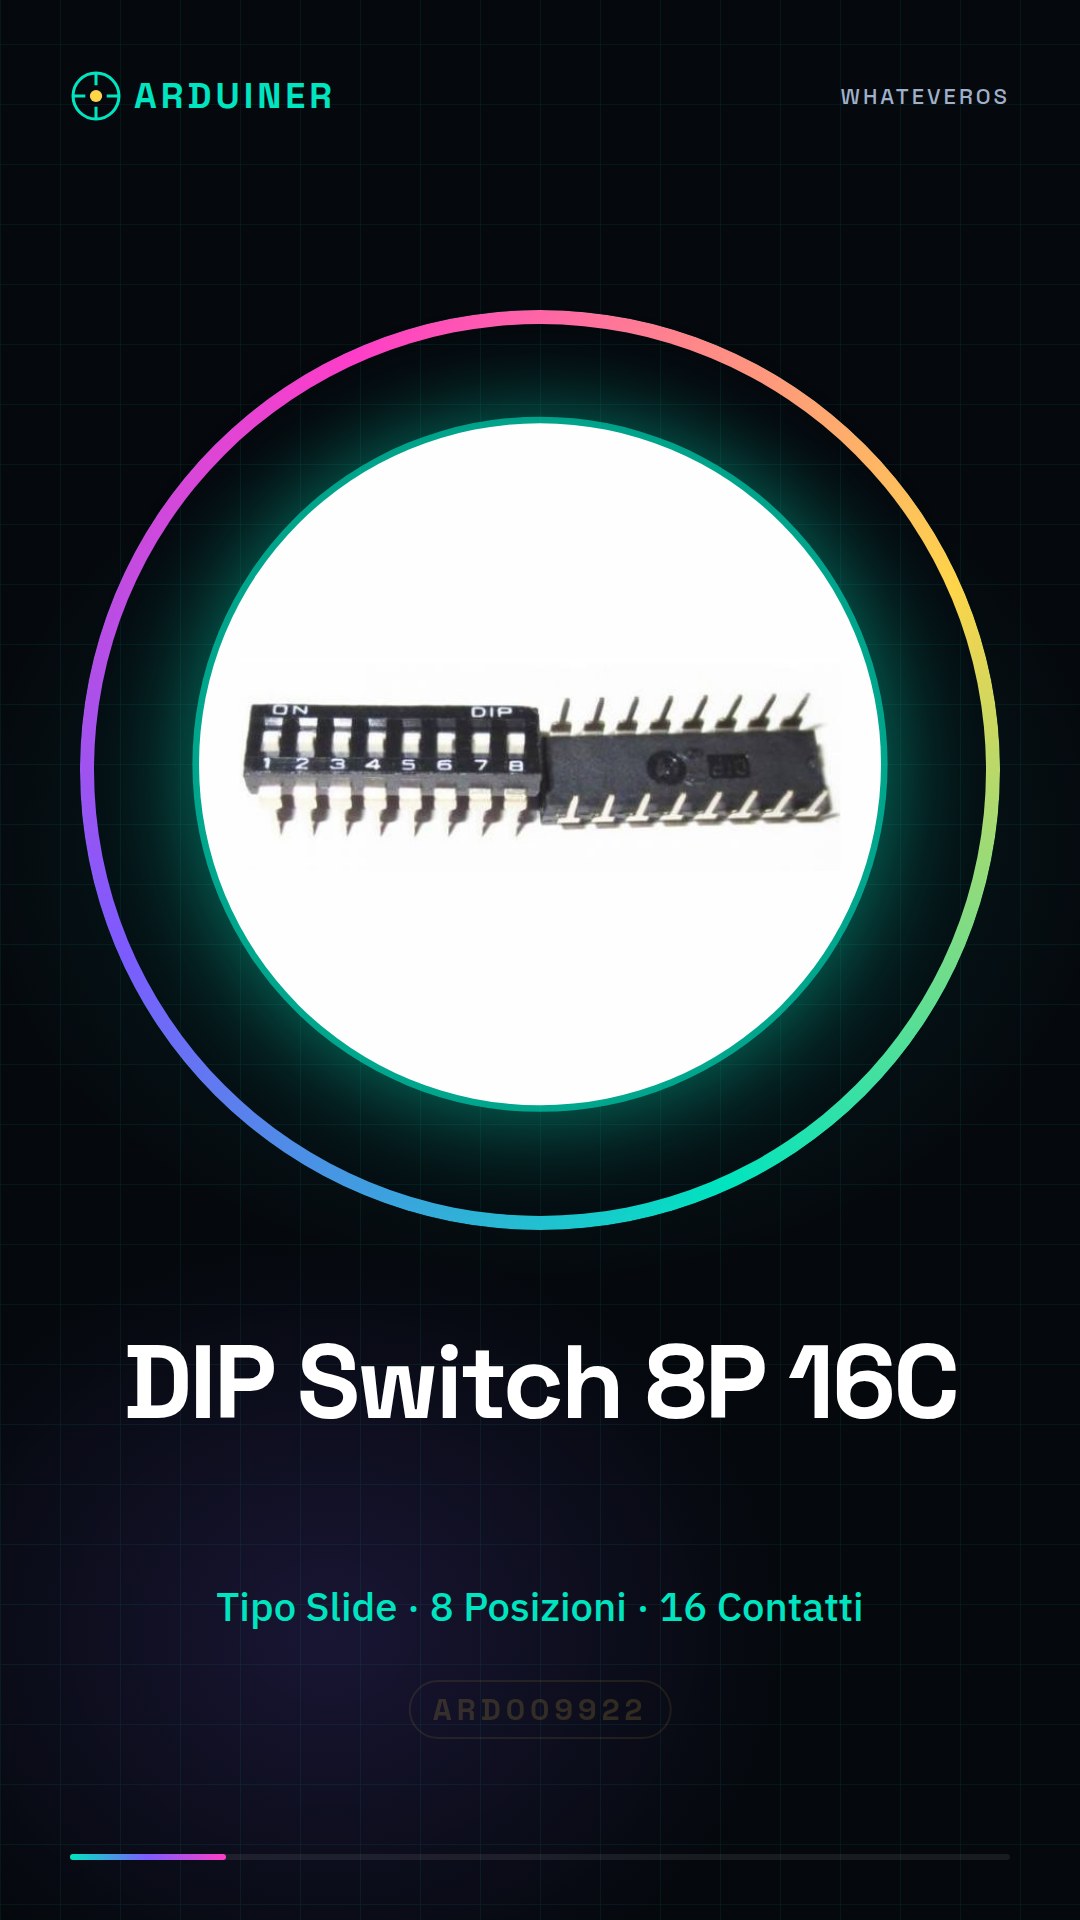
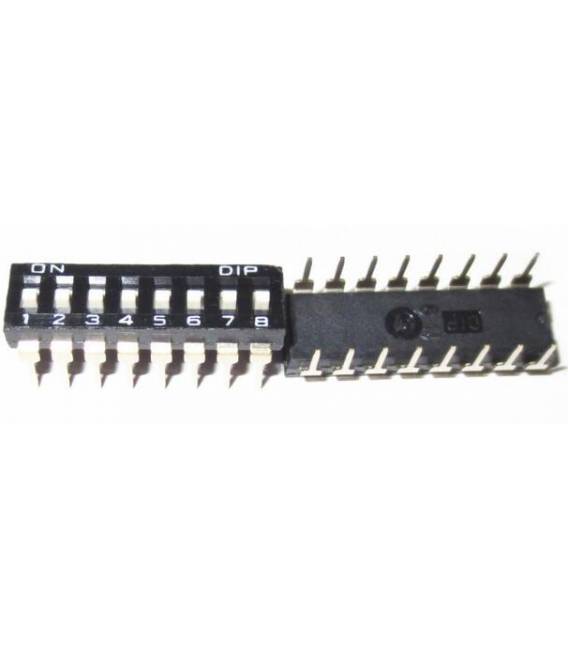
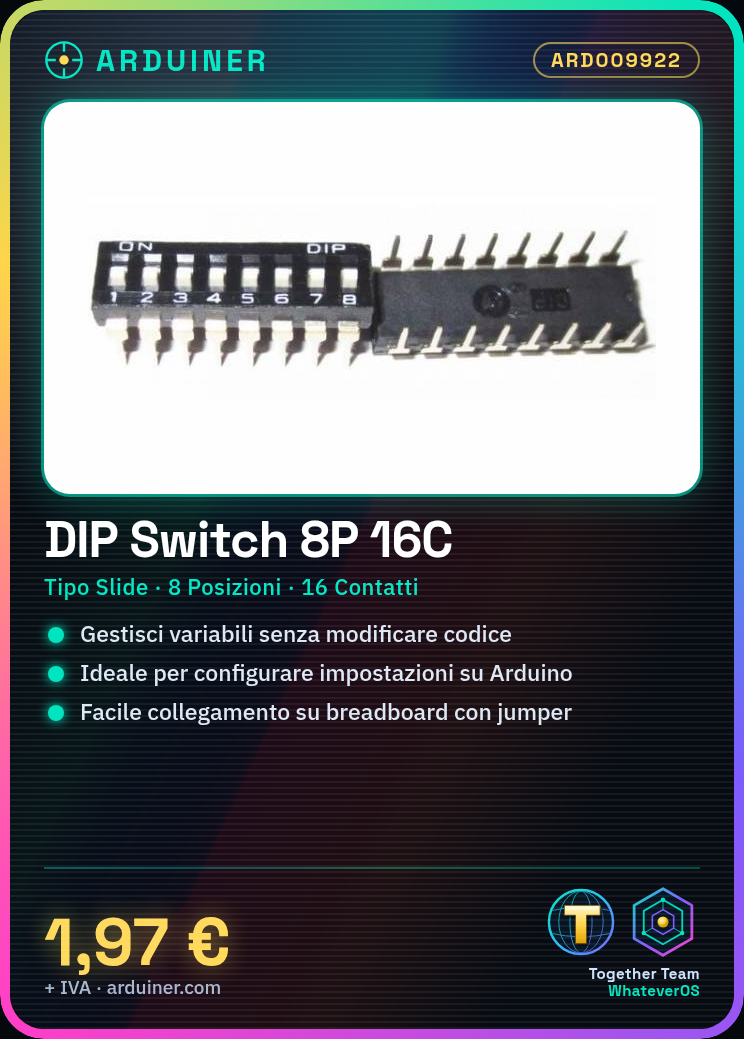
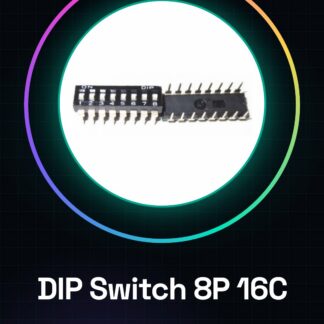
The DIP Switch is an electronic component used for configuring specific settings in circuits. With 8 positions and 16 contacts, it allows makers to manage system variables without changing the source code.
Features
- Type: Slide
- Number of Positions: 8
- Number of Contacts: 16
What it is for
DIP Switches are ideal for Arduino projects where specific settings such as debug modes or output changes need to be configured. They are compatible with various boards and can be used in conjunction with components like the breadboard.
Tutorial: How to Use 8-Position DIP Switches
DIP Switches are useful for configuring specific settings in electronic projects without having to modify the code. Ideal for beginner makers who want to control system variables.
What you need
- Arduino Uno
- Breadboard
- Jumper Wires
Steps
- Connect the DIP Switch to the breadboard, ensuring that the contacts are aligned correctly.
- Check the polarity of the contacts (refer to the datasheet) and connect jumper wires from the breadboard to Arduino.
- Connect each pin of the switch to a digital input of Arduino.
- Download the code below to your Arduino to read the state of the switches.
- Open the Serial Monitor section in Arduino IDE and verify that the values change when you press the switches.
- Modify the code to adapt it to your specific project requirements.
- Try to create a small prototype as described in the ‘project_demo’ section.
- Verify that everything works correctly before integrating the switch into your final project.
Example code
// Codice Arduino per leggere gli interruttori DIP Switch
int pinSwitch[8] = {2, 3, 4, 5, 6, 7, 8, 9};
void setup() {
  for(int i=0; i<8; i++) {
    pinMode(pinSwitch[i], INPUT);
  }
  Serial.begin(9600);
}

void loop() {
  for(int i=0; i<8; i++) {
    int val = digitalRead(pinSwitch[i]);
    Serial.print(val);
  }
  Serial.println();
}
Mini project
Create a small system configuration project where DIP Switches control different ways your Arduino device can operate, such as enabling debug mode or changing output settings.
Common mistakes
- Connect the switch pins to the breadboard without verifying the correct polarity.
- Use an insufficient number of Arduino digital inputs to connect all the switches.
- Fail to read the state of the switches correctly in the code.
- Omit testing and debugging before integrating the final project.
Recommended accessories
- Arduino Uno
- Breadboard
- Jumper wires
- LED
Frequently asked questions
How can I connect multiple DIP Switches together?
Connect the common contacts of each switch to a digital input on the Arduino and manage the state with the code.
Can I use these switches to activate relays or other devices?
Yes, but make sure to use a protection module like a transistor or MOSFET between the switch and the device.
What is the difference between this DIP Switch and a simple push button?
DIP Switches allow for configuring multiple states without having to repeatedly press a button.
Reviews
There are no reviews yet.