 EN
 IT Italiano
 ES Español
 FR Français
 DE Deutsch
Description
What it is
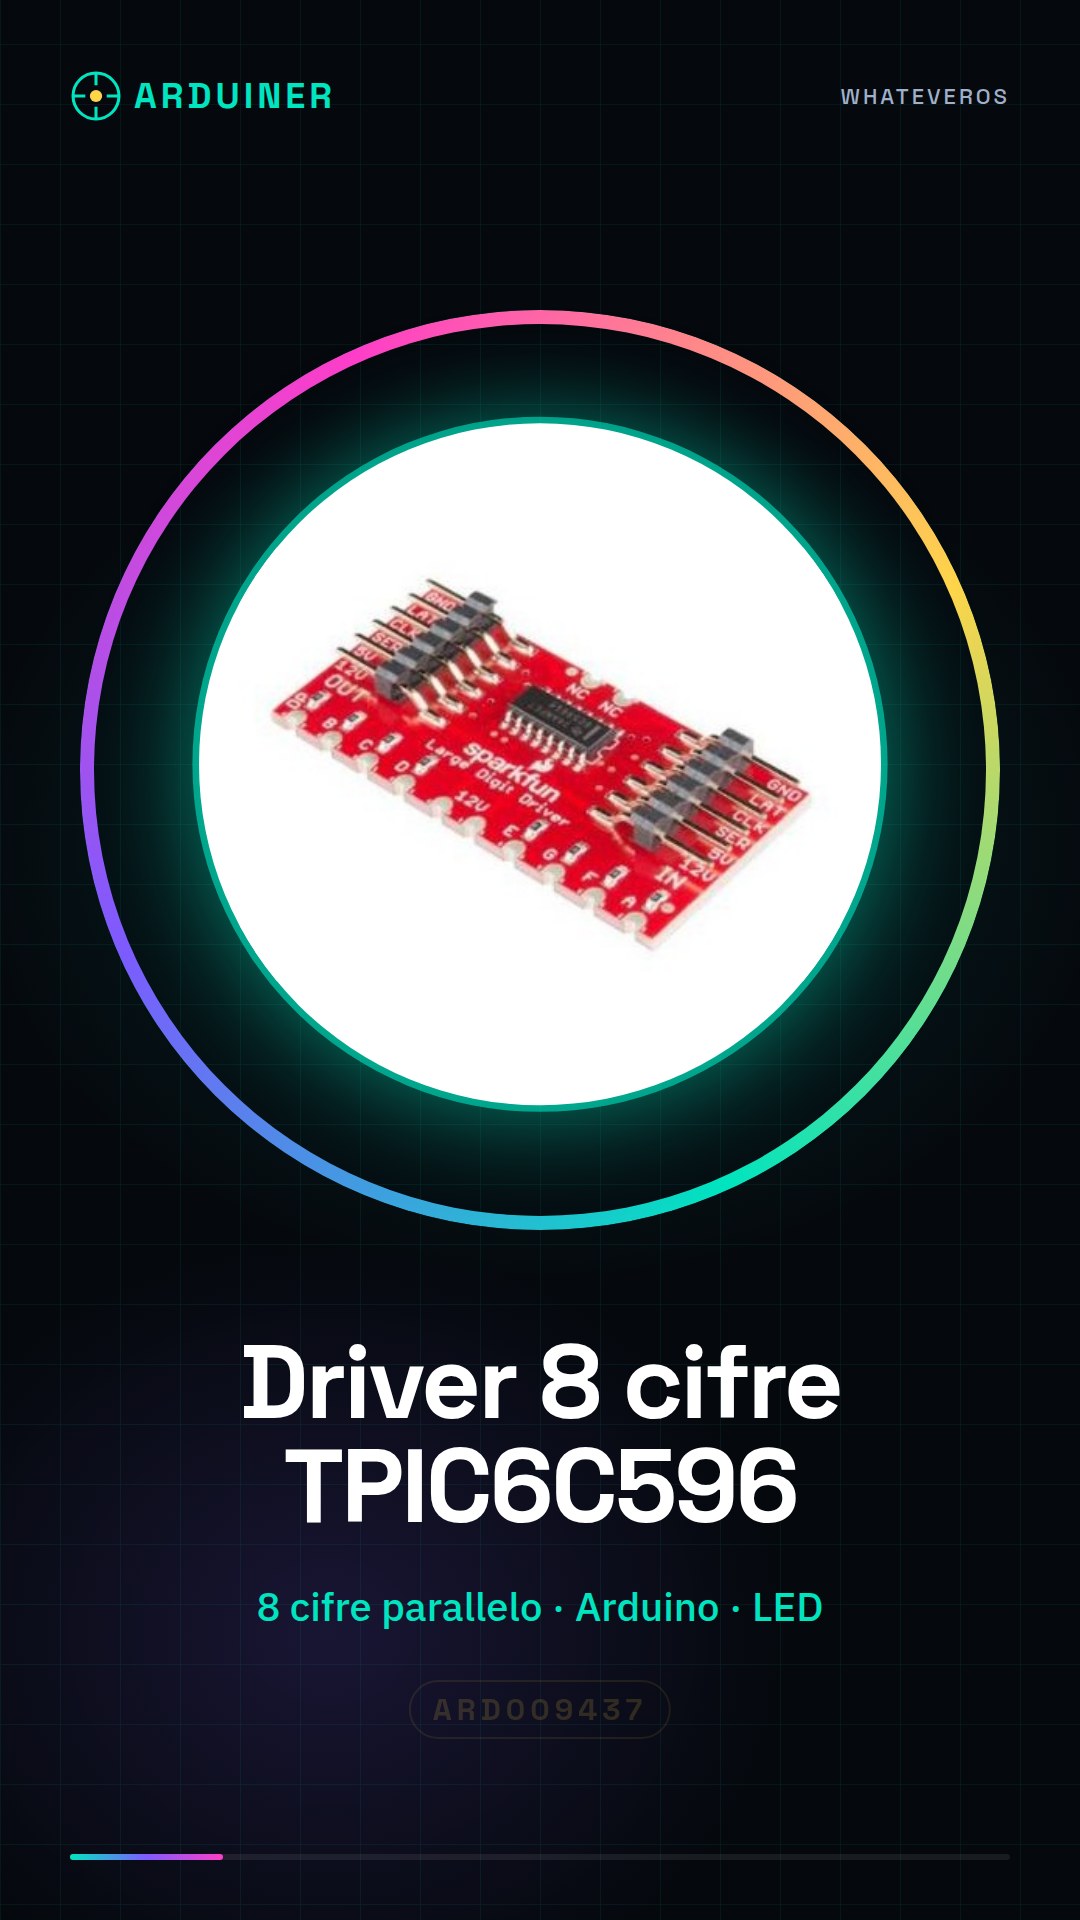
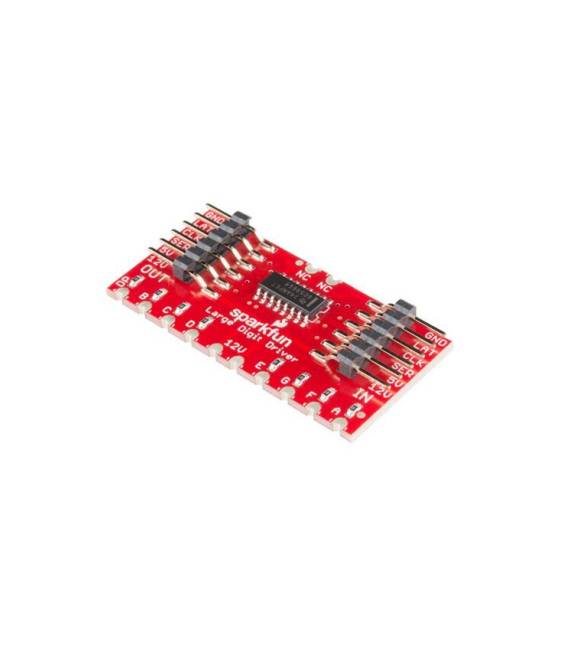
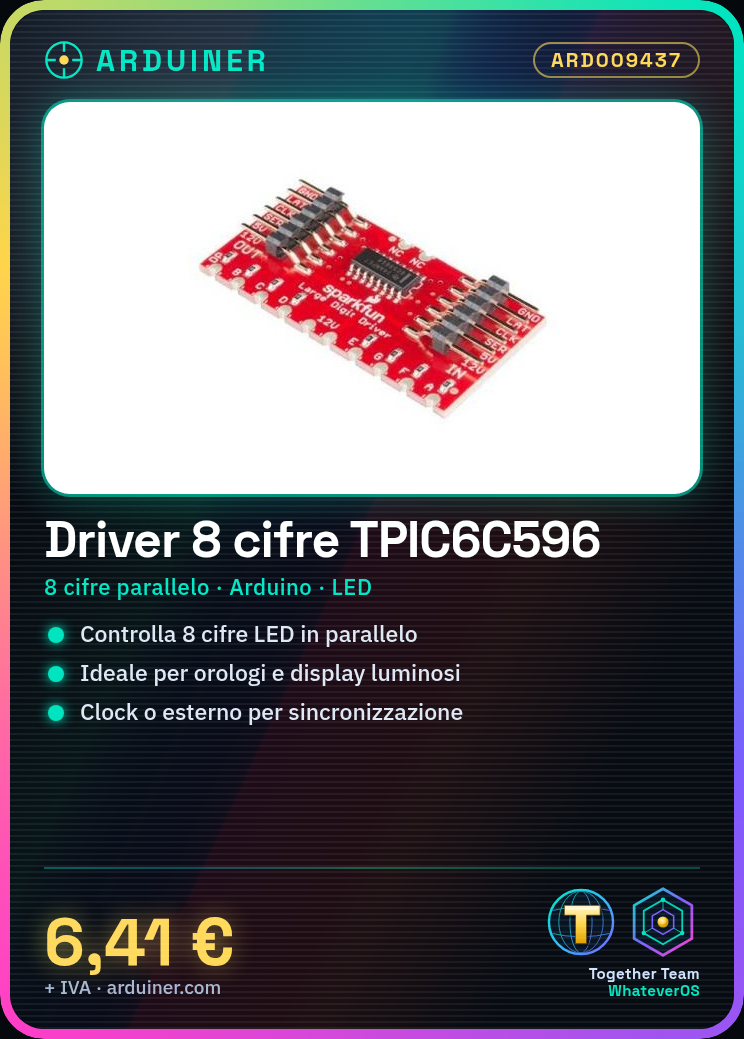
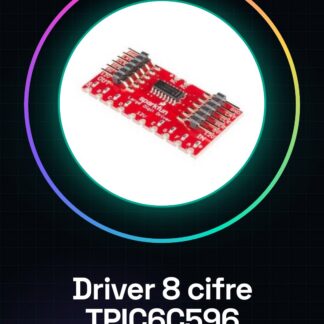
The 8-digit TPIC6C596 driver is an electronic component designed to power large LED digits. This device allows you to control up to eight digits in parallel, making it easier to manage bright displays.
Features
- 8-digit LED driver
- Permissive with Arduino and other microcontrollers
What it is for
TPIC6C596 drivers are ideal for projects requiring the illumination of large LED digits, such as digital clocks or bright displays. You can use internal or external clock to synchronize the clock and display hours and minutes on two displays.
Tutorial: How to use 8-digit TPIC6C596 driver
The TPIC6C596 driver is perfect for anyone who wants to illuminate large LED digits with Arduino. This component allows you to control up to eight digits in parallel, making it easier to manage bright displays.
What you need
- Arduino Uno or compatible
- USB cable to connect the Arduino to the PC
- Large 7-segment LED display
- Current limiting resistors
Steps
- Connect the TPIC6C596 to the Arduino according to the interface table.
- Connect the current limiting resistors between the driver output and the LED segments.
- Connect the commons of the seven segments to ground or a stable power supply.
- Write an Arduino sketch to control the TPIC6C596, using the appropriate libraries.
- Compile and upload the sketch to your Arduino.
- Check that all the LED digits are responding correctly to the driver control.
- If necessary, adjust the brightness of the digits using variable resistors or software PWM.
- Try writing a more advanced program to display dynamic numbers.
Example code
void setup() {
  for (int i = 0; i < 8; i++) {
    pinMode(i, OUTPUT);
  }
}

void loop() {
  digitalWrite(0, HIGH); // Accendi la prima cifra
  delay(1000);
  digitalWrite(0, LOW); // Spegni la prima cifra
}
Mini project
Design a 7-segment LED clock with the TPIC6C596. Use an internal or external clock to synchronize the clock and display hours and minutes on two displays.
Common mistakes
- Do not verify the correct polarity of the LED segments.
- Using resistors that are too low, causing driver overload.
- Omitting the ground or stable power connection to the common of the digits.
- Ignoring the temperature specifications and thermal dissipation of the TPIC6C596.
Recommended accessories
- Current limiting resistors
- Large LED digit (7 segments)
- Internal or external clock for Arduino
- Heat sink
Frequently asked questions
What is the supply voltage of the TPIC6C596?
Check the datasheet.
How much current can each output of the driver provide?
Check the datasheet.
Can I connect more than 8 digits to the TPIC6C596?
No, the TPIC6C596 is designed to handle exactly 8 LED segments.
Reviews
There are no reviews yet.