 EN
 IT Italiano
 ES Español
 FR Français
 DE Deutsch
Description
What it is
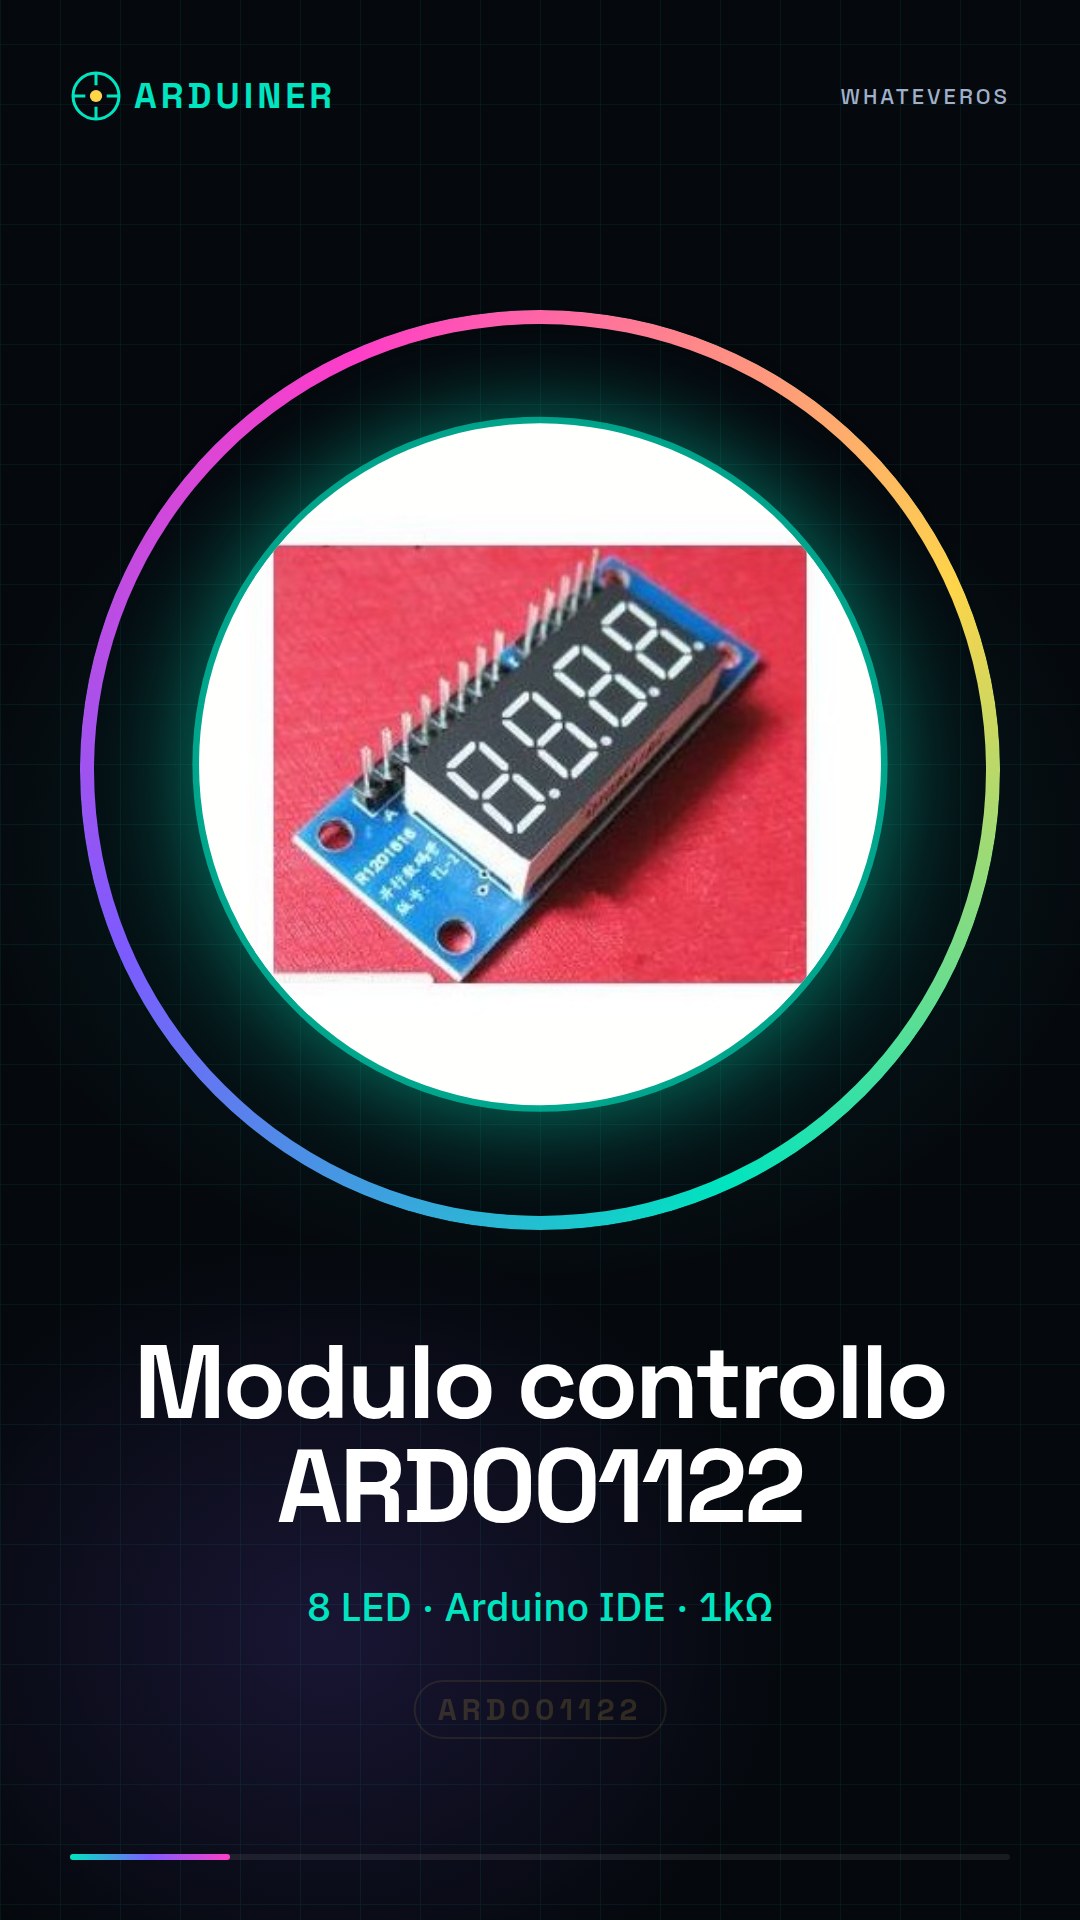
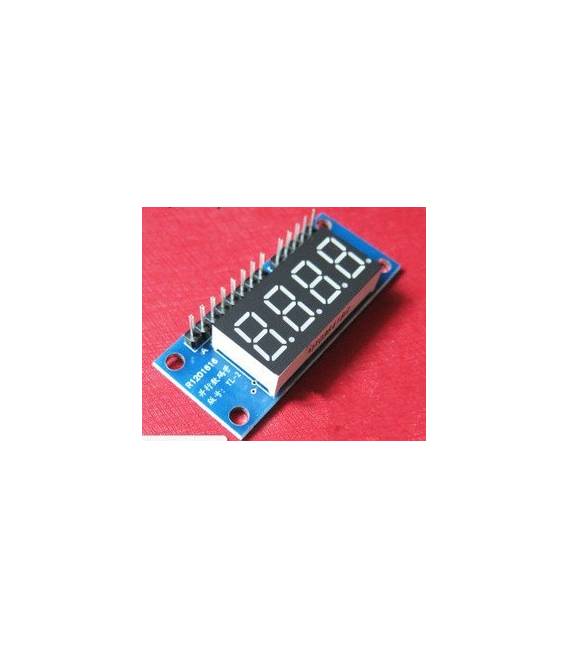
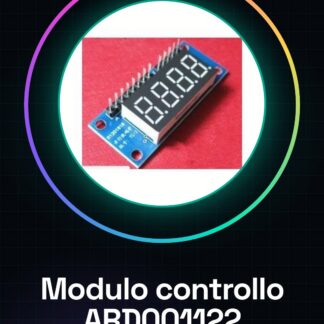
The digital control module ARD001122 is an electronic component designed for managing matrix LED in applications such as smart cars and robots. This module is ideal for robotics, automation, and lighting projects based on Arduino.
Features
- Manages up to 8 LEDs independently
- Great for creating emergency signals or luminous indicators in robotics projects
What it is for
The ARD001122 module is used to control and manage the brightness and lighting pattern of matrix LEDs in smart cars, robots, and other devices. It is compatible with Arduino and can be easily integrated into beginner and intermediate projects.
Tutorial: How to use the digital control module ARD001122
The digital control module ARD001122 is ideal for Arduino-based robotics and automation projects. Useful for beginners and intermediates.
What you need
- Arduino IDE
- USB cable
- 1 kΩ resistor
- LED
- 9V Battery (optional)
Steps
- 1. Download and install Arduino IDE.
- 2. Connect the ARD001122 module to the Arduino via pins D0-D7.
- 3. Connect an LED to a pin of the module and to GND via a 1 kΩ resistor.
- 4. Write the following code in Arduino IDE:
- 5. `void setup() {}`
- 6. `void loop() {digitalWrite(D0, HIGH); delay(1000); digitalWrite(D0, LOW); delay(1000);}`
- 7. Upload the code to the module.
- 8. The LED should blink on and off every second.
Example code
void setup() {} void loop() {digitalWrite(D0, HIGH); delay(1000); digitalWrite(D0, LOW); delay(1000);}Mini project
Create an emergency signal with 8 LEDs. Connect each LED to a pin of the module and make them blink together.
Common mistakes
- Connecting the module to 5V without a resistor can damage the LED.
- Forgetting to add a resistor between the LED and GND.
- Writing the code for the wrong pins.
- Do not use the module with an old or incompatible Arduino IDE.
Recommended accessories
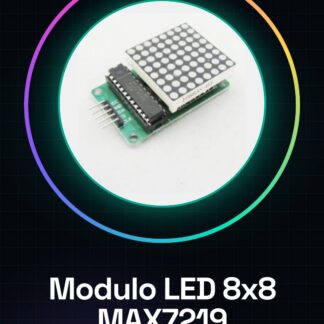
- 8×8 LED matrix
- Proximity sensors
- 9V Batteries
- Prototype board
Frequently asked questions
Does the module work with old Arduino IDE?
Check the datasheet.
Can I use this module with an Arduino Uno?
Yes, it is compatible with Arduino Uno.
Which pin to use for the LED?
Use any pin D0-D7.
Does the module have a current limit?
Check the datasheet.
Reviews
There are no reviews yet.