 EN
 IT Italiano
 ES Español
 FR Français
 DE Deutsch
Description
What it is
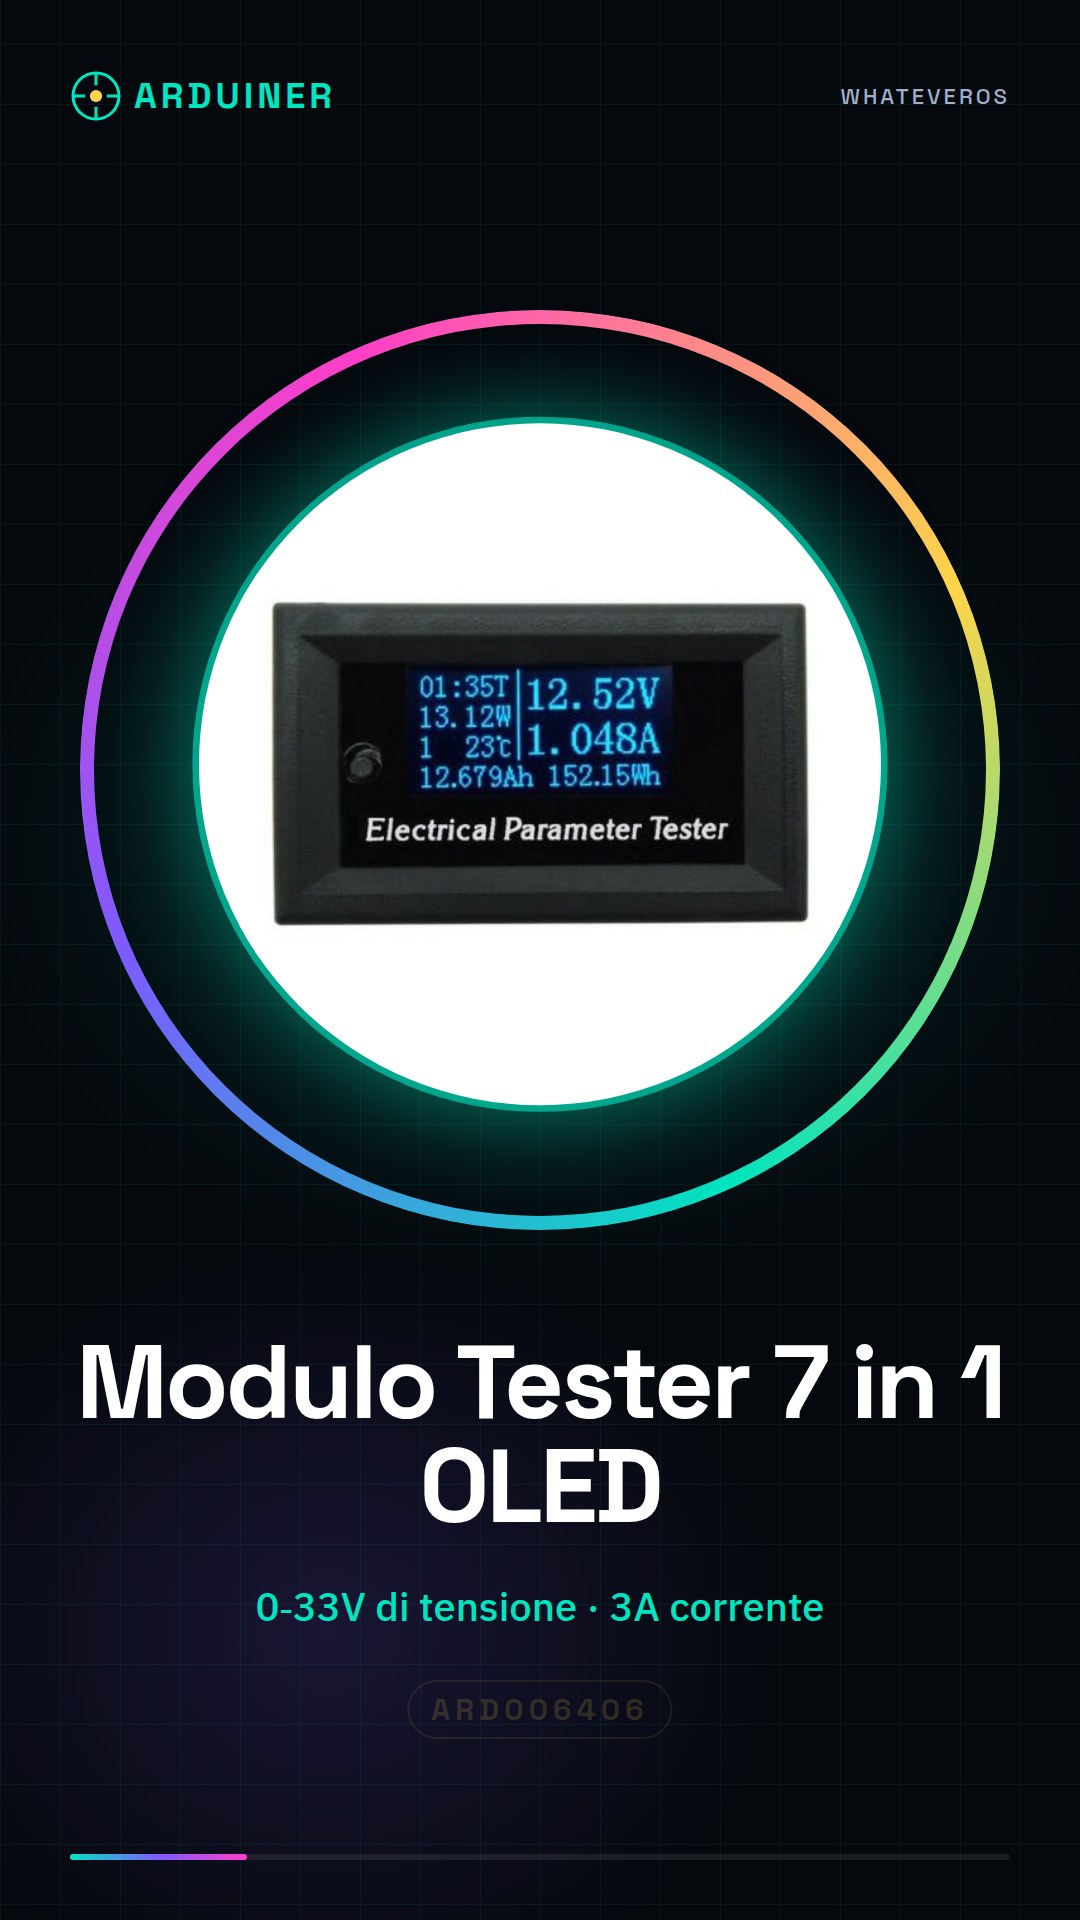
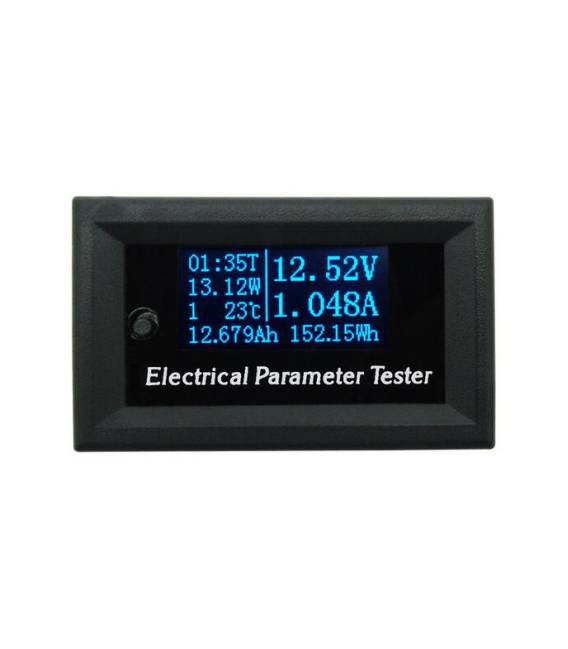
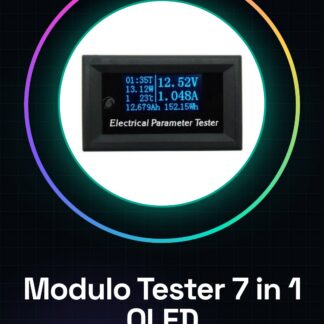
The 7-in-1 Multifunction Tester Module with OLED Screen is an essential tool for makers and electronic project developers. This module combines seven different functions into a single device, making it perfect for both prototyping and detailed circuit analysis.
Features
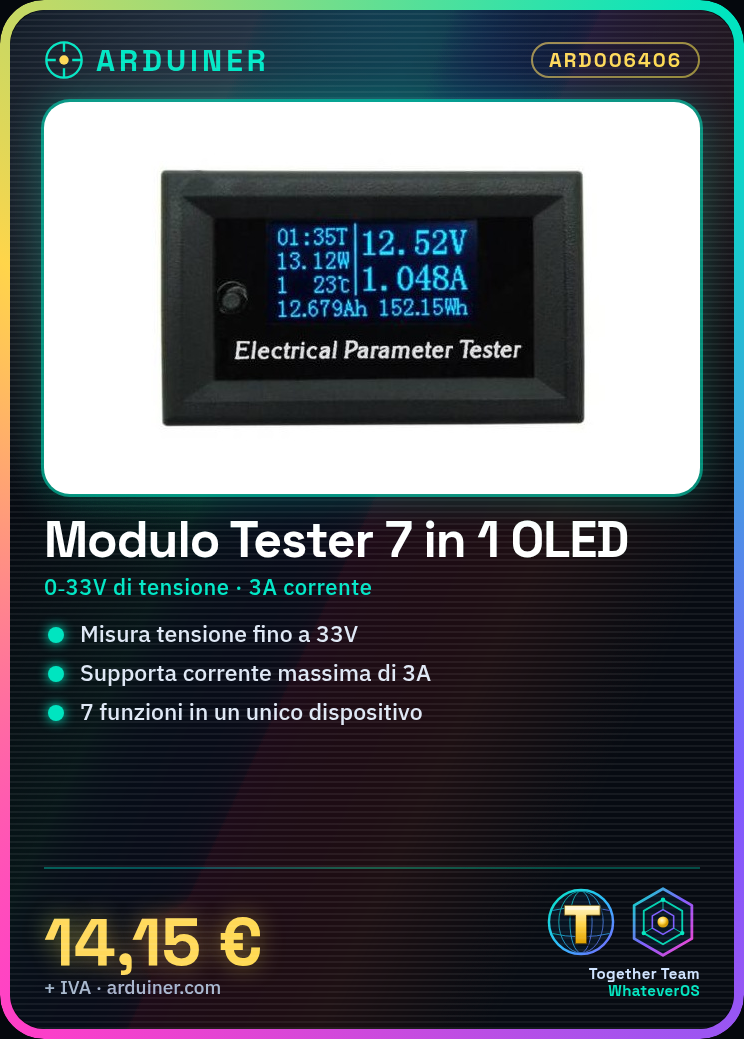
- 7 integrated functions in one module
- Built-in OLED screen
- Variable from 0 to 33V of test voltage
- Maximum current of 3A
What it is for
This multifunction tester is ideal for measuring voltage, current, and resistance in various components and circuits. It is compatible with Arduino and ESP, making electronic device testing simpler and more efficient.
Tutorial: How to use the 7-in-1 Multifunction Tester Module
The multifunction tester module 7 in 1 with OLED screen is an essential tool for makers and electronics enthusiasts who want to perform quick and accurate tests on various components. Ideal for both beginners and experts, it allows measuring voltage, current, resistance, and more.
What you need
- Arduino Uno or compatible
- USB Type B cable (if required)
- Physical connections
Steps
- Connect the tester module to the computer via USB cable (if required).
- Configure the hardware and software to recognize the new device.
- Access the product documentation or configuration files provided by the supplier.
- Install the necessary libraries in your Arduino environment if required (check the datasheet).
- Write a simple sketch to test a specific function of the tester module (see code below).
- Upload the sketch to Arduino and verify that the module responds correctly.
- Explore the other functionalities of the test module by modifying the sketch according to your needs.
- Document the results obtained for future references or improvements.
Example code
// Includi la libreria necessaria (verifica sul datasheet)
#include <libreria_modulo_tester.h>

void setup() {
  Serial.begin(9600);
}

void loop() {
  // Esempio di lettura della tensione
  float tensione = leggiTensione();
  Serial.println(tensione);
}
Mini project
Create an automatic monitoring system that measures the voltage and current of your next Arduino project every hour. Log the data on a cloud platform for further analysis.
Common mistakes
- Not recognizing the module as a USB device
- Error in the configuration of the required libraries
- Misinterpreting the test results
- Omitting a critical physical connection
Recommended accessories
- USB Type B cable
- Arduino Uno R3
- LiPo 18650 battery
- Electronic touch screen
Frequently asked questions
What functions does the test module have?
The module can measure voltage, current, resistance, frequency and more (check the datasheet).
How can I configure it for the first time?
Follow the installation steps carefully in the product manual.
Can it be used without Arduino?
Yes, but it may require direct physical connections and an understanding of its hardware features.
Reviews
There are no reviews yet.