 EN
 IT Italiano
 ES Español
 FR Français
 DE Deutsch
Description
What it is
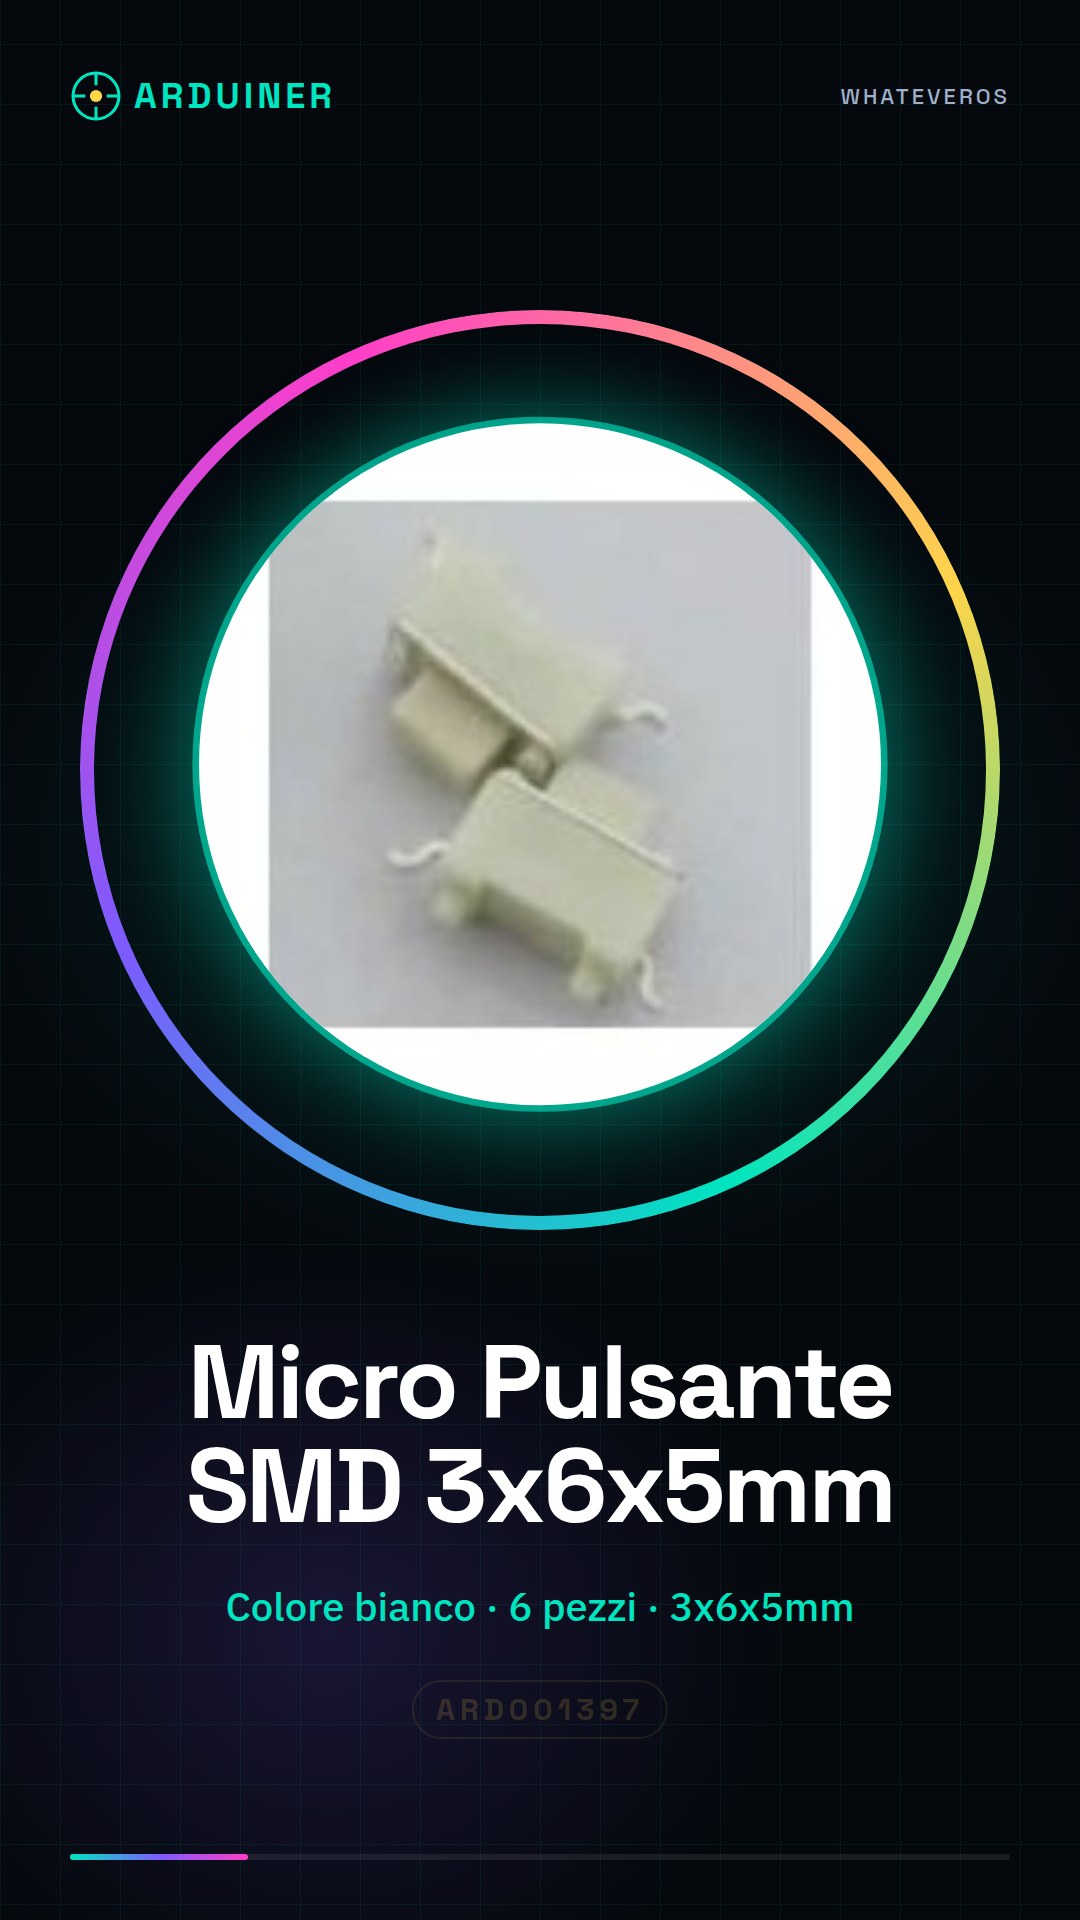
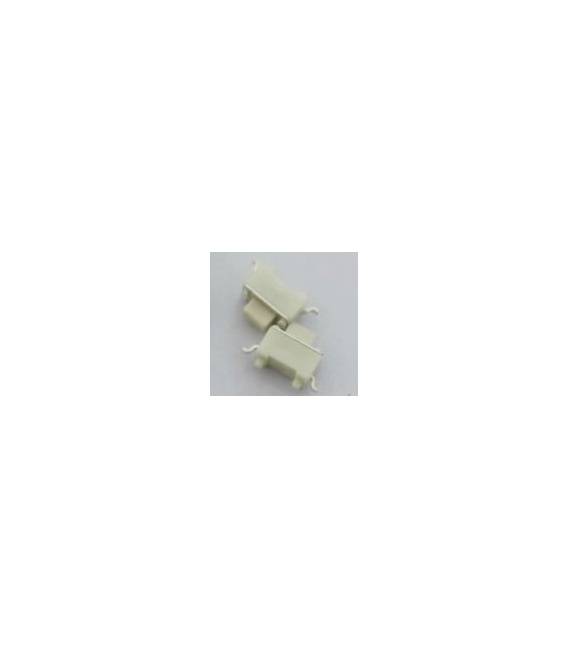
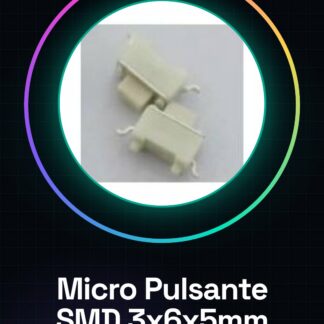
This product includes 6 white micro SMD push buttons, with dimensions 3x6x5mm. They are tactile switches, meaning they activate with a touch.
Features
- 6 pieces
- Type: Micro push button SMD
- Color: White
- Dimensions: 3x6x5mm
- Switch type: Tactile
What it is for
These micro SMD push buttons are suitable for Arduino and 3D printing projects where a small and efficient switch is required. They can be used to create simple user interfaces, such as buttons to activate functions or signal events.
Tutorial: How to Use White Micro Push Button SMD
This micro SMD push button is ideal for Arduino and 3D printing projects where a small but efficient tactile switch is required. Perfect for both beginners and experienced makers.
What you need
- Arduino Uno
- SMD prototype perforated board
- Soldering iron
- Wire stripper
Steps
- Prepare the SMD prototype perforated board by cleaning and drying it.
- Position the SMD button in the correct slot on the perforated card.
- Use the wire cutter to bend the leads of the button so that they can be soldered.
- Solder the leads of the button delicately, checking the uniformity of the solder joints.
- Check that the button is securely attached and does not move during handling of the card.
- Connect the lines between the button and Arduino using the appropriate connectors on the perforated card prototype SMD.
- Download the Arduino sketch onto the microcontroller to test the tactile switch.
- Test the functionality of the button by pressing it while viewing the debug outputs in Serial Monitor.
Example code
void setup() {
  pinMode(2, INPUT_PULLUP);
}

void loop() {
  int buttonState = digitalRead(2);
  if (buttonState == LOW) {
    Serial.println("Pulsante premuto");
  }
}
Mini project
Create a simple home alarm system with Arduino that sends a notification when the button is pressed.
Common mistakes
- Insufficient or excessive soldering.
- Incorrect placement of the SMD button on the perforated card prototype.
- Incorrect connections between the button and Arduino.
- Incorrect setup of input/output ports in Arduino.
Recommended accessories
- SMD prototype perforated board
- Soldering iron kit
- Arduino Uno
Frequently asked questions
How can I verify if the soldering is correct?
Check that the button leads are securely attached and do not move. Verify the uniformity of the solder joints.
What is the best way to connect this button to an Arduino project?
Use an SMD prototype perforated board to position the button and connect it to the appropriate pins of the Arduino.

Reviews
There are no reviews yet.