 EN
 IT Italiano
 ES Español
 FR Français
 DE Deutsch
Description
What it is
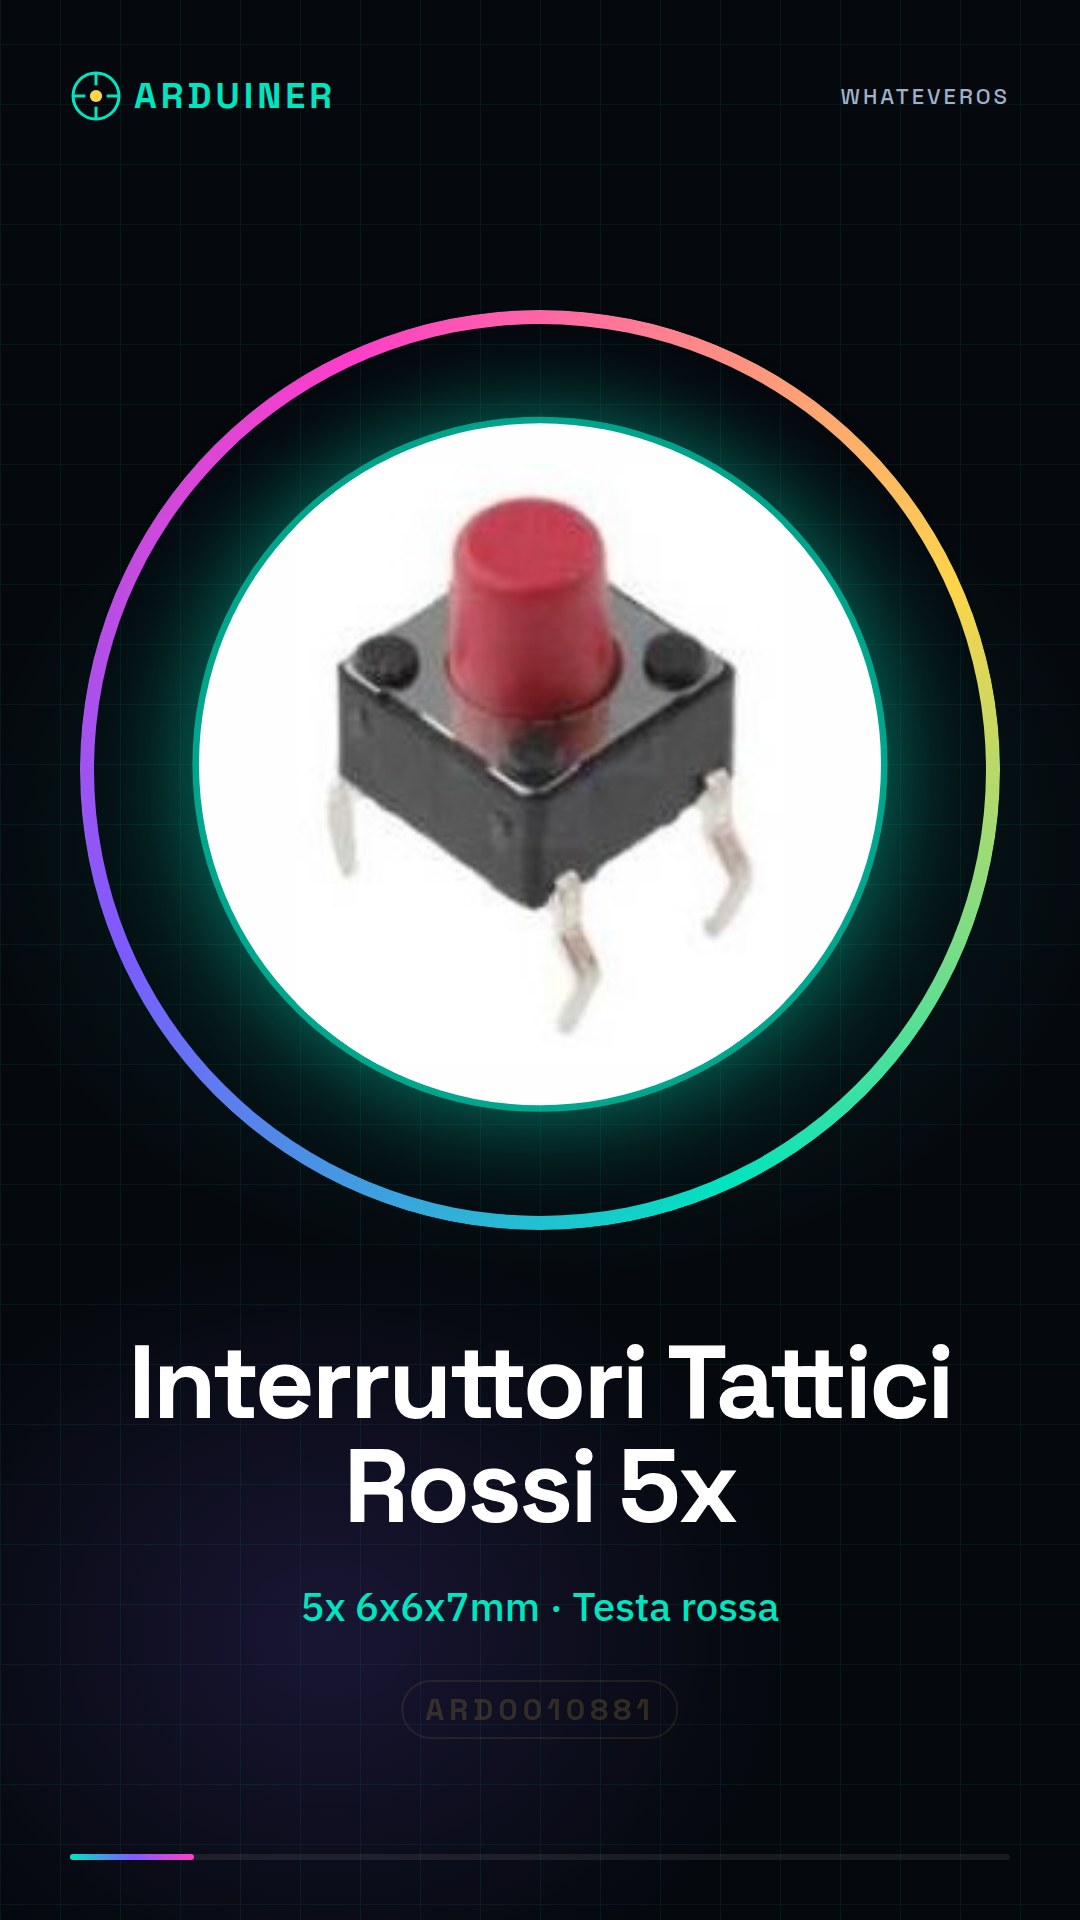
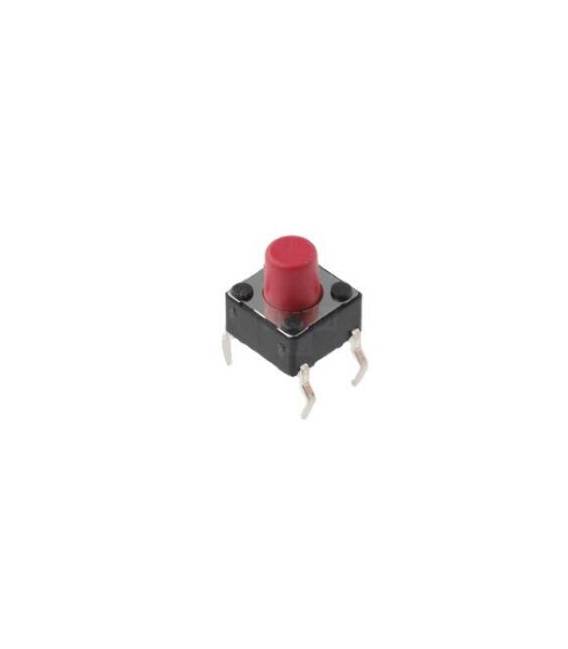
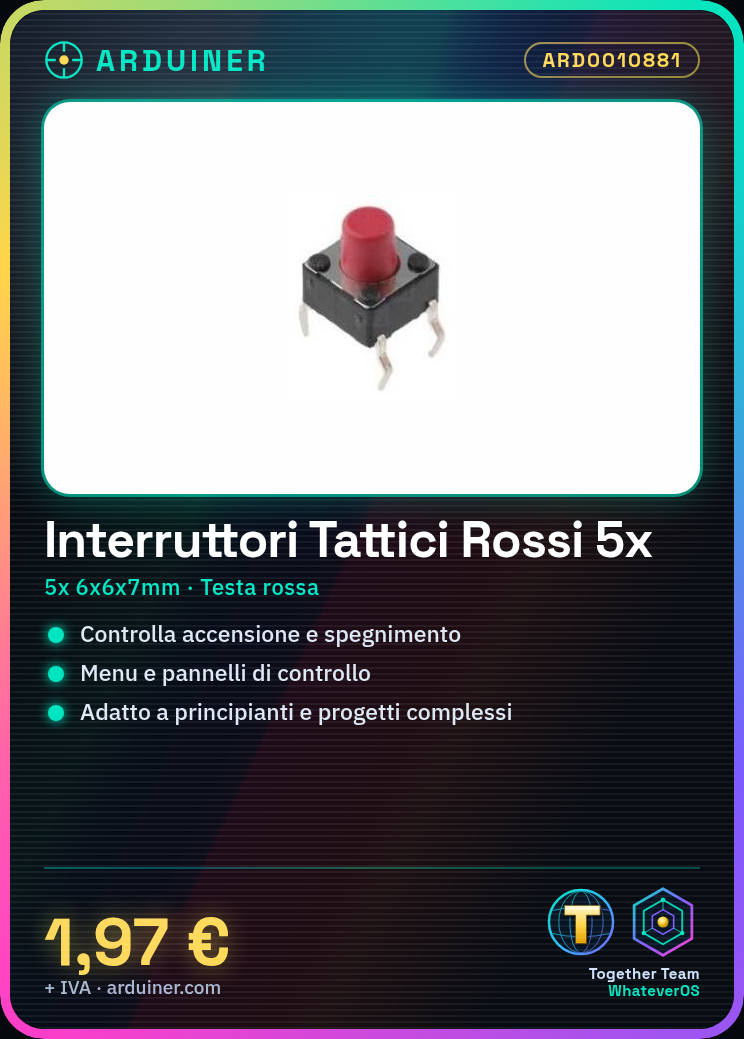
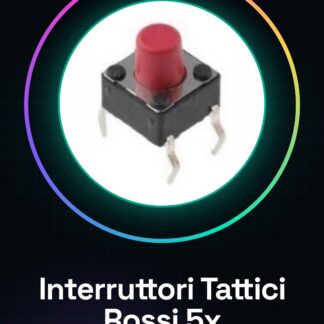
This product is a set of 5 tactical switches with red heads. They measure 6x6x7 mm.
Features
- Quantity: 5 pieces
- Dimensions: 6 x 6 x 7 mm
- Head color: Red
What it is for
Tactical switches are ideal for electronic projects that require a simple and intuitive interface. They can be used to turn devices on/off, control menus, or create control panels. Suitable for beginners and more complex projects alike.
Tutorial: How to Use 6x6x7 Tactical Switch Red Head
This tactical switch with a red head is perfect for human-machine interface projects, such as control panels or interactive menus. Suitable for beginners and those looking for a robust component.
What you need
- Tactical switch red head
- Arduino
- Power cable
- 10kΩ resistor
Steps
- 1. Assemble the switch on the Arduino board using a power cable.
- 2. Connect a 10kΩ resistor between the input pin and GND.
- 3. Write the following code to control the state of the switch.
- 4. Upload the code to the Arduino.
- 5. Power on the Arduino and press the switch to verify the functionality.
- 6. Modify the code to fit your project.
- 7. Repeat step 5.
- 8. Check the datasheet for further details.
Example code
```cpp
int interruptPin = 2;
int state = HIGH;

void setup() {
  pinMode(interruptPin, INPUT);
}

void loop() {
  int reading = digitalRead(interruptPin);
  if (reading != state) {
    state = reading;
    if (state == LOW) {
      Serial.println("Interruttore premuto");
    }
  }
}
```
Mini project
Create a control panel with three red tactical switches to turn on/off lights or devices.
Common mistakes
- Do not connect the switch correctly.
- Omit the pull-up resistor.
- Write the Arduino code correctly.
- Do not verify the functionality before using the switch.
Recommended accessories
- Arduino Uno
- Connection cables
- LED lamp
- 220Ω resistor
Frequently asked questions
How can I control multiple switches?
Connect each switch to a different pin and modify the code to manage the state of each one.
Which pins can I use?
You can use any digital pin, but make sure it is compatible with your circuits.
Why do I need to use a pull-up resistor?
The pull-up resistor keeps the pin at GND when the switch is not pressed, preventing false readings.
Reviews
There are no reviews yet.