 EN
 IT Italiano
 ES Español
 FR Français
 DE Deutsch
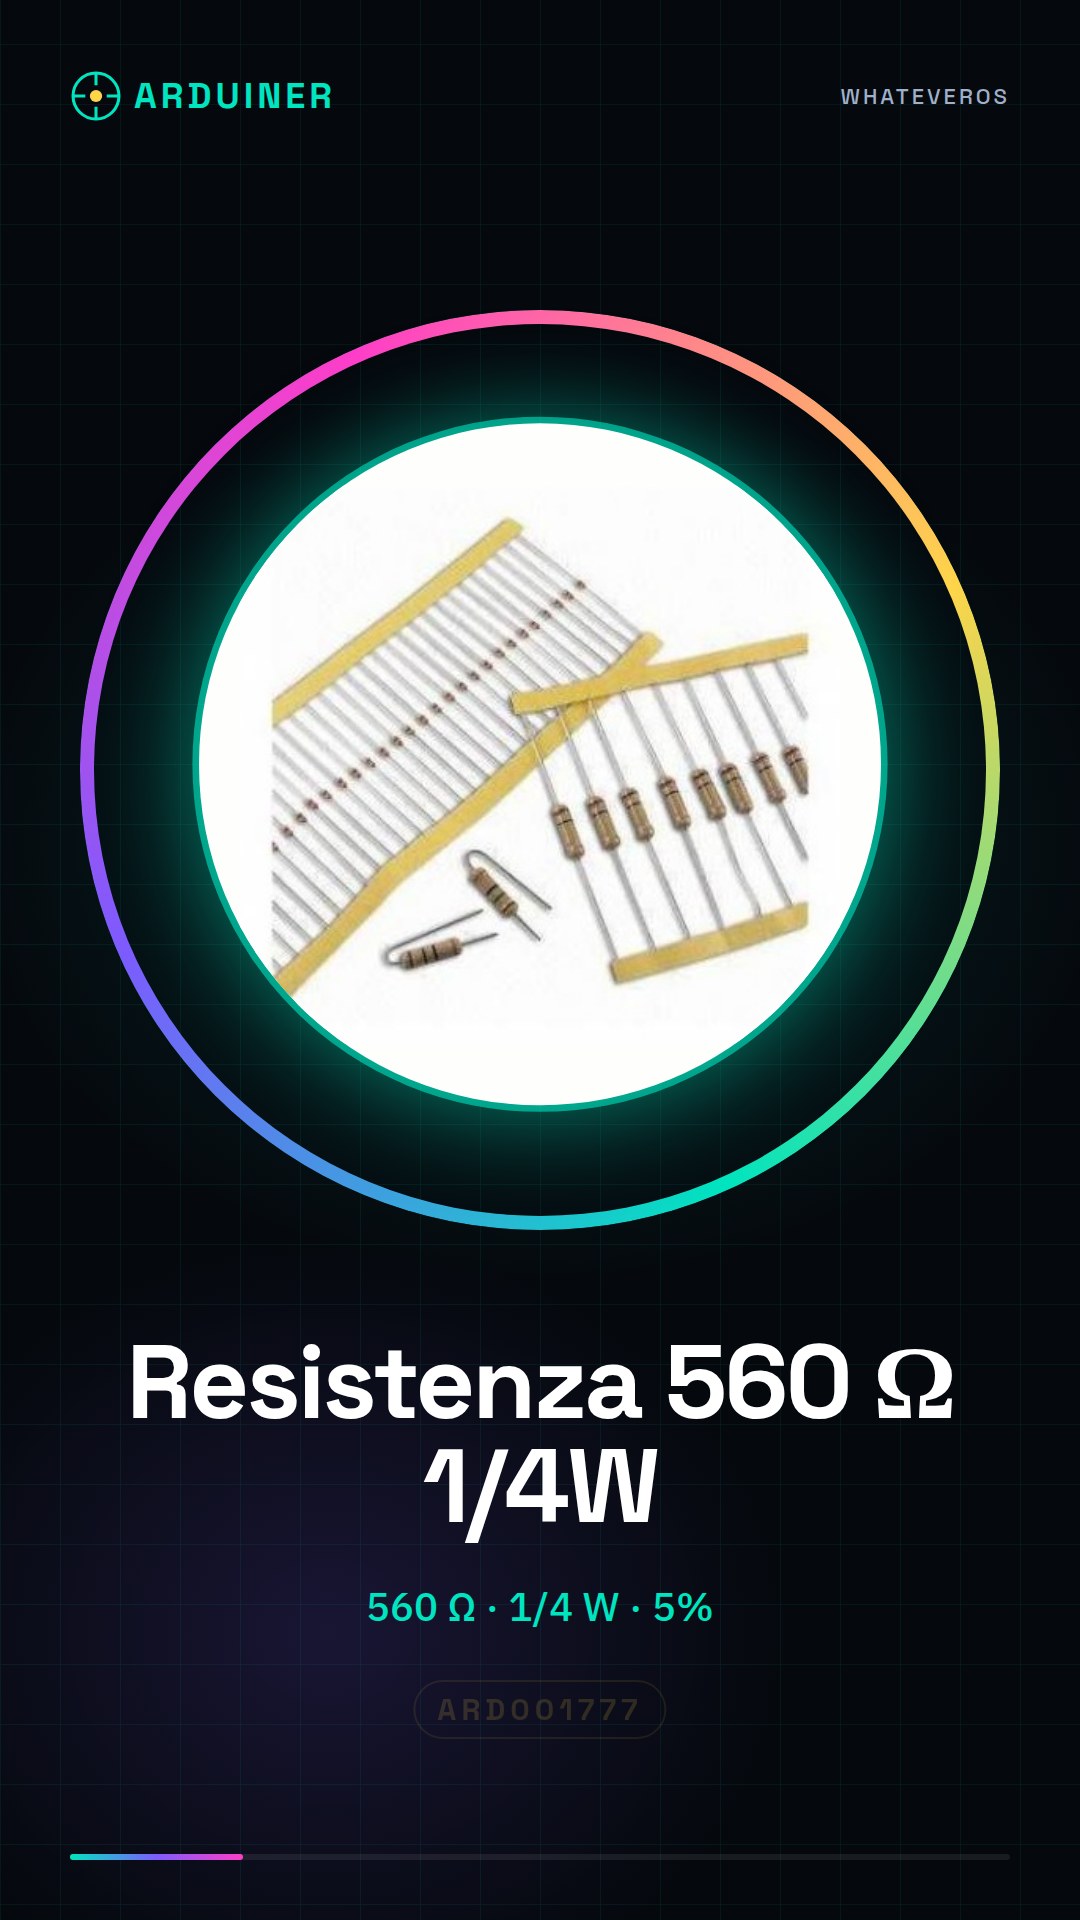

Description
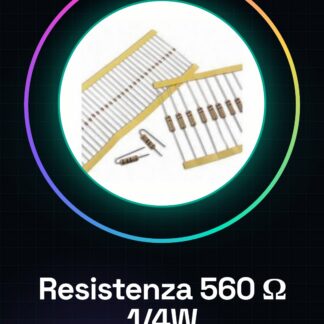
Tutorial: How to Use a 560 Ohm Resistor The resistor is an essential component for limiting current flow in electronic circuits. This tutorial will guide you on how to select, install and use a 560 ohm resistor. What You Need Arduino Uno Digital Multimeter Steps Check the resistance with a multimeter to confirm it’s actually 560 ohms. Connect the component between two pins of an Arduino, one supplied by a power source and the other connected to a digital or analog input pin on the Arduino. Use an Arduino sketch to measure the voltage at the pin connected to the resistor. Example Code void setup() { Serial.begin(9600); } void loop() { int val = analogRead(A0); // read value from A0 float voltage = val * (5.0 / 1023.0); // convert to voltage Serial.println(voltage); } Mini Project Create a simple circuit that measures current through the resistor and displays the result on an Arduino. Common Mistakes Forgetting to check the resistance with a multimeter before use. Connecting the resistor directly to power without protection (such as a limiting resistor). Using too small of a resistor which could overload the component. Recommended Accessories Arduino Uno Digital Multimeter Breadboard Connection Wires Frequently Asked Questions Why does this resistor have a 5% tolerance? The tolerance indicates that the actual value of the resistance can vary by up to 5% from the nominal value (in this case, 560 ohms). Check the datasheet for precise details. How much heat should I expect from this resistor? This is a 1/4 watt power resistor. If current exceeds the limit, the resistor will heat up and may be damaged.
Reviews
There are no reviews yet.