 EN
 IT Italiano
 ES Español
 FR Français
 DE Deutsch
Description
Technical Specifications
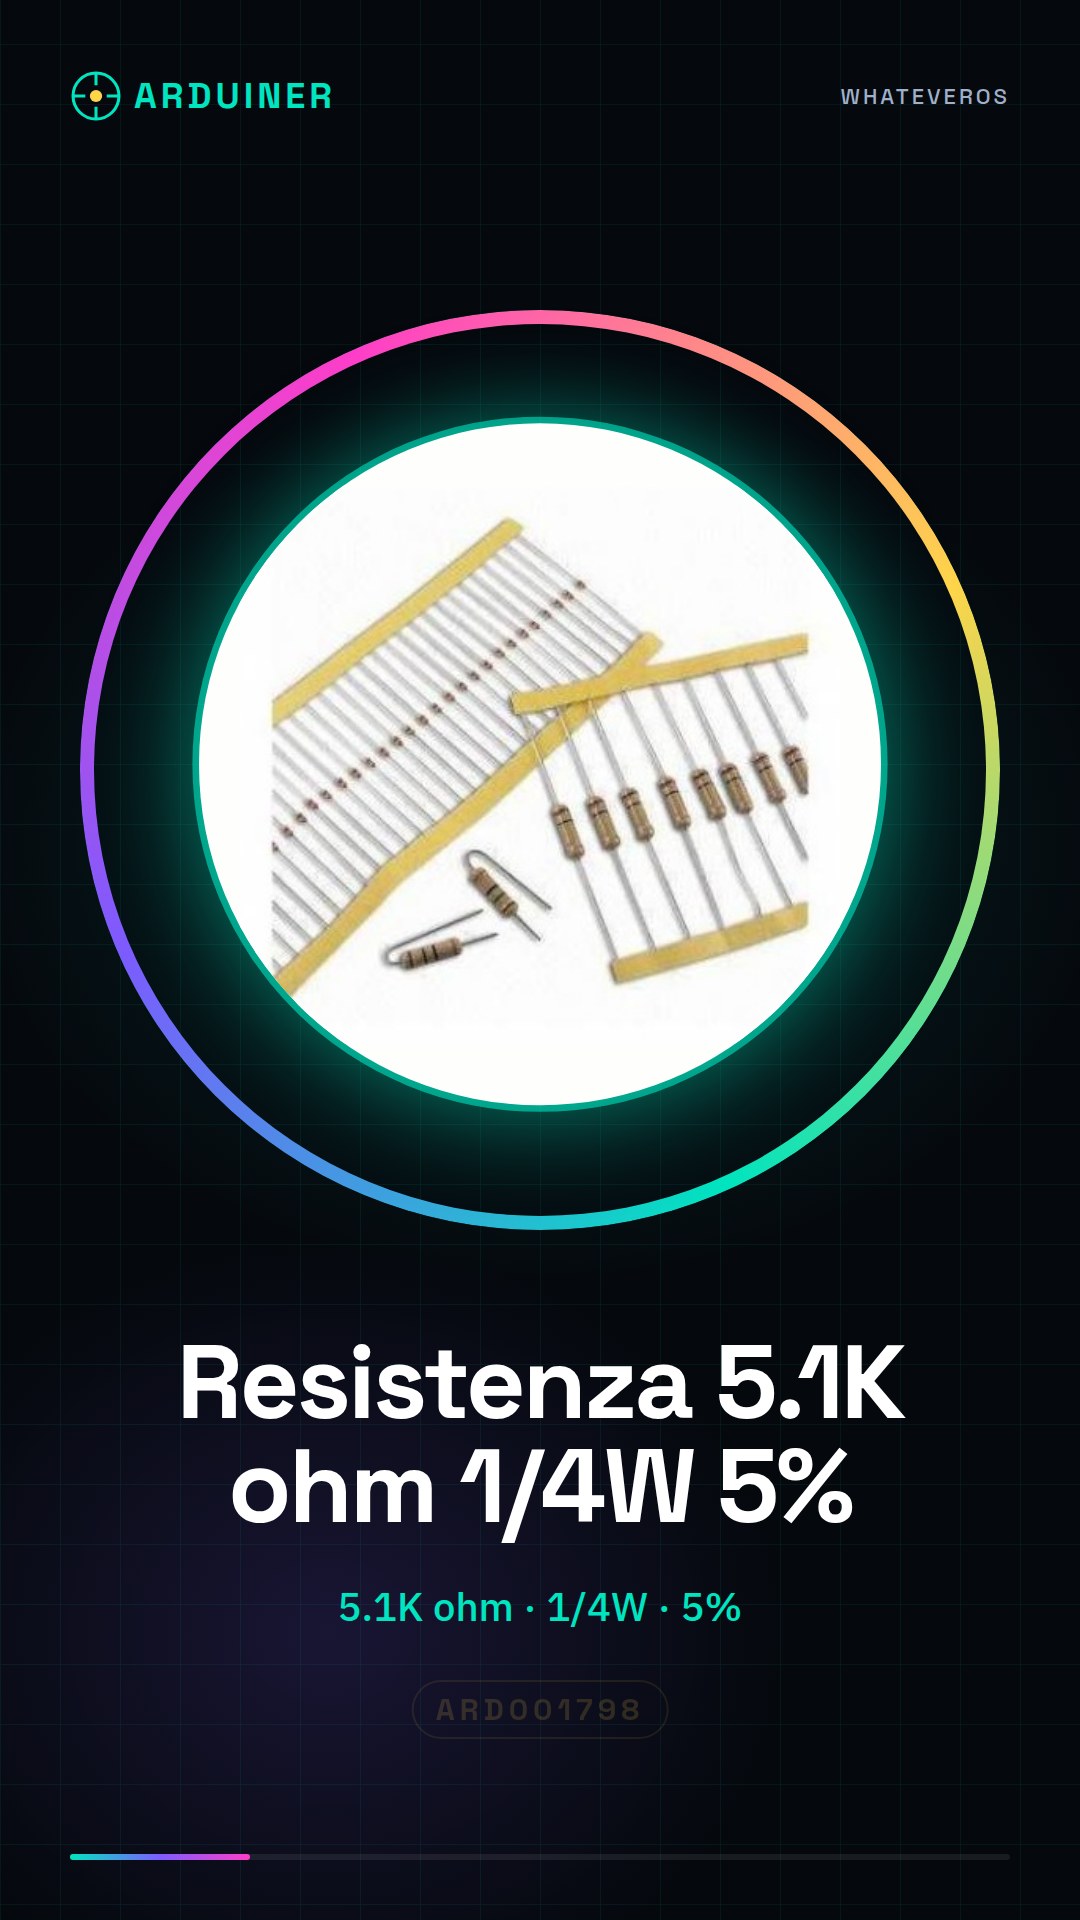
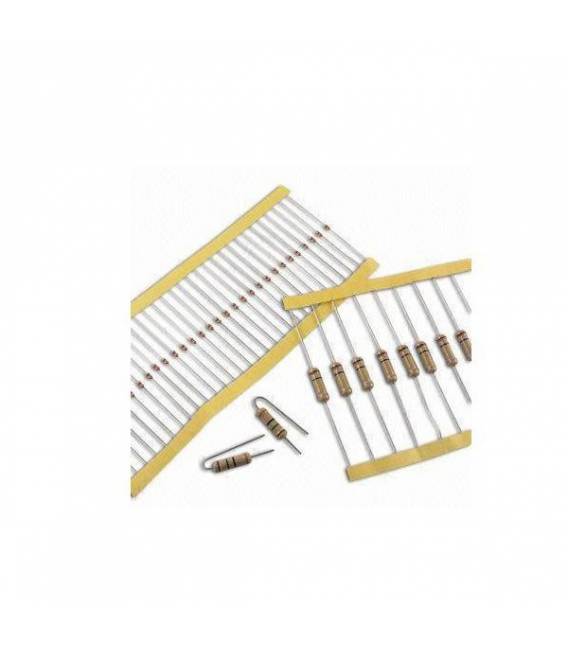
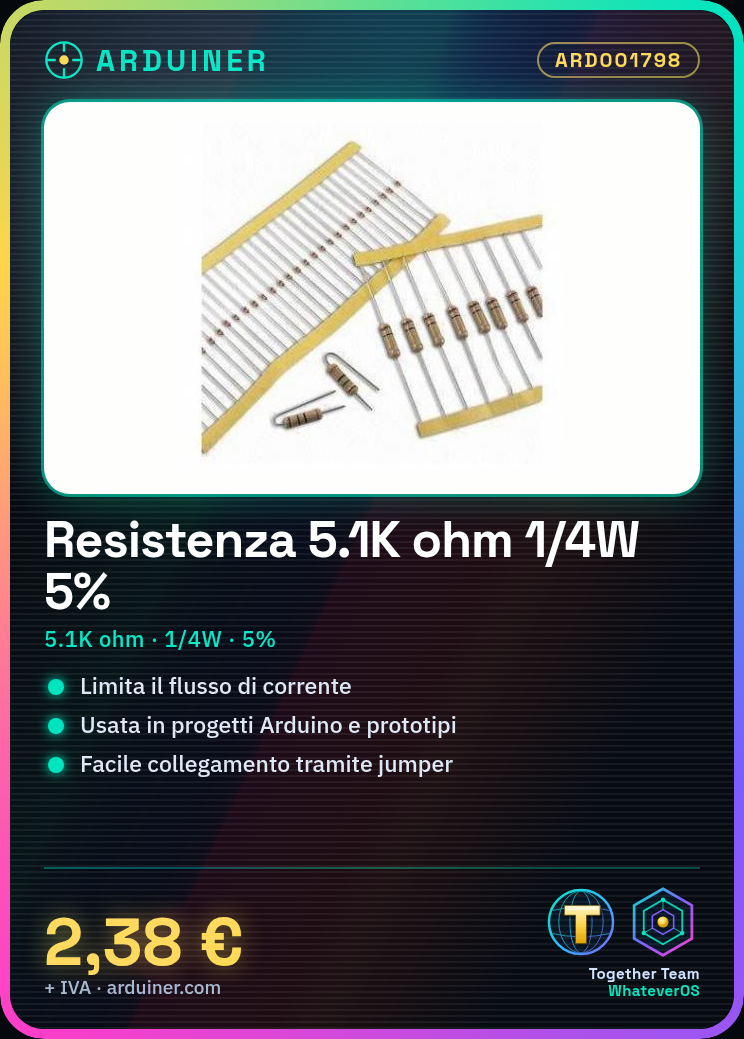
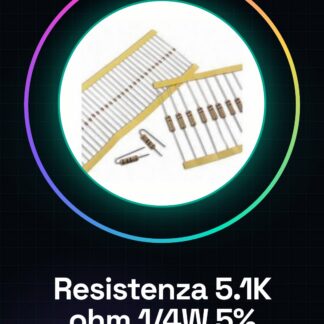
The 5.1K ohm resistor is a fundamental electronic component used to limit the flow of current in electronic circuits. This type of resistor is commonly used in Arduino projects and prototypes to regulate voltage levels or limit the current passing through a circuit. The resistor has a precision tolerance of 5% and a maximum power dissipation of 1/4 Watt.
The 5.1K ohm resistor is available in quantities of 50 pieces and can be used in various types of circuits and electronic projects. Its 5% precision tolerance ensures good stability of resistance values, while its 1/4 Watt heat dissipation capability makes it suitable for low power consumption applications.
To use the 5.1K ohm resistor, it is necessary to connect it correctly to the electronic circuit, verifying the precision tolerance and the power dissipated to ensure the proper operation of the circuit.
Key Specifications
| Parameter | Value |
| Model | 5.1K ohm |
| Quantity | 50 pieces |
| Tolerance | 5% |
| Power Dissipated | 1/4 Watt |
| Dimensions | N/D (see manufacturer’s datasheet) |
| Container | N/D (see manufacturer’s datasheet) |
Installation and Usage
- Check the resistor specifications by consulting the datasheet.
- Connect one end of the component to the Arduino pin using a jumper.
- Connect the other end of the resistor to ground (GND) through another jumper.
- Write an Arduino sketch to measure the resistance using the analogRead() command.
- Verify that the read values correspond to the component specifications.
Compatibility and Requirements
- The 5.1K ohm resistor is compatible with Arduino Uno and other microcontroller-based systems.
- It can be used in breadboard circuits for prototyping projects.
- A multimeter is required to measure the resistance before use.
Limitations and Important Notes
- The resistor is not suitable for applications requiring a precision tolerance better than 5%.
- The resistor is not suitable for applications requiring a heat dissipation greater than 1/4 Watt.
- Using a resistor with a value too high or too low for the project can cause operational errors.
- Do not ignore the influence of temperature on resistance.
Troubleshooting
The values read from the resistor do not match the specifications.
Probable cause: The resistor may not have been verified before use.
Solution: Check the resistor with a multimeter and ensure that the value matches the specifications.
The resistor overheats during use.
Probable cause: The heat dissipation exceeds the resistor’s heat dissipation capacity.
Solution: Verify that the resistor does not exceed the maximum dissipated power of 1/4 Watt.
The circuit does not work correctly.
Probable cause: The resistor may be connected to the wrong pin of the Arduino.
Solution: Check the resistor connection and ensure it is correct.
The values read from the resistor vary significantly.
Probable cause: The influence of temperature on resistance may be significant.
Solution: Check the influence of temperature on resistance and adjust the project accordingly.
Use cases
Temperature sensor
Objective: Measure ambient temperature.
What’s needed: 5.1K ohm resistor, Arduino Uno, temperature sensors.
Steps: 1) Connect the resistor to a circuit with a temperature sensor. 2) Write an Arduino sketch to read the sensor values. 3) Display the temperature values on the Arduino serial monitor.
Expected result: The project accurately measures ambient temperature.
Voltage regulation
Objective: Regulate the voltage level in a circuit.
What’s needed: 5.1K ohm resistor, Arduino Uno, voltage regulation circuit.
Steps: 1) Connect a resistor in series with a voltage regulation circuit. 2) Write an Arduino sketch to regulate the voltage level. 3) Display the voltage values on the Arduino serial monitor.
Expected result: The voltage level in the circuit is correctly regulated.
Protection Circuit
Objective: Protect an electronic circuit from overloading.
What’s needed: 5.1K ohm resistor, Arduino Uno, protection circuit.
Steps: 1) Connect the resistor in series with a protection circuit. 2) Write an Arduino sketch to monitor the current in the circuit. 3) Display the current values on the Arduino serial monitor.
Expected result: The electronic circuit is protected from overloading.
Current Control Circuit
Objective: Control the flow of current in a circuit.
What is needed: 5.1K ohm resistor, Arduino Uno, current control circuit.
Steps: 1) Connect the resistor in series with a current control circuit. 2) Write an Arduino sketch to measure the current in the circuit. 3) Display the current values on the Arduino serial monitor.
Expected result: The current flow in the circuit is correctly controlled.
Voltage control circuit
Objective: Control the voltage level in a circuit.
What is needed: 5.1K ohm resistor, Arduino Uno, voltage control circuit.
Steps: 1) Connect the resistor in series with a voltage control circuit. 2) Write an Arduino sketch to measure the voltage in the circuit. 3) Display the voltage values on the Arduino serial monitor.
Expected result: The voltage level in the circuit is correctly controlled.
Temperature control circuit
Objective: Control the temperature in a circuit.
What is needed: 5.1K ohm resistor, Arduino Uno, temperature control circuit.
Steps: 1) Connect the resistor in series with a temperature control circuit. 2) Write an Arduino sketch to measure the temperature in the circuit. 3) Display the temperature values on the Arduino serial monitor.
Expected result: The temperature in the circuit is controlled correctly.
Power supply protection circuit
Objective: Protect an electronic circuit from overload.
What is needed: 5.1K ohm resistor, Arduino Uno, power supply protection circuit.
Steps: 1) Connect the resistor in series with a power supply protection circuit. 2) Write an Arduino sketch to monitor the power supply current. 3) Display the current values on the Arduino serial monitor.
Expected result: The electronic circuit is protected from overvoltage.
Voltage regulation circuit
Objective: To control the flow of voltage in a circuit.
What you need: 5.1K ohm resistor, Arduino Uno, voltage regulation circuit.
Steps: 1) Connect the resistor in series with a voltage regulation circuit. 2) Write an Arduino sketch to measure the voltage in the circuit. 3) Display the voltage values on the Arduino serial monitor.
Expected result: The voltage flow in the circuit is regulated correctly.
In the package
- 50 pieces 5.1K ohm resistor
Complete the project
- 50 Pieces 1000 ohm 1k ohm 1/4w 1/4 w 5%: To create voltage regulation circuits.
- 50 Pieces Resistance, 10000 ohm, 10k, ohm 1/4w 1/4 w 5%, Arduino Compatible Resistors: To create protection circuits.
- 50 Pieces Resistance 100 ohm 1/4w 5%: To create current control circuits.
- 50 Pieces Resistance 220 ohm 1/4w 1/4 w 5%: To create temperature control circuits.
- 50 Pieces Resistance 4.7K ohm 4700 ohm 1/4w 1/4 w 5%: To create power supply protection circuits.
Technical FAQs
What is the precision tolerance of the resistance?
The precision tolerance of the 5.1K ohm resistance is 5%.
How can I verify the value of my resistance?
You can verify the value of the resistance using a multimeter.
What are the heat dissipation limits of the resistance?
The resistance has a maximum heat dissipation of 1/4 Watt.
What are the steps to use the resistance in a circuit?
Check the resistor specifications, connect the resistor to the circuit and write an Arduino sketch to measure the resistance.
Tutorial: How to use 5.1K ohm Resistor
The resistor is a fundamental component to limit the flow of current in an electronic circuit. This tutorial will guide you on how to use the 5.1K ohm resistor, ideal for Arduino projects and prototypes.
What you need
- Arduino Uno
- Breadboard
- Jumpers
Steps
- Check the resistor specifications by consulting the datasheet (example: check the precision tolerance, which is indicated as 5%).
- Connect one end of the component to an Arduino pin using a jumper.
- Connect the other end of the resistor to ground (GND) through another jumper.
- Write an Arduino sketch to measure the resistance using the analogRead() command.
- Verify that the read values correspond to the component specifications.
Example code
// Esempio di codice
int pin = A0; // Pin in cui è collegata la resistenza
void setup() {
  Serial.begin(9600);
}
void loop() {
  int val = analogRead(pin); // Legge il valore del pin
  float voltage = (val / 1024.0) * 5; // Converte il valore in tensione
  Serial.println(voltage); // Stampa la tensione
}
Mini project
Create a simple circuit that measures resistance and displays the values on the Arduino serial monitor.
Common mistakes
- Connect the resistor to the wrong pin on the Arduino.
- Do not check the component specifications before use.
- Ignore the influence of temperature on resistance.
- Use a resistor with a value too high or too low for the project.
Recommended accessories
- Breadboard
- Jumpers
- Arduino Uno
Frequently asked questions
What is the precision tolerance of the resistor?
The precision tolerance is indicated as 5%, check the datasheet for specific details.
How can I verify the value of my resistor?
Use a measuring tool such as a multimeter or write an Arduino sketch to read the resistance.
Reviews
There are no reviews yet.