 EN
 IT Italiano
 ES Español
 FR Français
 DE Deutsch
Description
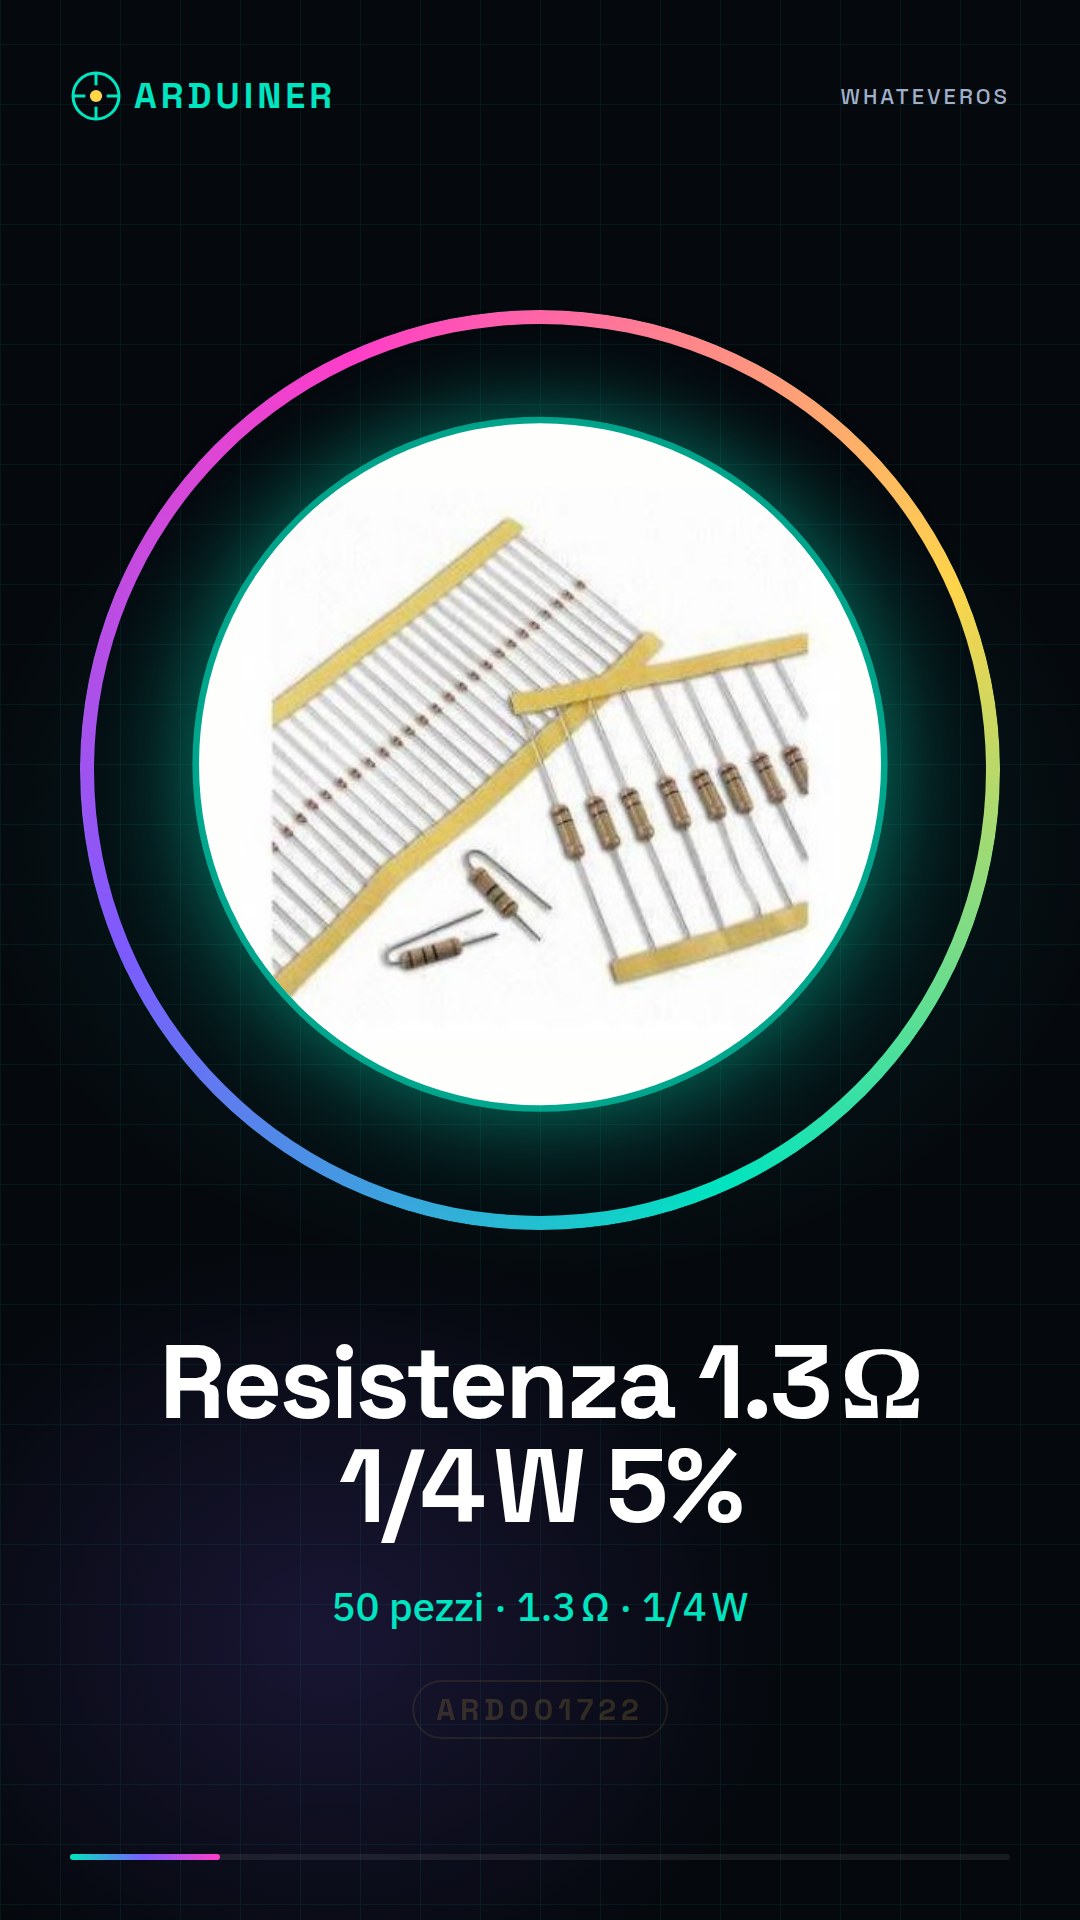
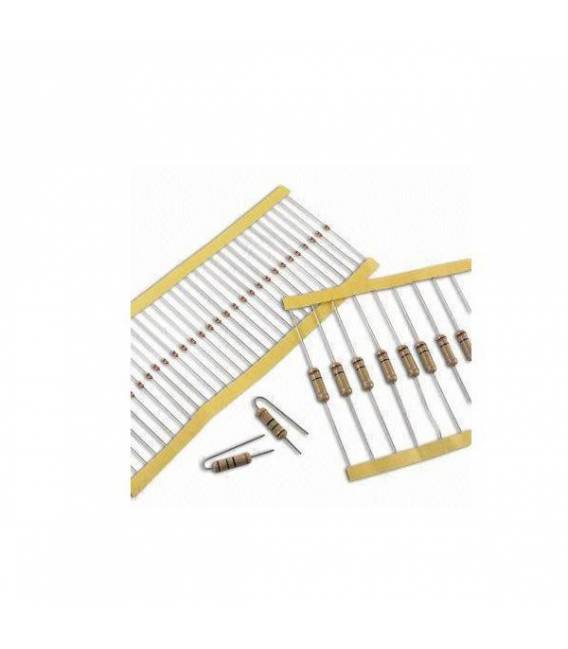
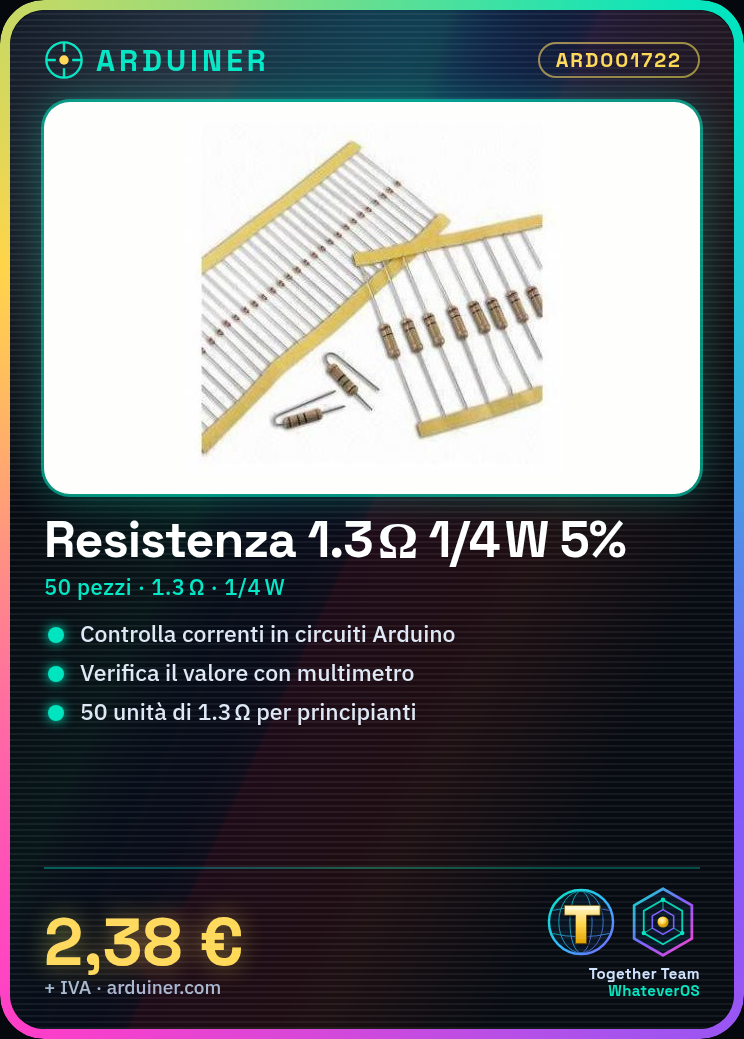
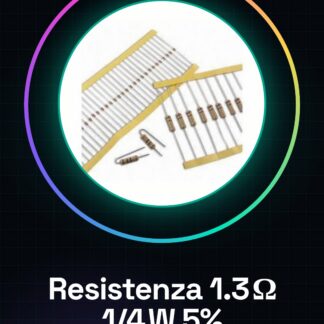
1.3 ohm resistor 1/4w 1/4 w 5%
Tutorial: How to Use 1.3 Ohm Resistor
The 1.3 ohm resistor is a fundamental component for those learning electronics and beginners building simple circuits. It is ideal for limiting currents or dividing voltages in Arduino modules and other low-power projects.
What you need
- Arduino Uno
- Connecting Wire
- Measurement Tool (multimeter)
Steps
- Connect the multimeter in resistance mode.
- Verify the resistance of the component with the multimeter to confirm it is 1.3 ohm.
- If necessary, use the Arduino Uno to read the resistance and display the values on the serial monitor.
Mini project
[“Create a simple circuit with an LED connected to the 1.3 Ohm resistor to control the current flow. Connect the Arduino Uno to turn the LED on and off cyclically.”]
Common mistakes
- Using a resistor that is too low can cause excessive power consumption.
- Do not check the resistance with the multimeter before use.
- Connect directly to the circuit without checking the component specifications.
- Choose an inappropriate resistance for the desired impedance.
Recommended accessories
- Arduino Uno
- LEDs in various colors
- Digital multimeter
- Kit of connection wires
Frequently asked questions
How can I verify the correct resistance?
Use a multimeter in resistance mode to measure the value.
What is the main use of the 1.3 Ohm resistance?
Limits currents and divides voltages in Arduino circuits.
Reviews
There are no reviews yet.