 EN
 IT Italiano
 ES Español
 FR Français
 DE Deutsch
Description
Technical Specifications
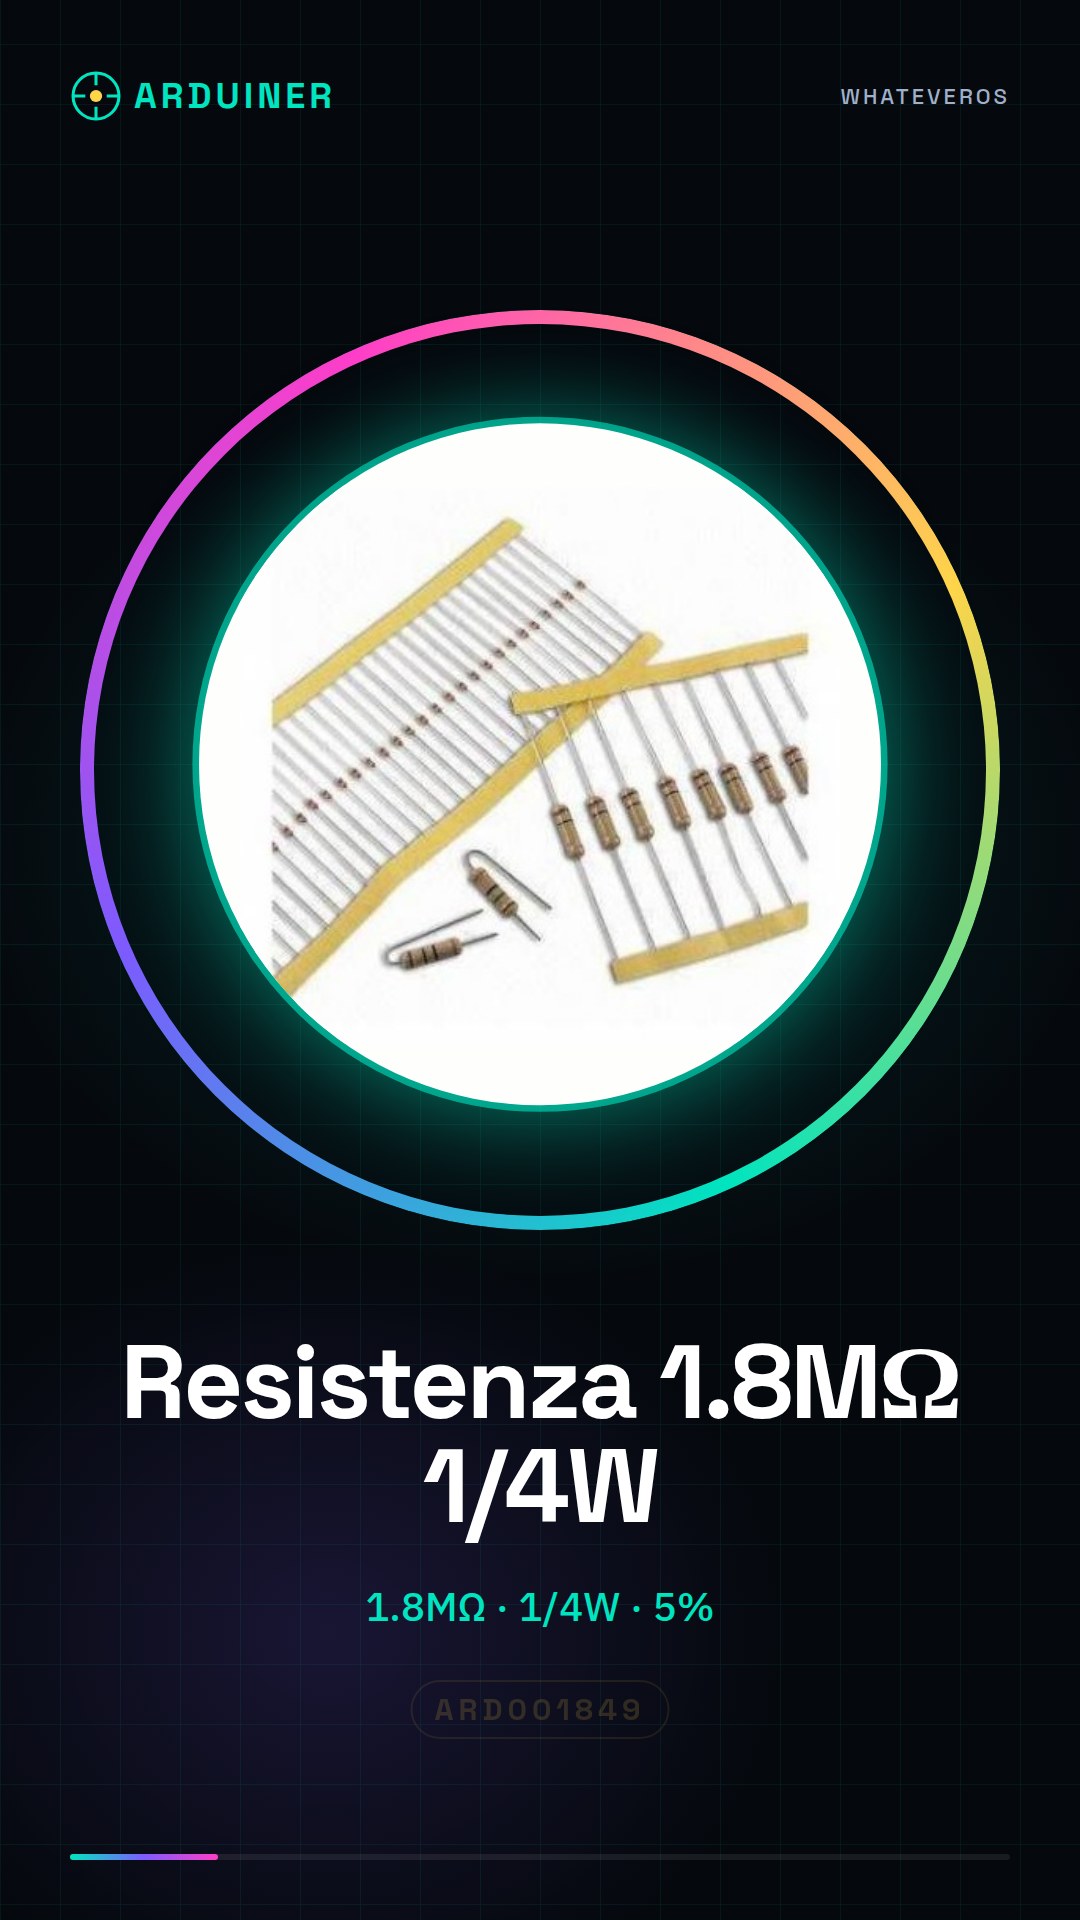
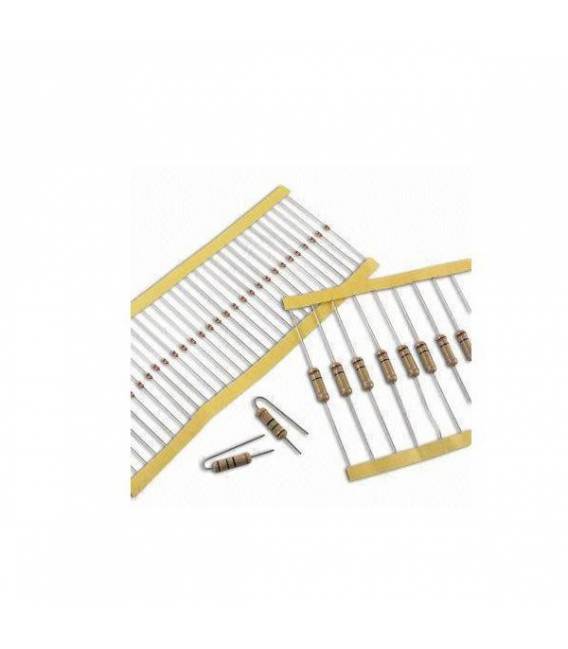
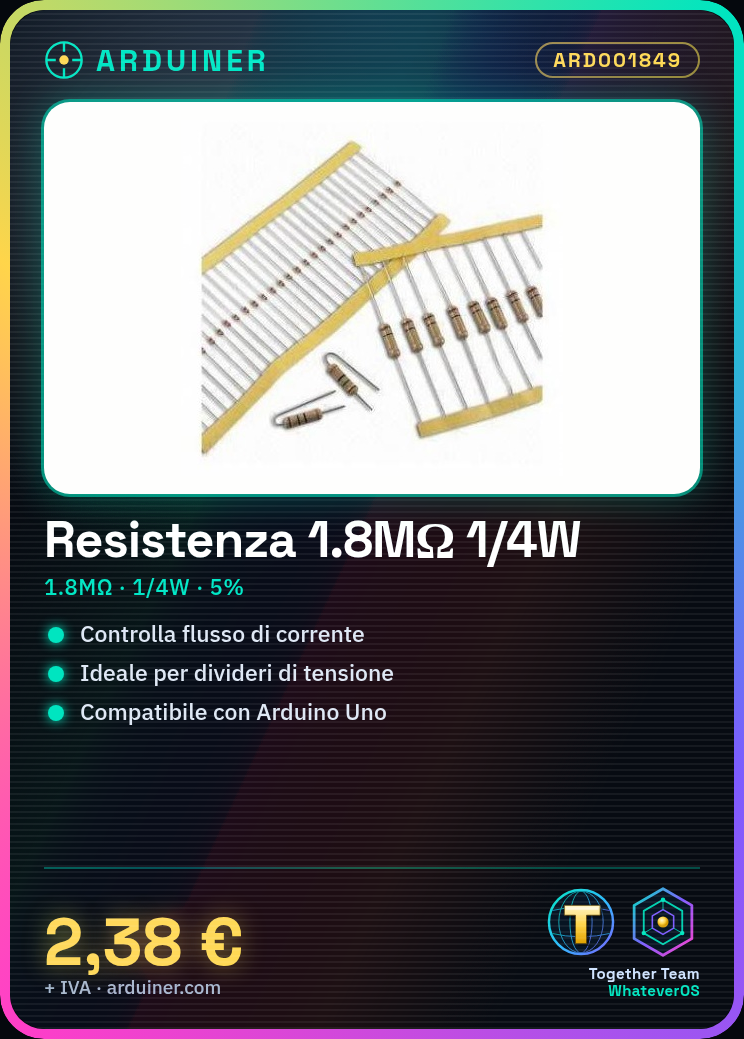
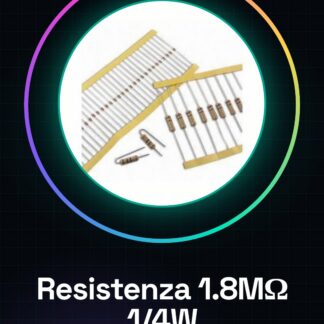
The 1.8MΩ resistor is a fundamental component for limiting current flow in an electronic circuit. This resistor, with a 5% tolerance, is suitable for applications requiring high resistance, such as voltage dividers or passive networks.
The 1.8MΩ resistor is available in quantities of 50 pieces, with a power dissipation of 1/4 watt. Its high resistance makes it suitable for projects that require precise control of voltage and current.
To ensure safe and proper use, it is important to verify the component specifications before using it in an electronic circuit.
Key Specifications
| Parameter | Value |
| Model | 1.8M ohm Resistor |
| Quantity | 50 pieces |
| Resistance | 1800000 ohm |
| Tolerance | 5% |
| Power | 1/4w |
| Dimensions | N/D (see manufacturer’s datasheet) |
| Package | N/A (see manufacturer’s technical sheet) |
Installation and Usage
- Check the component specifications and its compatibility with the circuit.
- Connect the resistor between the Arduino’s digital output and the breadboard.
- Connect an LED to the breadboard, with a protective resistor in series.
- Write an Arduino sketch to turn the LED on and off through the 1.8MΩ resistor.
- Verify that the voltage on the LED is adequate and does not exceed its tolerance limits.
Compatibility and Requirements
- The 1.8 MΩ resistor is compatible with Arduino Uno and other microcontroller-based systems.
- A breadboard and an LED are required to complete the connection.
- For more complex projects, additional resistors and components may be necessary.
Limitations and Important Notes
- The 1.8 MΩ resistor is not suitable for circuits requiring a lower resistance.
- It is important to check the power dissipated by the component to avoid damage.
- The resistor is not designed for high-temperature applications.
- The resistor is not suitable for high-frequency circuits.
Troubleshooting
The LED does not light up.
Probable cause: The resistor may be incorrectly connected or the voltage may be insufficient.
Solution: Check the connection and the voltage supplied to the circuit.
The resistor overheats.
Probable cause: The power dissipated by the component exceeds its dissipation capability.
Solution: Check the power dissipated by the component and reduce the voltage or increase the resistance.
The circuit does not work correctly.
Probable cause: The resistor may be out of tolerance.
Solution: Check the actual resistance of the component with a multimeter.
The LED glows dimly.
Probable cause: The resistance might be too high.
Solution: Replace the resistance with a lower value one.
Use cases
Parking sensor for the garage
Objective: Create an alarm system for the garage.
What’s needed: 1,8 MΩ resistor, Arduino Uno, additional components.
Steps: 1) Connect the resistor in series with a distance sensor. 2) Write an Arduino sketch to manage the alarm. 3) Verify that the system works correctly.
Expected result: The alarm system works correctly, signaling the presence of a vehicle in the garage.
Voltage divider for a lighting project
Objective: Adjust the brightness of an LED.
What’s needed: 1,8 MΩ resistor, Arduino Uno, LED, additional components.
Steps: 1) Connect the resistor between the Arduino digital output and the LED. 2) Write an Arduino sketch to adjust the LED brightness. 3) Verify that the LED brightness is adequate.
Expected result: The LED brightness can be adjusted through the resistor.
Test project for the school laboratory
Objective: Test the 1.8 MΩ resistor.
What is needed: 1.8 MΩ resistor, multimeter, additional components.
Steps: 1) Connect the resistor in series with a multimeter. 2) Measure the actual resistance of the component. 3) Verify that the resistance is within the specified tolerance.
Expected result: The 1.8 MΩ resistor is within the specified tolerance.
Home automation project
Objective: Adjust the brightness of a lamp.
What is needed: 1.8 MΩ resistor, Arduino Uno, relay, additional components.
Steps: 1) Connect the resistor between the digital output of the Arduino and the relay. 2) Write an Arduino sketch to adjust the brightness of the lamp. 3) Verify that the lamp’s brightness is adequate.
Expected result: The lamp’s brightness can be adjusted through the resistor.
Test project for the industrial lab
Objective: Test the 1.8 MΩ resistor.
What’s needed: 1.8 MΩ resistor, multimeter, additional components.
Steps: 1) Connect the resistor in series with a multimeter. 2) Measure the actual resistance of the component. 3) Verify that the resistance is within the specified tolerance.
Expected result: The 1.8 MΩ resistor is within the specified tolerance.
Prototype project for a temperature sensor
Objective: Adjust the sensitivity of the sensor.
What is needed: 1.8 MΩ resistor, Arduino Uno, temperature sensor, additional components.
Steps: 1) Connect the resistor between the temperature sensor and the Arduino. 2) Write an Arduino sketch to adjust the sensitivity of the sensor. 3) Verify that the sensor sensitivity is adequate.
Expected result: The sensitivity of the sensor can be adjusted through the resistor.
University lab test project
Objective: Test the 1.8 MΩ resistor.
What is needed: 1.8 MΩ resistor, multimeters, additional components.
Steps: 1) Connect the resistor in series with a multimeter. 2) Measure the actual resistance of the component. 3) Verify that the resistance is within the specified tolerance.
Expected result: The 1.8 MΩ resistor is within the specified tolerance.
Home automation project for a security system
Objective: Adjust the intensity of an alarm.
What you need: 1.8 MΩ resistor, Arduino Uno, additional components.
Steps: 1) Connect the resistor between the Arduino’s digital output and the alarm. 2) Write an Arduino sketch to adjust the alarm’s intensity. 3) Verify that the alarm’s intensity is adequate.
Expected result: The alarm’s intensity can be adjusted through the resistor.
In the package
- 50 pieces 1.8 MΩ resistor
Complete the project
- 50 Pieces Resistance 1000 ohm 1k ohm 1/4w 1/4 w 5%: To complete the electronic circuit with lower value resistors.
- 50 Pieces Resistance, 10000 ohm, 10k, ohm 1/4w 1/4 w 5% , Arduino compatible resistors: To test the 1.8 MΩ resistor.
- 50 Pieces Resistance 100 ohm 1/4w 5%: To complete the electronic circuit with lower value resistors.
- 50 Pieces Resistance 220 ohm 1/4w 1/4 w 5%
- 50 Pieces 4.7K ohm 4700 ohm 1/4w 1/4 w 5%
Technical FAQ
What is the maximum power rating of this resistor?
The maximum power rating of this resistor is 1/4 watt. Check the power dissipated by the component to avoid damage.
What is the tolerance of this resistor?
The tolerance of this resistor is 5%. Check the actual resistance of the component with a multimeter.
How do I verify that the resistor is within the specified tolerance?
Check the actual resistance of the component with a multimeter and compare it to the specified resistance.
What is the size of this resistor?
The size of this resistor is not specified. Check the manufacturer’s technical sheet for detailed information.
Tutorial: How to use 1.8M ohm Resistor
Resistors are fundamental components for limiting the flow of current in an electronic circuit. This 1.8MΩ resistor is ideal for projects that require a high resistance, such as voltage dividers or passive networks.
What you need
- Arduino Uno
- Breadboard
- LED
Steps
- Connect the resistor between the Arduino’s digital output and the breadboard.
- Connect an LED to the breadboard, with a protective resistor in series.
- Write an Arduino sketch to turn the LED on and off through the 1.8MΩ resistor.
- Check that the voltage on the LED is adequate and does not exceed its tolerance limits.
Example code
void setup() {
  pinMode(13, OUTPUT);
}

void loop() {
  digitalWrite(13, HIGH);
  delay(1000);
  digitalWrite(13, LOW);
  delay(1000);
}
Mini project
Create a simple voltage divider with the 1.8MΩ resistor to control the brightness of an LED.
Common mistakes
- Using a resistor that is too small and burns out
- Not verifying the component specifications correctly
Recommended accessories
- 220Ω resistors
- Arduino Uno
- Breadboard
- Various LEDs
Frequently asked questions
What is the maximum power rating of this resistor?
Check the datasheet
What color is the temperature code?
Not applicable for this type of resistor
Reviews
There are no reviews yet.