 EN
 IT Italiano
 ES Español
 FR Français
 DE Deutsch
Description
What it is
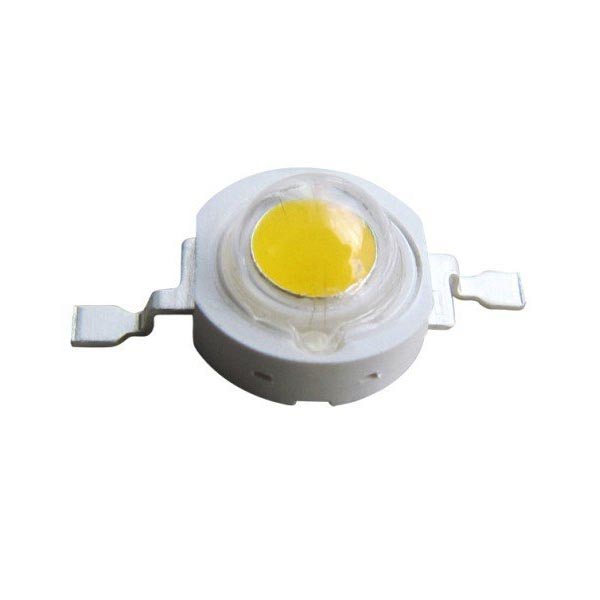
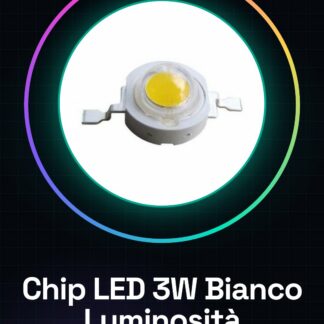
The 3W High Brightness White LED Chip is an electronic component designed for intense lighting applications. With a brightness range of 140 to 150 lumens, this LED chip provides strong light intensity.
Features
- Brightness: 140 – 150 Lumens
- Power: 3W
What it is for
This LED chip is ideal for intense lighting projects, suitable for both beginners and intermediate makers. It can be used in applications such as portable emergency flashlights with a button to turn the light on and off. It is compatible with various types of Arduino circuits and can be easily integrated into 3D printing projects.
Tutorial: How to Use 3W High Brightness White LED Chip
The 3W high brightness white LED chip is perfect for lighting projects that require strong light intensity. This component is ideal for both beginners and intermediate makers.
What you need
- Arduino Uno or Compatible
- Resistor suitable for the LED (check the datasheet)
- Jumper Wire
Steps
- Check the operating voltage of the LED chip in its documentation and connect an Arduino to a breadboard.
- Provide power to the circuit through the Arduino or use a separate power supply (check the datasheet).
- Insert the resistor between the Arduino’s digital pin and the LED chip to limit the current (check the datasheet).
- Connect the cathode of the LED to the GND of the Arduino.
- Check the orientation of the LED: anode (+) towards Arduino, cathode (-) towards ground.
- Run a simple sketch on the Arduino to turn the LED on and off.
- Get the maximum operating current from the LED’s datasheet and adjust the resistor if necessary.
- Test the lighting and adapt the example sketch values to your project.
Example code
void setup() {
pinMode(13, OUTPUT);
}

void loop() {
digitalWrite(13, HIGH); // Accende il LED
 delay(1000);
digitalWrite(13, LOW); // Spegne il LED
delay(1000);
}
Mini project
Create a portable emergency lamp with a button to turn the lighting on and off.
Common mistakes
- Insert the resistor into the circuit without checking the datasheet.
- Connect the LED directly to Arduino without limiting the current.
- Do not test the orientation of the LED before powering it.
Recommended accessories
- Variable resistor
- Separate power supply
- Push button for interrupts
Frequently asked questions
How can I control the color of the LED?
This chip LED is white and does not support color change.
What are the advantages of using this type of LED compared to others?
Offers high brightness in a small package, ideal for projects focused on reduced space.
Reviews
There are no reviews yet.